


Introduction
Applying false lashes is both an art and a science. Whether you're enhancing your natural beauty or going full‑glam, precise lash placement is key. This guide explains how to use tweezers and applicators expertly, helping you achieve salon‑quality results at home. Expect fact‑based insights, practical examples, and a roadmap built on experience, expertise, authoritativeness and trustworthiness — all crafted for maximum value and readability.
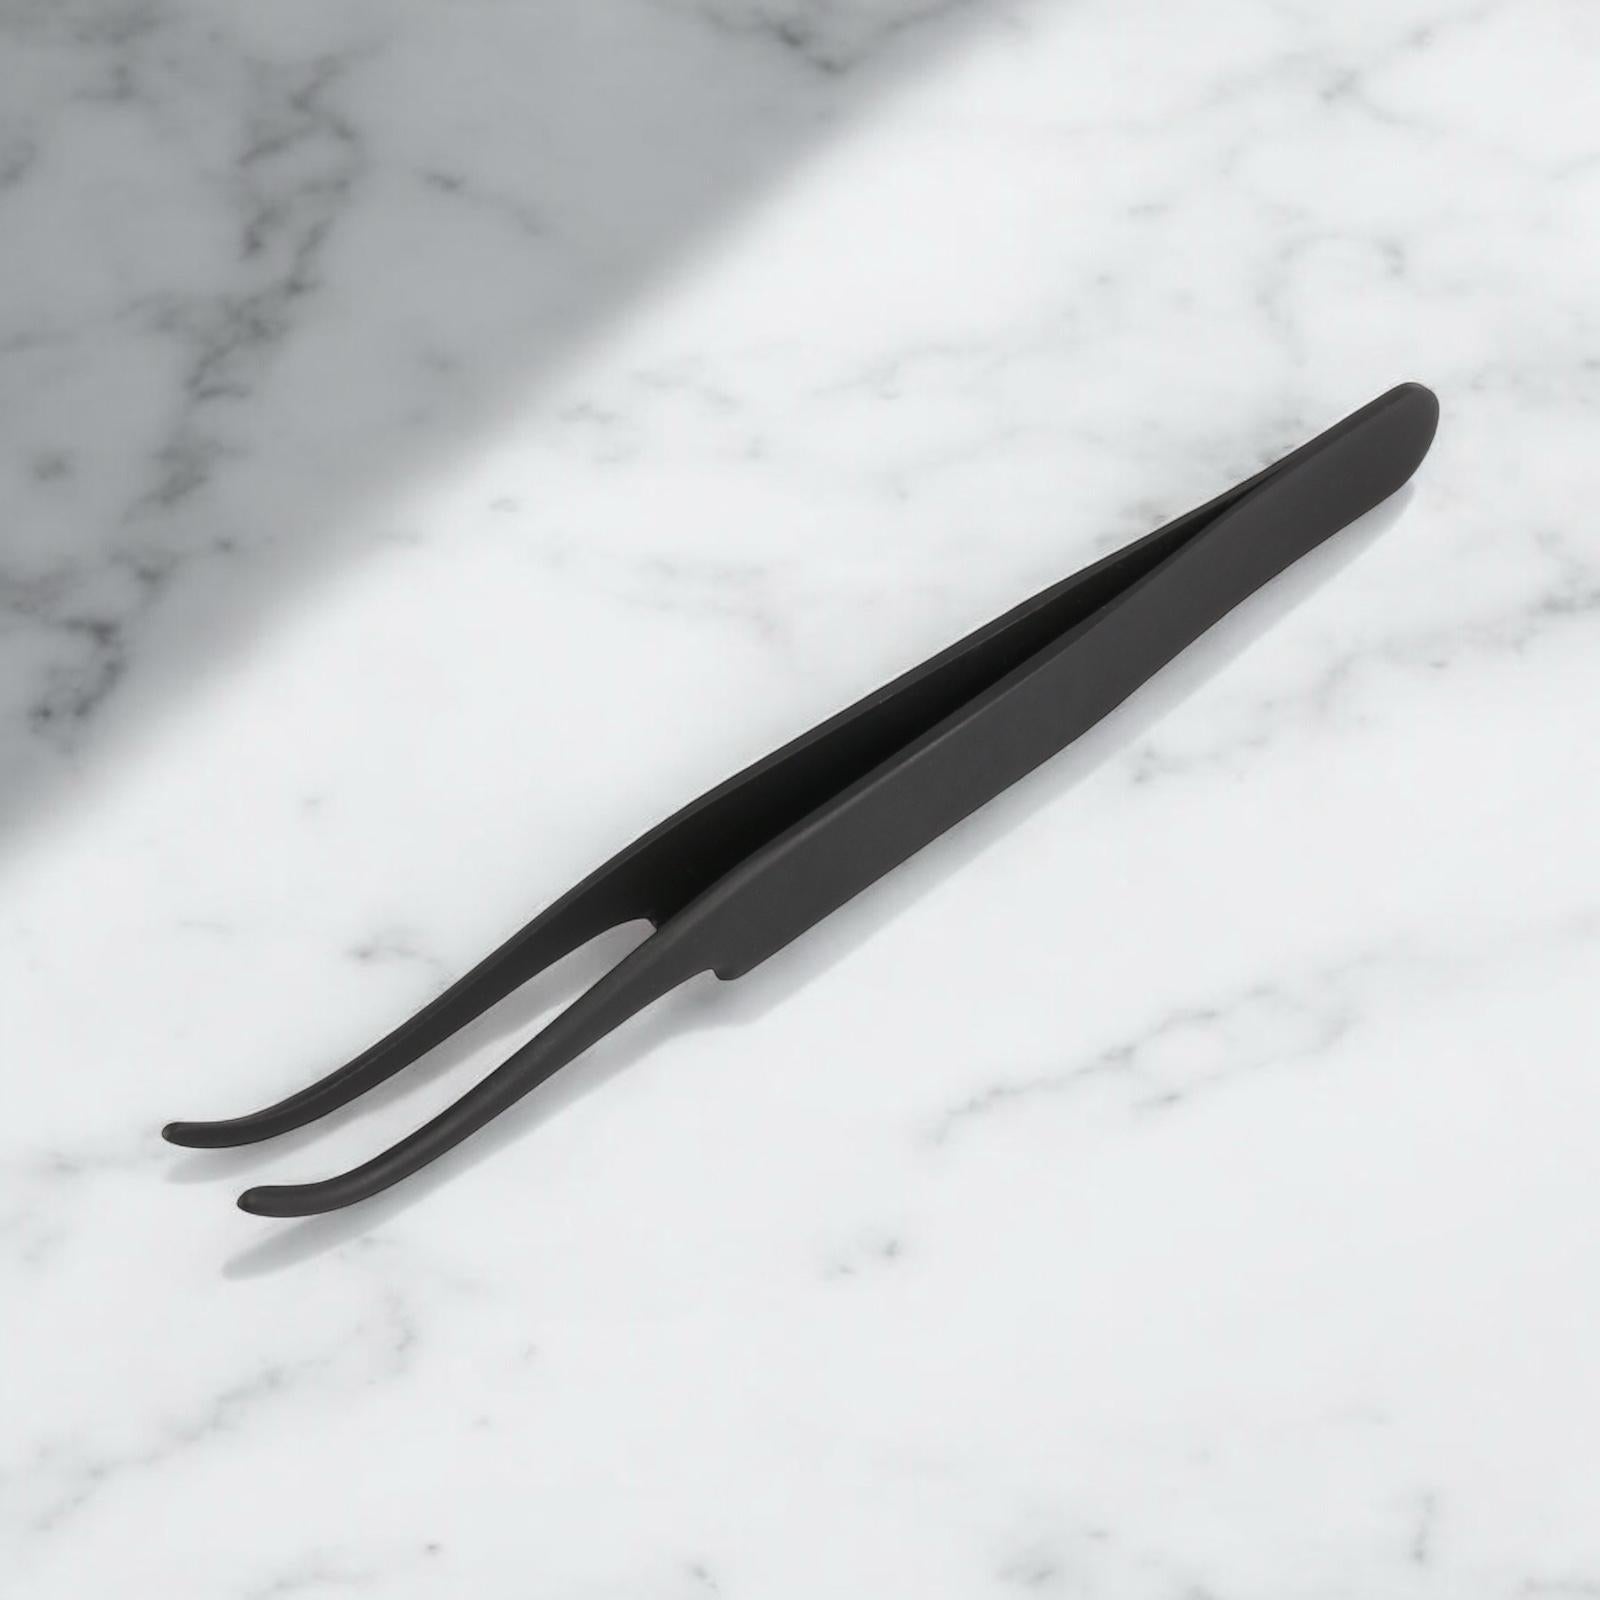
Understanding the Different Types of Lash Tools
Tweezers
- Straight tweezers: Ideal for picking up and placing individual lashes.
- Curved tweezers: Easier access to inner corners; excellent for isolating lashes.
- Angled tweezers: Provide enhanced control for strip or cluster lashes.
Applicators
- Clamp‑style applicators: Great for beginners applying strip lashes.
- Dual‑ended tools: Combine precision grip and combing tips.
- Silicone‑tipped applicators: Softer grip, reduces lash damage.
Choosing the right tool depends on the lash type and your comfort level. Tweezers give superior precision; applicators offer ease of use.
Choosing the Right Tool for Your Lash Type
- Strip lashes: Best with angled tweezers or clamp applicators for even placement.
- Individual lashes: Straight tweezers for pinpoint accuracy.
- Cluster lashes: Curved tweezers balance control and ease.
Consider lash material—mink, silk or synthetic—and your dexterity when selecting tools.
Preparing Your Workspace and Hands for Precision
- Ensure bright, even lighting and minimal distractions.
- Use a magnifying mirror if needed.
- Wash and thoroughly dry your hands.
- Disinfect your tweezers or applicators before use.
Cleansing your workspace and tools builds trust and prevents mishaps or infection.
How to Hold Tweezers and Applicators Correctly
Tweezers
- Grip around the centre for better balance.
- Keep your wrist level and stable.
- Avoid gripping too hard to prevent lash damage.
Applicators
- Hold like scissors, with a relaxed grip.
- Use the flat surface to press lashes onto the lash line gently.
Proper grip enhances control and comfort, reducing mishaps.
Prepping the Lashes for Application
- Gently lift the lash from its tray using tweezers.
- Measure against your eyelid and trim if necessary.
- Apply a thin glue line to the band—prioritise corners.
- Allow 30–45 seconds for the adhesive to become tacky.
Tacky glue means less shifting and a secure hold.
Step‑by‑Step: Using Tweezers for Lash Application
- Pick up the lash from its centre using tweezers.
- Position over your natural lash line, starting from the centre.
- Press the middle of the lash band first.
- Secure inner and outer corners gently with tweezers.
- Use the tweezer tips to fuse false and natural lashes together.
This technique offers exceptional accuracy, especially for complex lash styles.
Step‑by‑Step: Using Applicators for Lash Application
- Grip the lash near its band with the applicator.
- Hover it slightly above your lash line.
- Clamp gently to press the lash in place.
- Quickly adjust corners before adhesive sets fully.
Applicators simplify the process for novices, reducing errors and discomfort.
Troubleshooting Common Lash Placement Issues
Lashes Lifting at the Corners
- Wait until glue is properly tacky.
- Add a drop of extra adhesive at the corners if they lift.
Lashes Sticking to Tweezers or Applicator
- Give the glue more time to set before placement.
- Use silicone‑tipped tools to prevent sticking.
Glue Smudging on Eyelid
- Always apply a thin, even layer of adhesive.
- Clean excess with a cotton bud dipped in micellar water.
Quick fixes help maintain a clean, polished finish and enhance technique.
Tips for Left‑Handed vs Right‑Handed Users
- Adjust mirror angles to suit your dominant hand.
- Practise on a mannequin or lash board first.
- Keep your elbow level with your eye for better control.
Adapting to your dominant hand ensures symmetry and steadier application.
Cleaning and Maintaining Your Lash Tools
- Wipe tools after each use with isopropyl alcohol.
- Soak in a sterilising solution weekly.
- Store in a clean, dry case to maintain hygiene.
- Replace tools when tips lose grip or become bent.
Well‑maintained tools ensure precision and safety over time.
Safety and Hygiene Best Practices
- Never share lash tools—risk of contamination.
- Handle tools only with clean hands.
- Watch for redness, irritation or allergic reactions.
- Discontinue use if discomfort or signs of infection appear.
Prioritise safety to protect your eyes and natural lashes.
FAQs: Quick Answers to Common Lash Tool Questions
Can I use my fingers instead of tweezers?
You can, but lack the precision and grip that tools provide, making mistakes more likely.
Why won’t my lashes stick properly?
Likely reasons: adhesive wasn’t tacky yet, or too much/too little glue was applied. Aim for tacky consistency and thin layer.
What’s the best tool for beginners?
Clamp‑style applicators are most forgiving—minimising mishaps and easing placement.
How do I stop lashes from poking my inner corner?
Trim the lash to fit your eye shape and position it slightly outward from the inner corner.
Are curved tweezers better than straight ones?
It depends on your lash style—curved tweezers provide better access to corners; straight tweezers are ideal for precise picks.
Conclusion
Mastering tweezers and applicators for lash placement unlocks professional‑level results. From selecting the correct tool and prepping your workspace to precise application and tool care—it all matters. With repeated practice and attention to detail, perfect lashes are within reach.
Expert tip: Start with clamp applicators if you're new, then graduate to tweezers as you refine your technique. Prioritise hygiene, precision and patience—your lashes will thank you.


Share:
How to Create a Wispy Lash Look with DIY Extensions
Creating a Dramatic Look for Special Occasions with DIY Lash Extensions