


Introduction
Achieving a glamorous, show-stopping eyelash look for a special event doesn’t always require an expensive salon session. With the right methods and tools, DIY lash extensions can help you create a dramatic effect from the comfort of your own home. In this guide, we'll explore how to select the best materials, refine your technique, follow safe aftercare, and master removal—all designed to deliver eye-catching results while maintaining lash health.
Let’s dive into how you can confidently recreate a high-impact lash look that complements your style, costume or occasion—without risking natural lash damage.
Understanding Dramatic Lash Styles
What Constitutes a "Dramatic" Set
A dramatic lash look is characterised by:
-
Full volume: multiple lash fibres per natural lash for a dense effect.
-
Longer lengths: 14–16 mm or even longer, especially towards the outer corners.
-
Curl intensity: C‑curl or D‑curl to elevate the lashes and open up the eyes.
Detailing Volume, Curl and Length
-
Volume: Ranges from 2D (lighter fullness) up to 6D+ (very dense). Choose based on your desired boldness.
-
Length: Dramatic sets lean towards longer fibres, but avoid exceeding more than two millimetres longer than natural lashes to prevent strain.
-
Curl:
-
C‑curl: Rounded, natural lift.
-
D‑curl: Sharp lift, ideal for dramatic events or round eyes.
-
Long‑Tail Keyword Focus
Ideal for phrases like dramatic DIY lash extensions, at‑home lash volume tips and C‑curl dramatic eyelash tutorial.
Choosing the Right Lashes for Your Eye Shape
Almond Eyes
-
Ideal for most styles; add extra length at the centre for a dolly-eye effect.
Round Eyes
-
Extend length at the outer corners to create a sultry almond illusion.
Hooded Eyes
-
Use shorter lengths at the inner corner, gradually increasing towards the outer corner; opt for a C‑curl to lift.
Deep Set Eyes
-
Choose longer, slightly straighter curls (like CC or C) to bring lashes forward from beneath the brow bone.
Essential Tools and Materials
Tools You'll Need
-
Precision tweezers: Straight and curved for ideal grip and placement.
-
Lash glue: Choose clear for beginners; black glue can blend with mascara later.
-
Spoolie brush: For grooming and separating lashes.
Materials
-
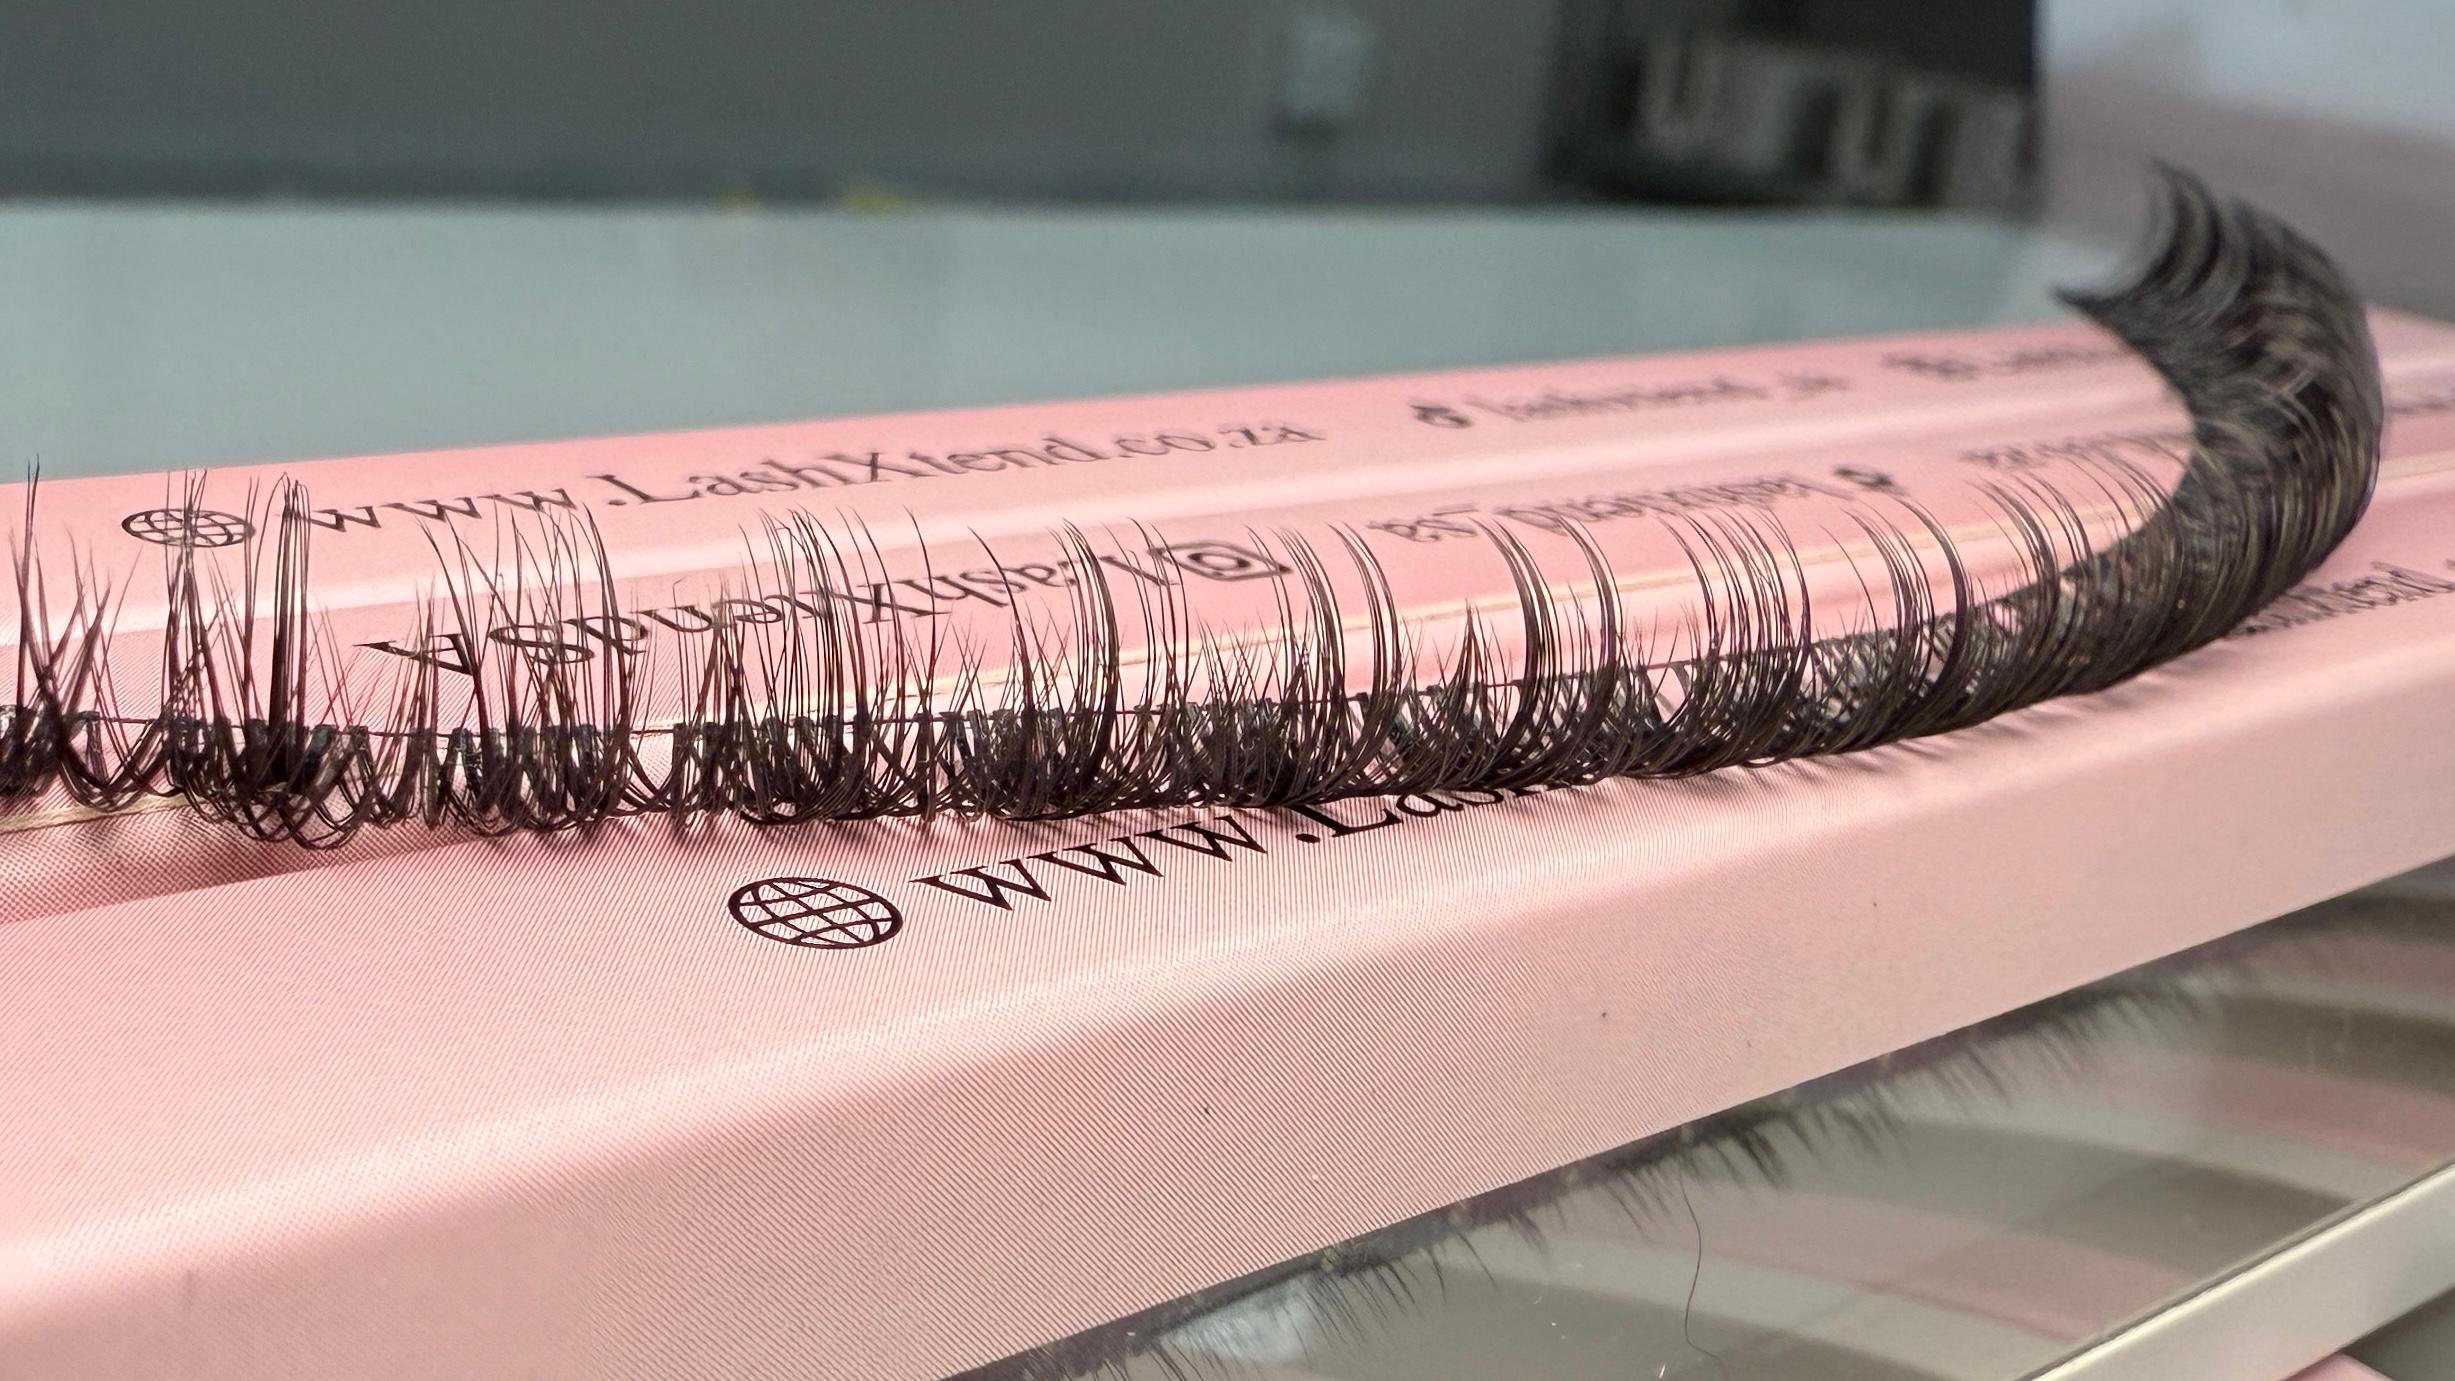
Lash trays: Pre-made volume fans or individual clusters in a variety of lengths and curls.
-
Micro-scissors: Trim fans to match eye shape or desired volume.
-
Oil-free cleanser: Ensures adhesive sticks properly without slipping.
Preparing Your Natural Lashes
Step 1: Cleanse and Dry
-
Remove makeup and residual oils using an oil-free solution or micellar water.
-
Thoroughly dry lashes before application—moisture hinders adhesive grip.
Step 2: Curl or Straighten
-
Lightly curl natural lashes to prepare for extensions and encourage proper placement and bonding.
-
Use a clean spoolie to gently comb through lashes.
Step‑By‑Step Application Process
1. Set Up Your Work Area
-
Choose bright lighting, a stable surface, and have materials organised and within reach.
2. Load the Adhesive
-
Squeeze a minimal amount of glue onto a flat gluing pad; allow 30–40 seconds for a tacky consistency.
3. Pick Your First Fan or Lash
-
Use curved tweezers to pick up a fan from the base and dip it lightly into glue—avoid excess.
4. Place the Lash Extension
-
Apply 1 – 2 mm away from the natural lash base to avoid skin contact.
-
Aim for 45 degrees towards the lash line, starting outer to inner for symmetry.
5. Comb into Place
-
Use a spoolie to gently blend the extension with natural lashes once the glue sets.
6. Repeat Until Complete
-
Work in small clusters per eye; compare both eyes periodically to maintain balance.
Achieving Symmetry & Dramatic Effect
Balancing Both Eyes
-
Alternate between eyes to avoid one side drying faster than the other.
-
Inspect frequently with a magnifying mirror to spot uneven placement.
Layering Styles for Drama
-
Use longer lash lengths (14–16 mm) at the outer corners for a cat-eye effect.
-
Mix medium lengths in the mid-lash zone for a cascading volume.
Common Mistakes and How to Avoid Them
-
Too much glue: Leads to clumping or irritating eyesight.
-
Applying too close to the eyelid: Can cause itching or irritation.
-
Skipping adhesive wait time: Wet glue won’t bond and can drop lashes.
Tip: Always let glue become tacky before application and maintain consistent spacing from the lash base.
Aftercare for Maximum Wear
24–48‑Hour Initial Care
-
Avoid water, steam, saunas, and swimming to allow full adhesive cure time.
Daily Maintenance Tips
-
Comb lashes gently with a spoolie each morning.
-
Use oil-free cleanser to clean lashes and remove debris.
-
Pat eyelashes dry—never tug or twist.
Safe Removal Techniques
How to Remove Safely
-
Use a specialised, oil‑based lash remover or cream.
-
Apply and leave for 10–15 minutes.
-
Use a cotton swab to gently massage and loosen extensions.
-
Slide off the extensions instead of pulling.
What to Avoid
-
Never tug or pull extensions—it may damage your natural lashes or skin.
-
Avoid alcohol or acetone removers; they are too harsh and likely to damage lashes or irritate eyes.
Balancing Dramatic Flair with Lash Health
Respecting Lash Growth
-
Natural lashes shed in cycles—heavy extension sets may shorten natural lash life.
-
Alternate between dramatic and lighter sets or take breaks.
Enhancing Lash Integrity
-
Use lash serums or nutrient-rich oils between sessions to support natural lash recovery.
-
Keep natural lashes hydrated and lightly combed to maintain form.
FAQs on Dramatic DIY Lash Extensions
How long do dramatic eyelash extensions last?
Typically 4–7 days for cluster sets, though maintaining results with gentle care can extend wear slightly longer.
Can a beginner achieve a dramatic look?
Absolutely—as long as you start with smaller fans, work carefully, and build experience gradually.
Should I use black adhesive glue?
Only if experienced. Beginners should opt for clear glue to avoid staining or irritation during removal.
What if glue gets into my eye?
Immediately rinse with cool water. If redness, burning or vision issues persist, seek medical help without delay.
Enhancing Visual & Multimedia Experience
-
Before/after images: Show split-screen transformations of natural versus dramatic lashes.
-
Step-by-step illustrations: Include close‑up visuals of tiny lash placement to clarify technique.
-
Quick video demonstrations: Embedding short clips demonstrating glue tacking and lash placement enhances learner confidence.
Conclusion & Expert Tips
Creating a dramatic eyelash look at home is totally achievable—with the right preparation, quality materials, and a methodical approach. Follow these tips to ensure:
-
Safety: Use tacky glue, allow drying time, and maintain correct placement.
-
Durability: Adhere to aftercare routines and alternate lash interest to protect natural strands.
-
Style balance: Combine curls and lengths thoughtfully for a show‑stopping finish.
Call to Action
Ready to elevate your look? Gather good tools, pick clean supplies, and follow this guide to deliver a stunning lash transformation at home. Like all powerful beauty techniques, practise makes perfect—so start with smaller fans, build confidence, and before you know it, you’ll craft dramatic lash artistry worthy of any occasion.


Share:
How to Use Tweezers and Applicators for Precise Lash Placement
The Importance of Cleanliness and Hygiene in DIY Lash Extensions