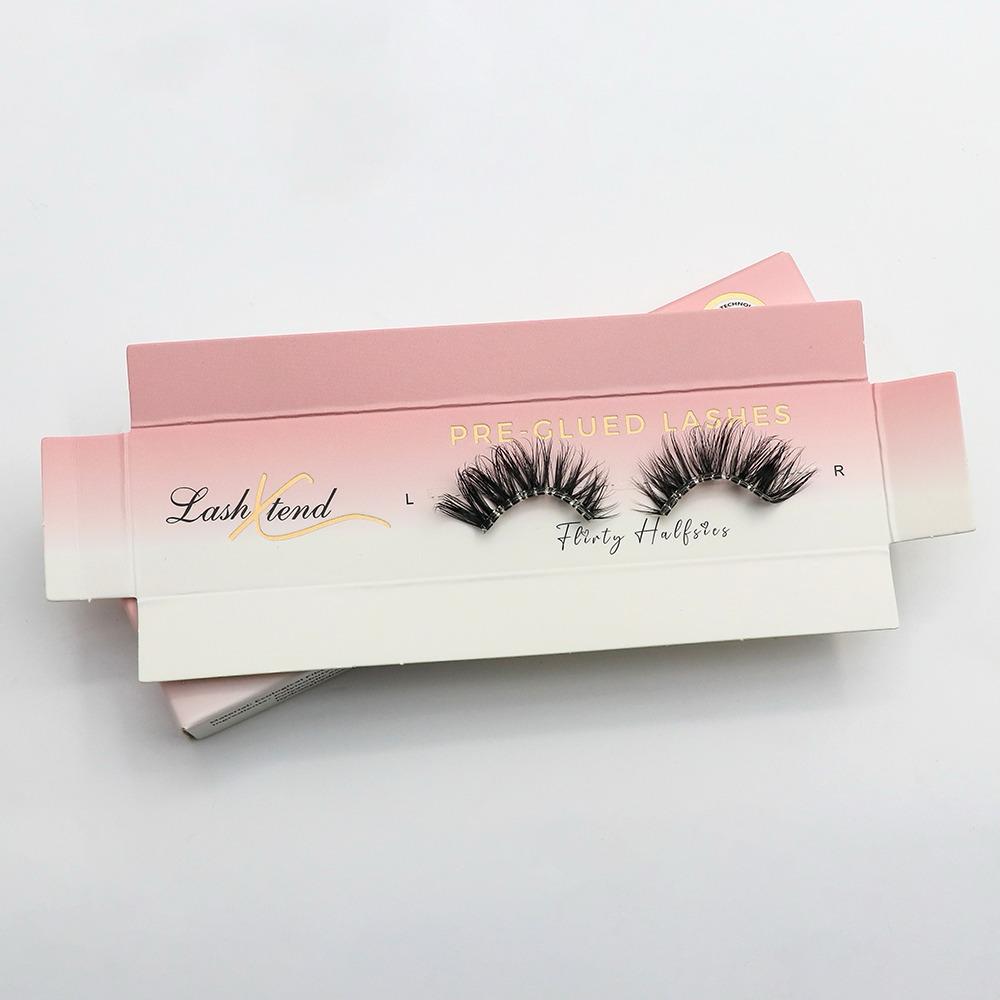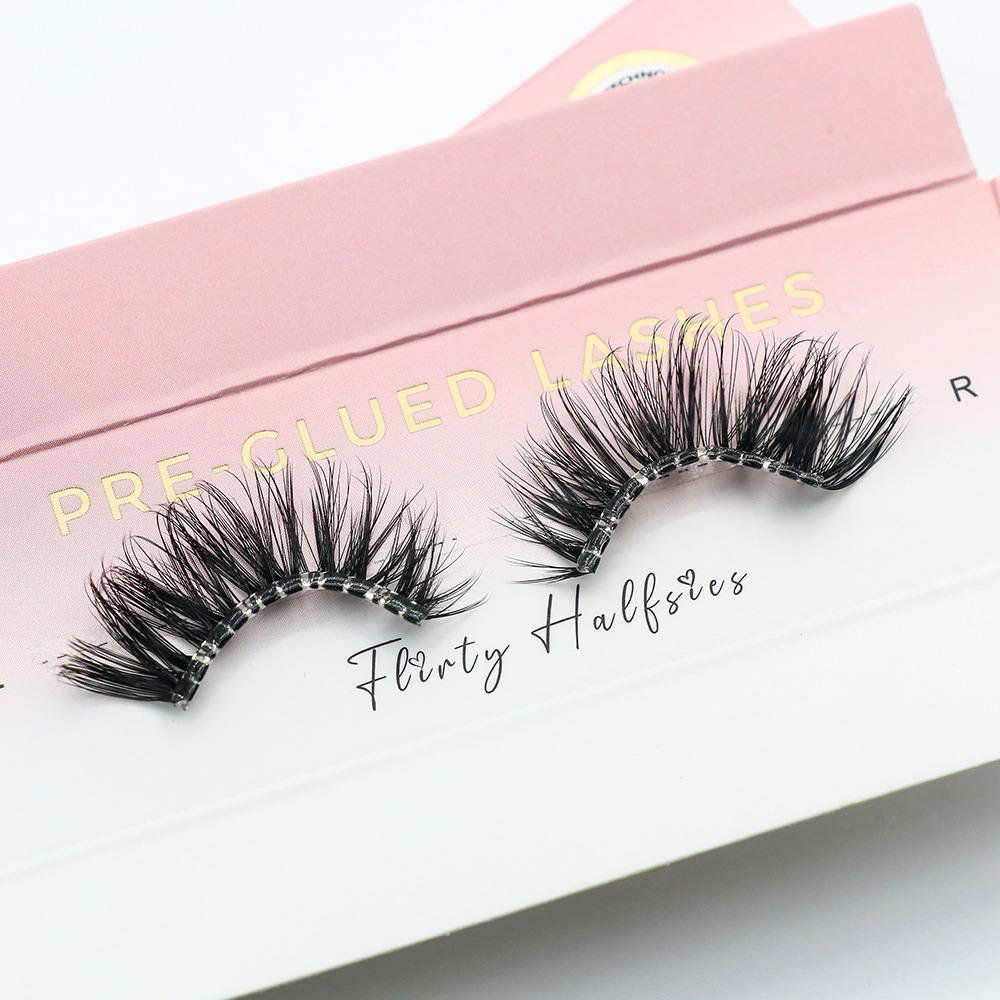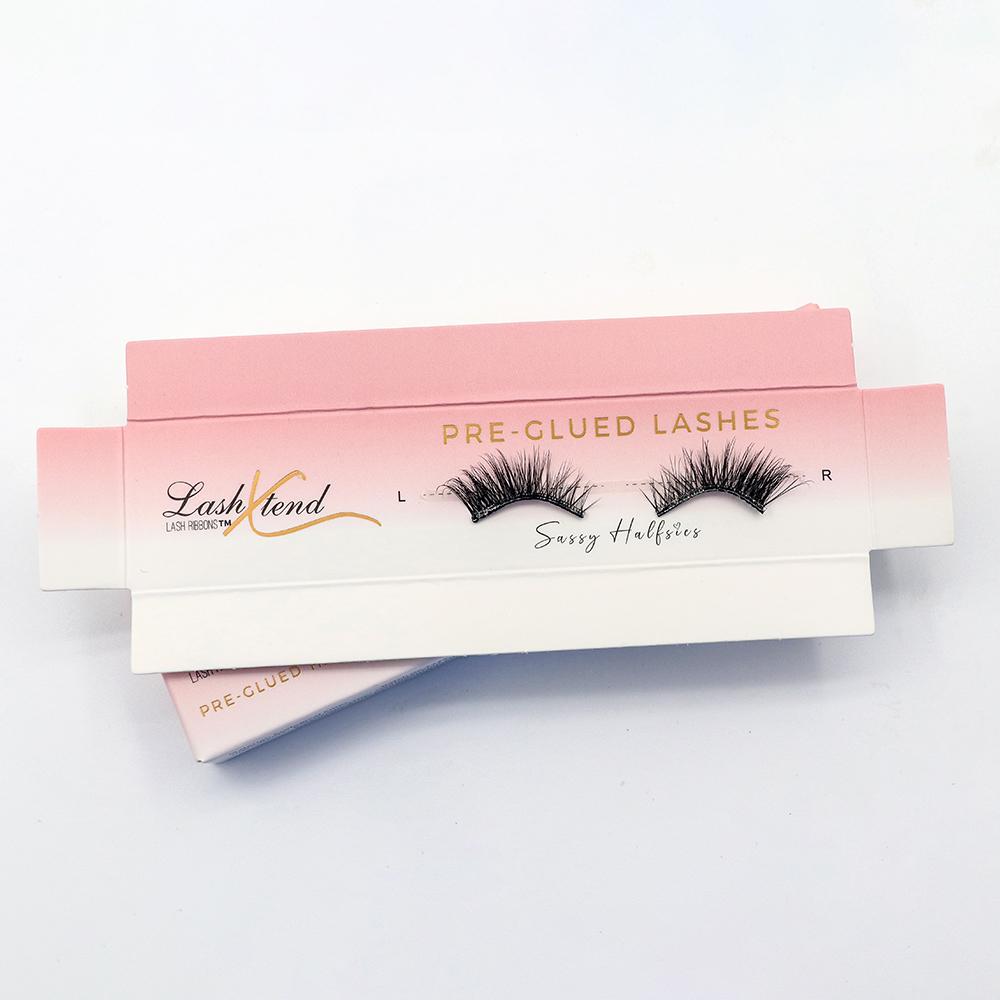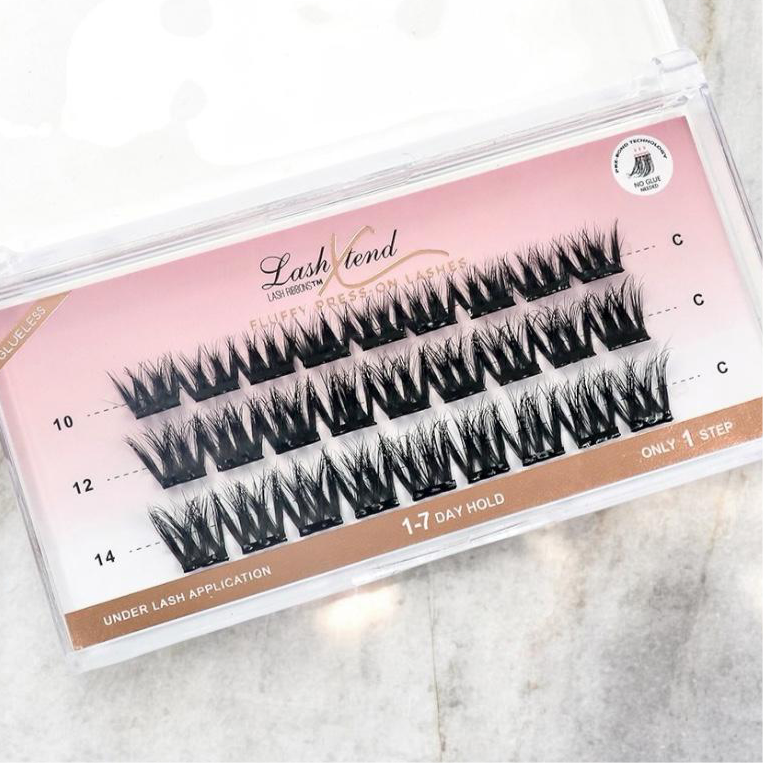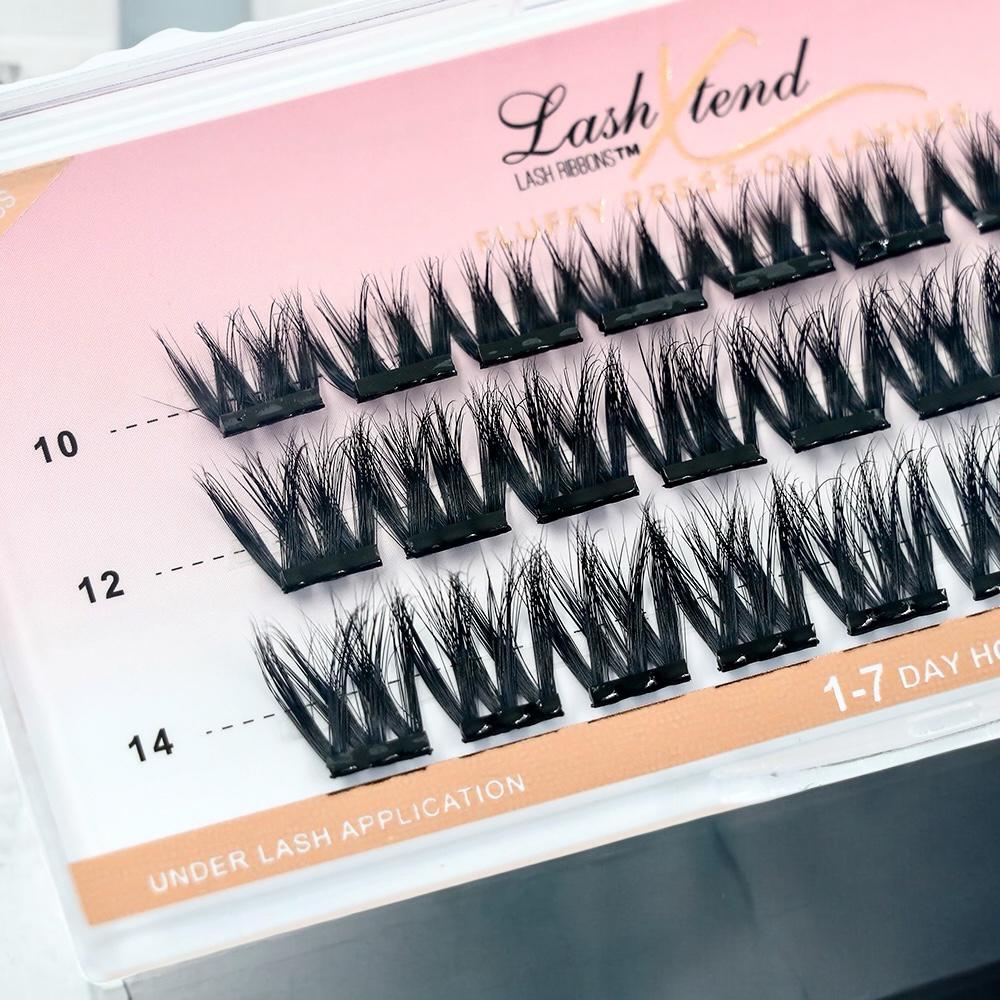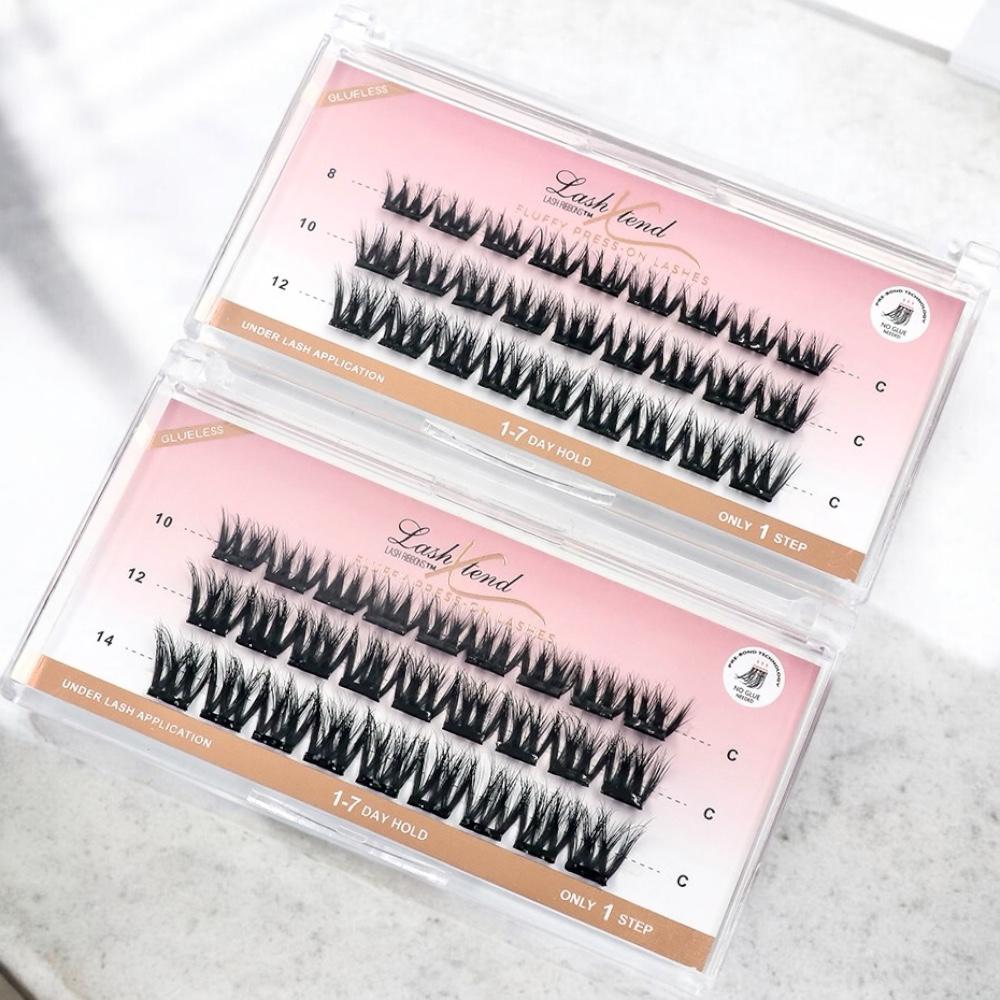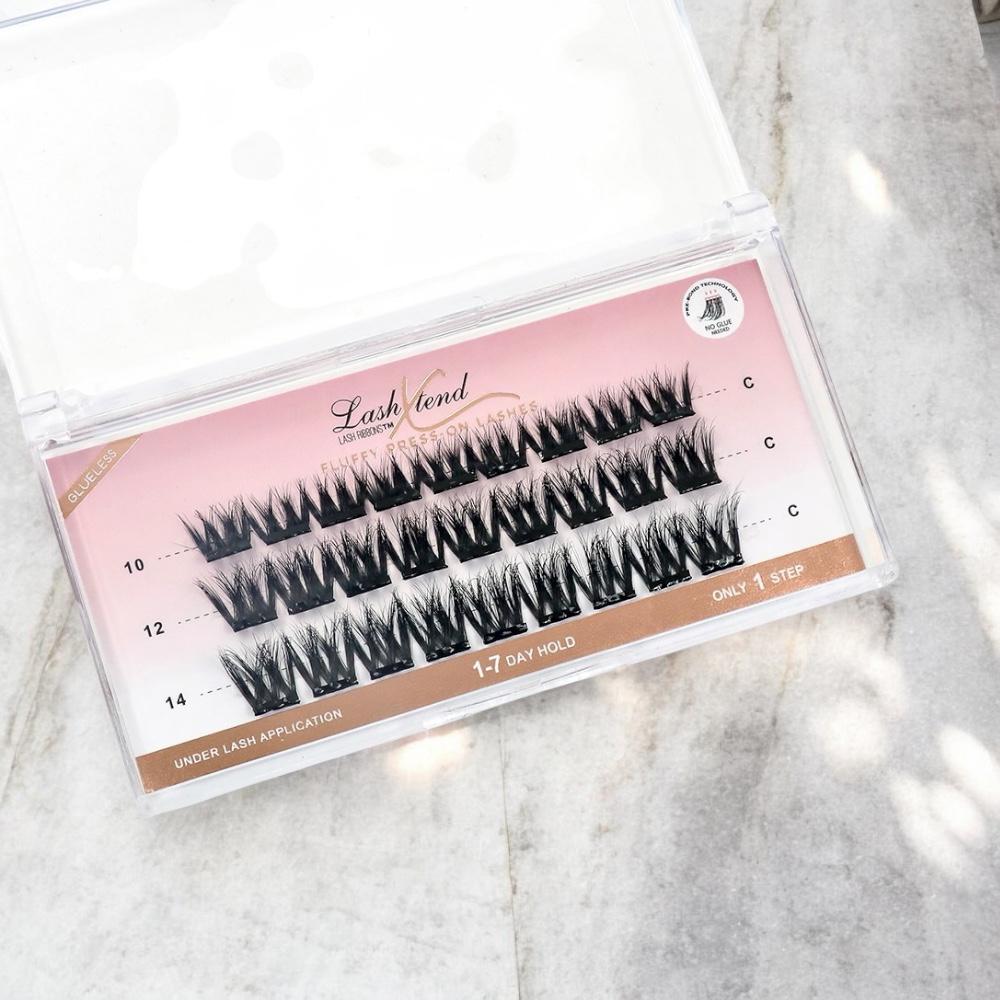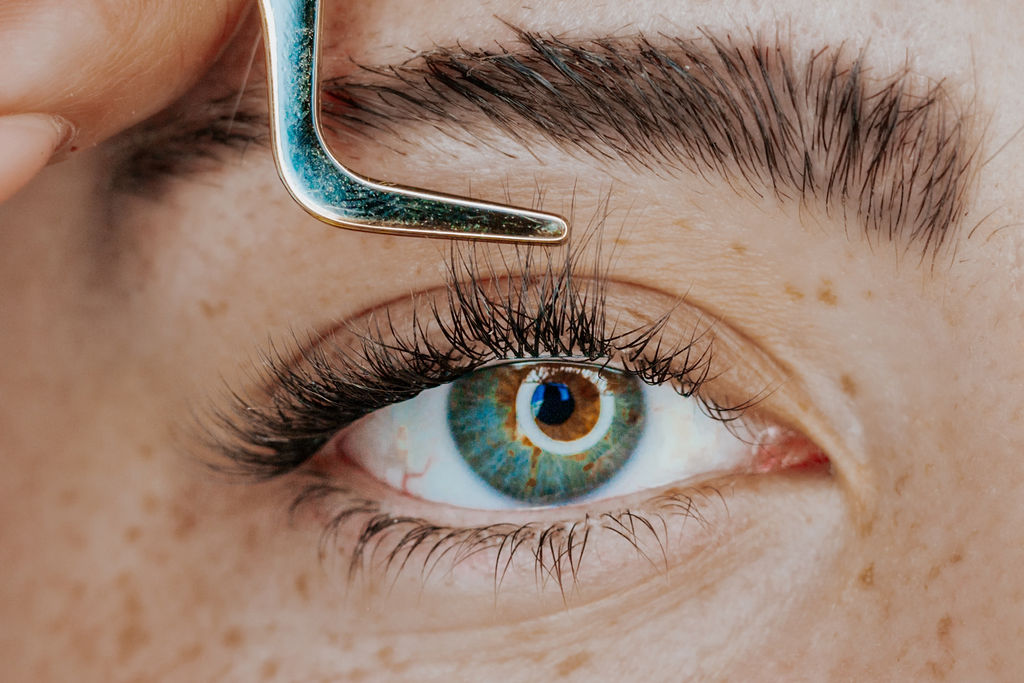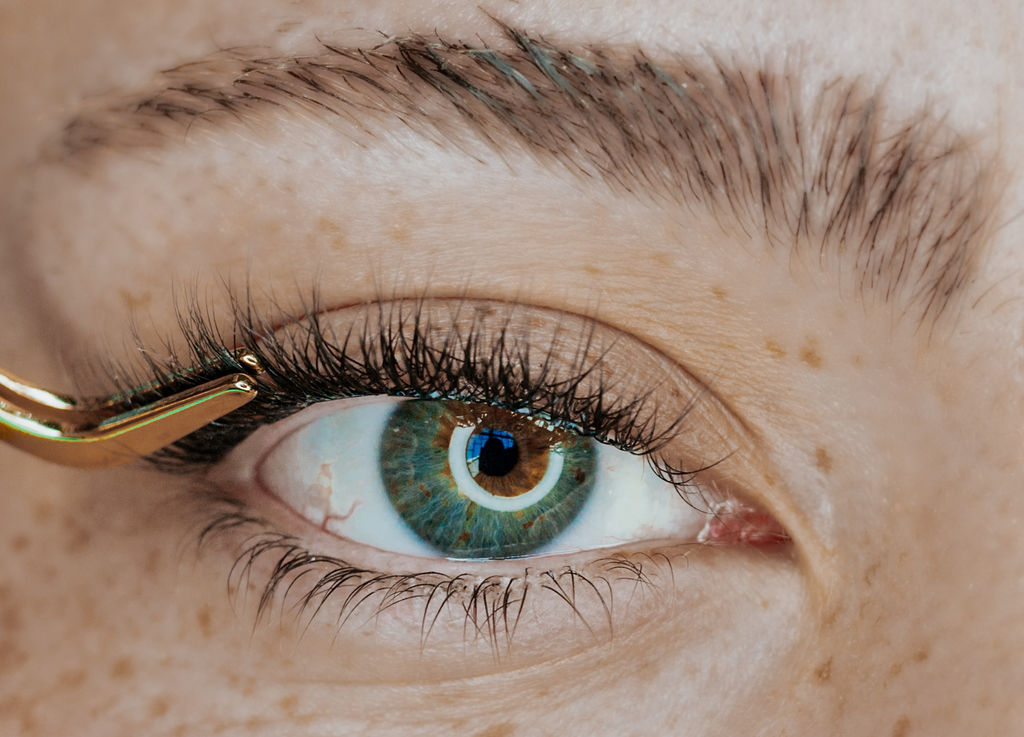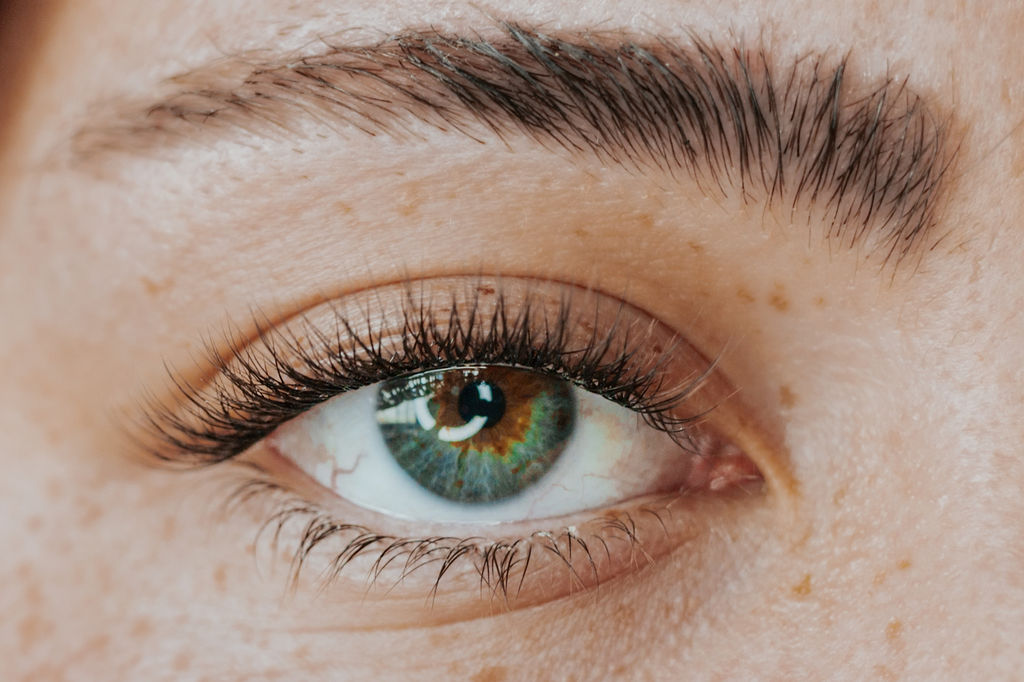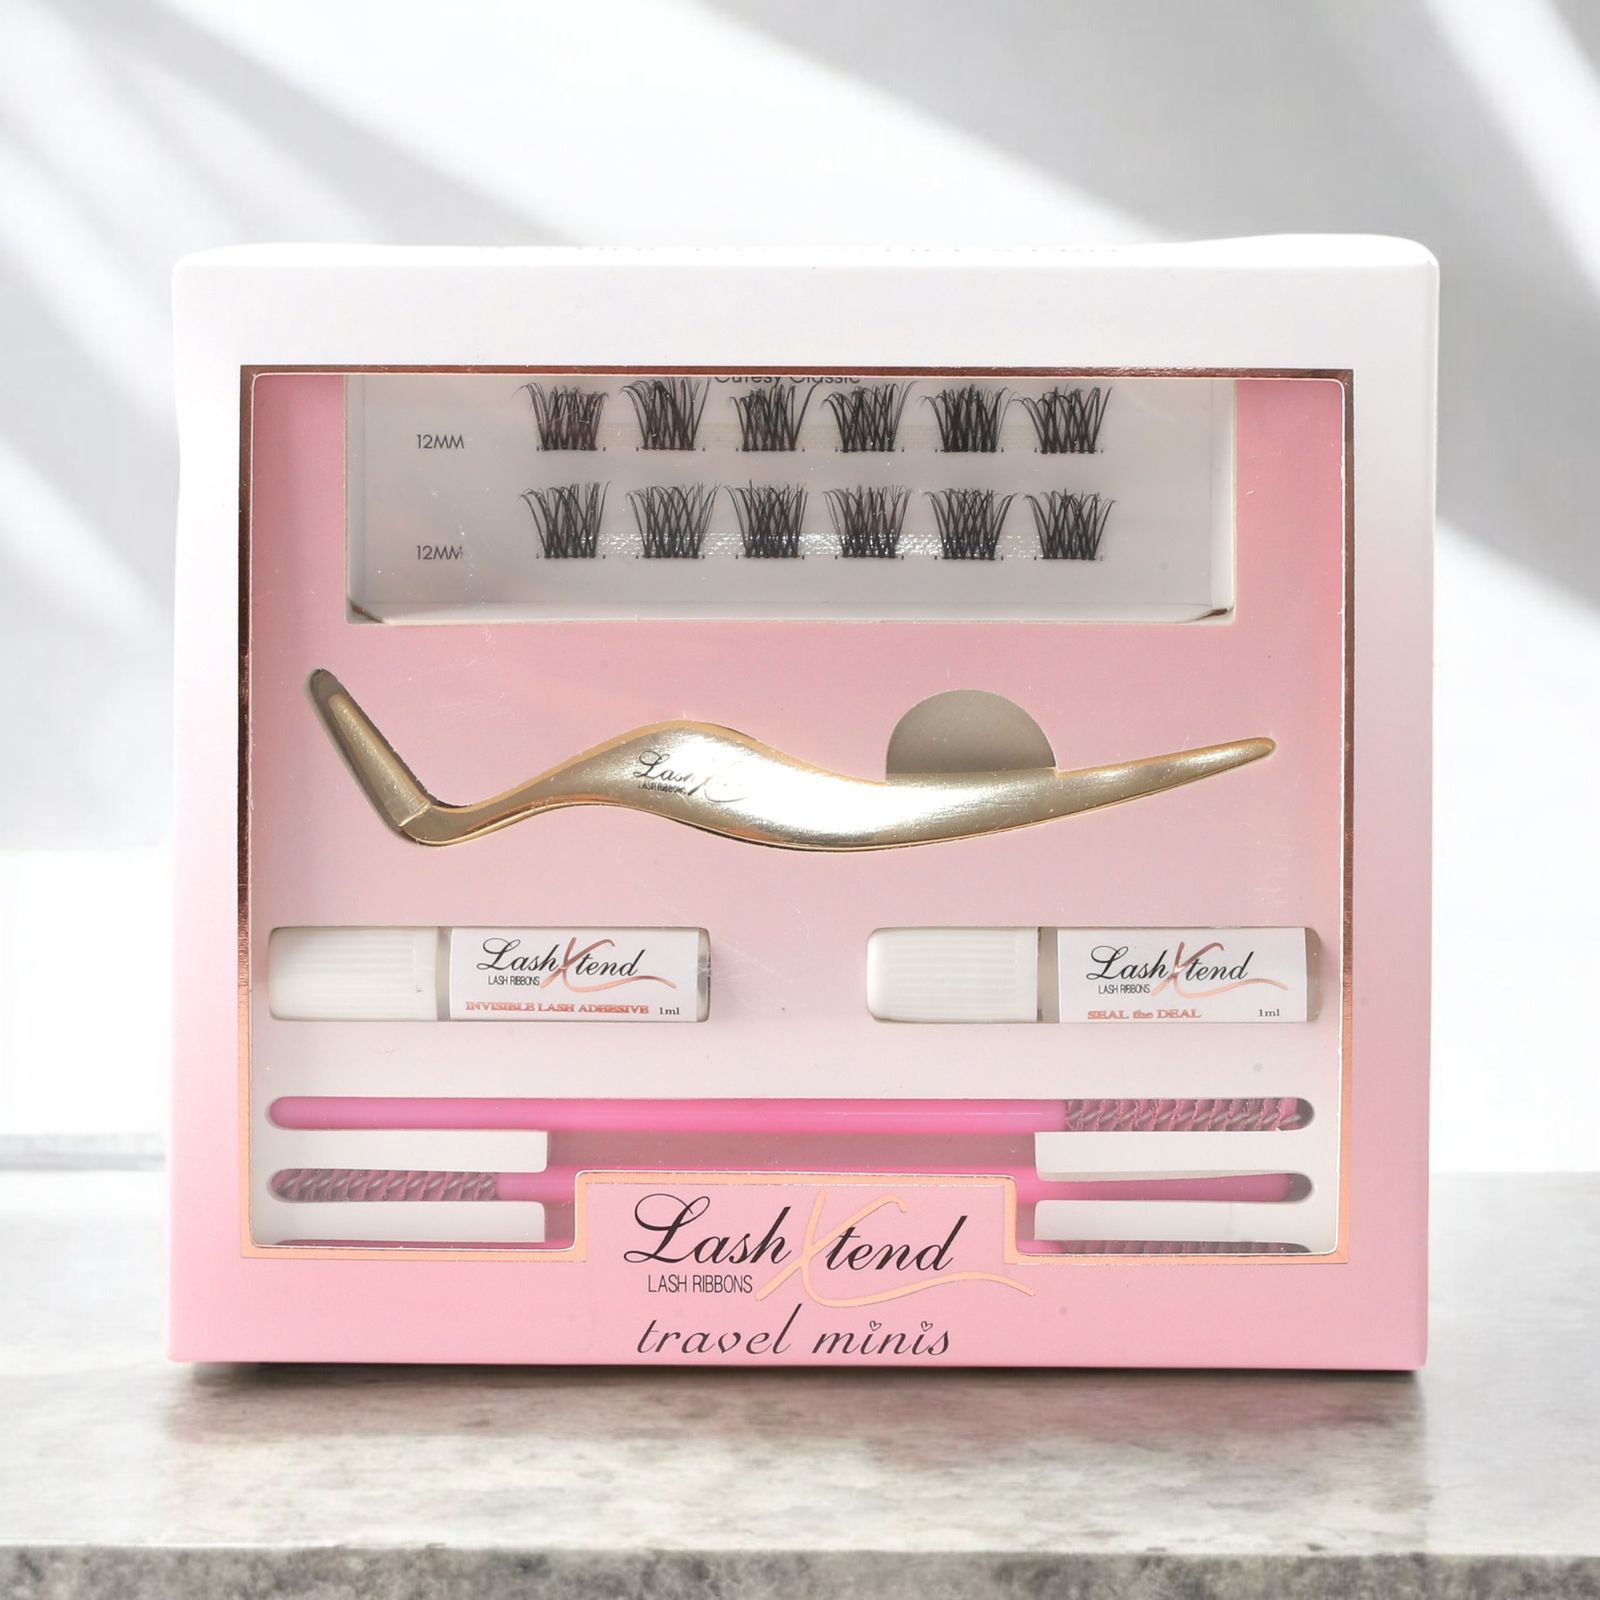
Travel Minis DIY Lash Kit
Product Benefits
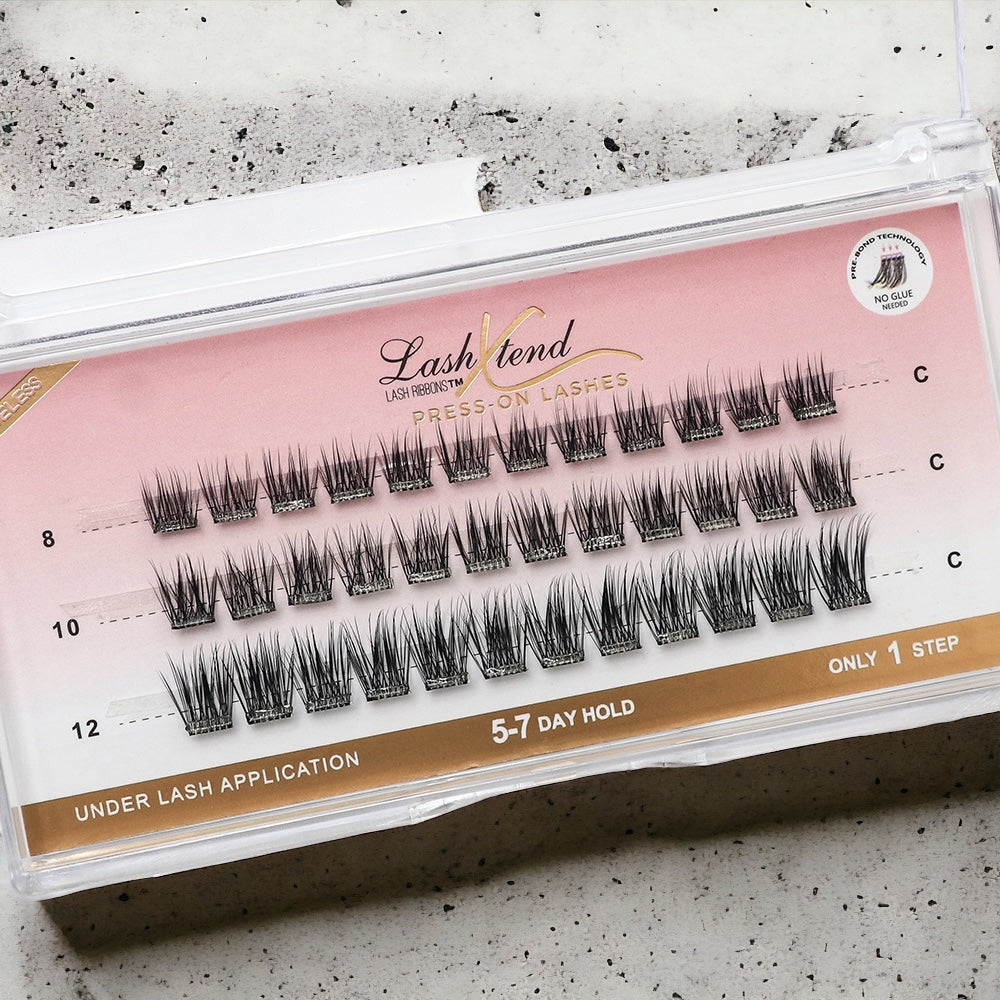
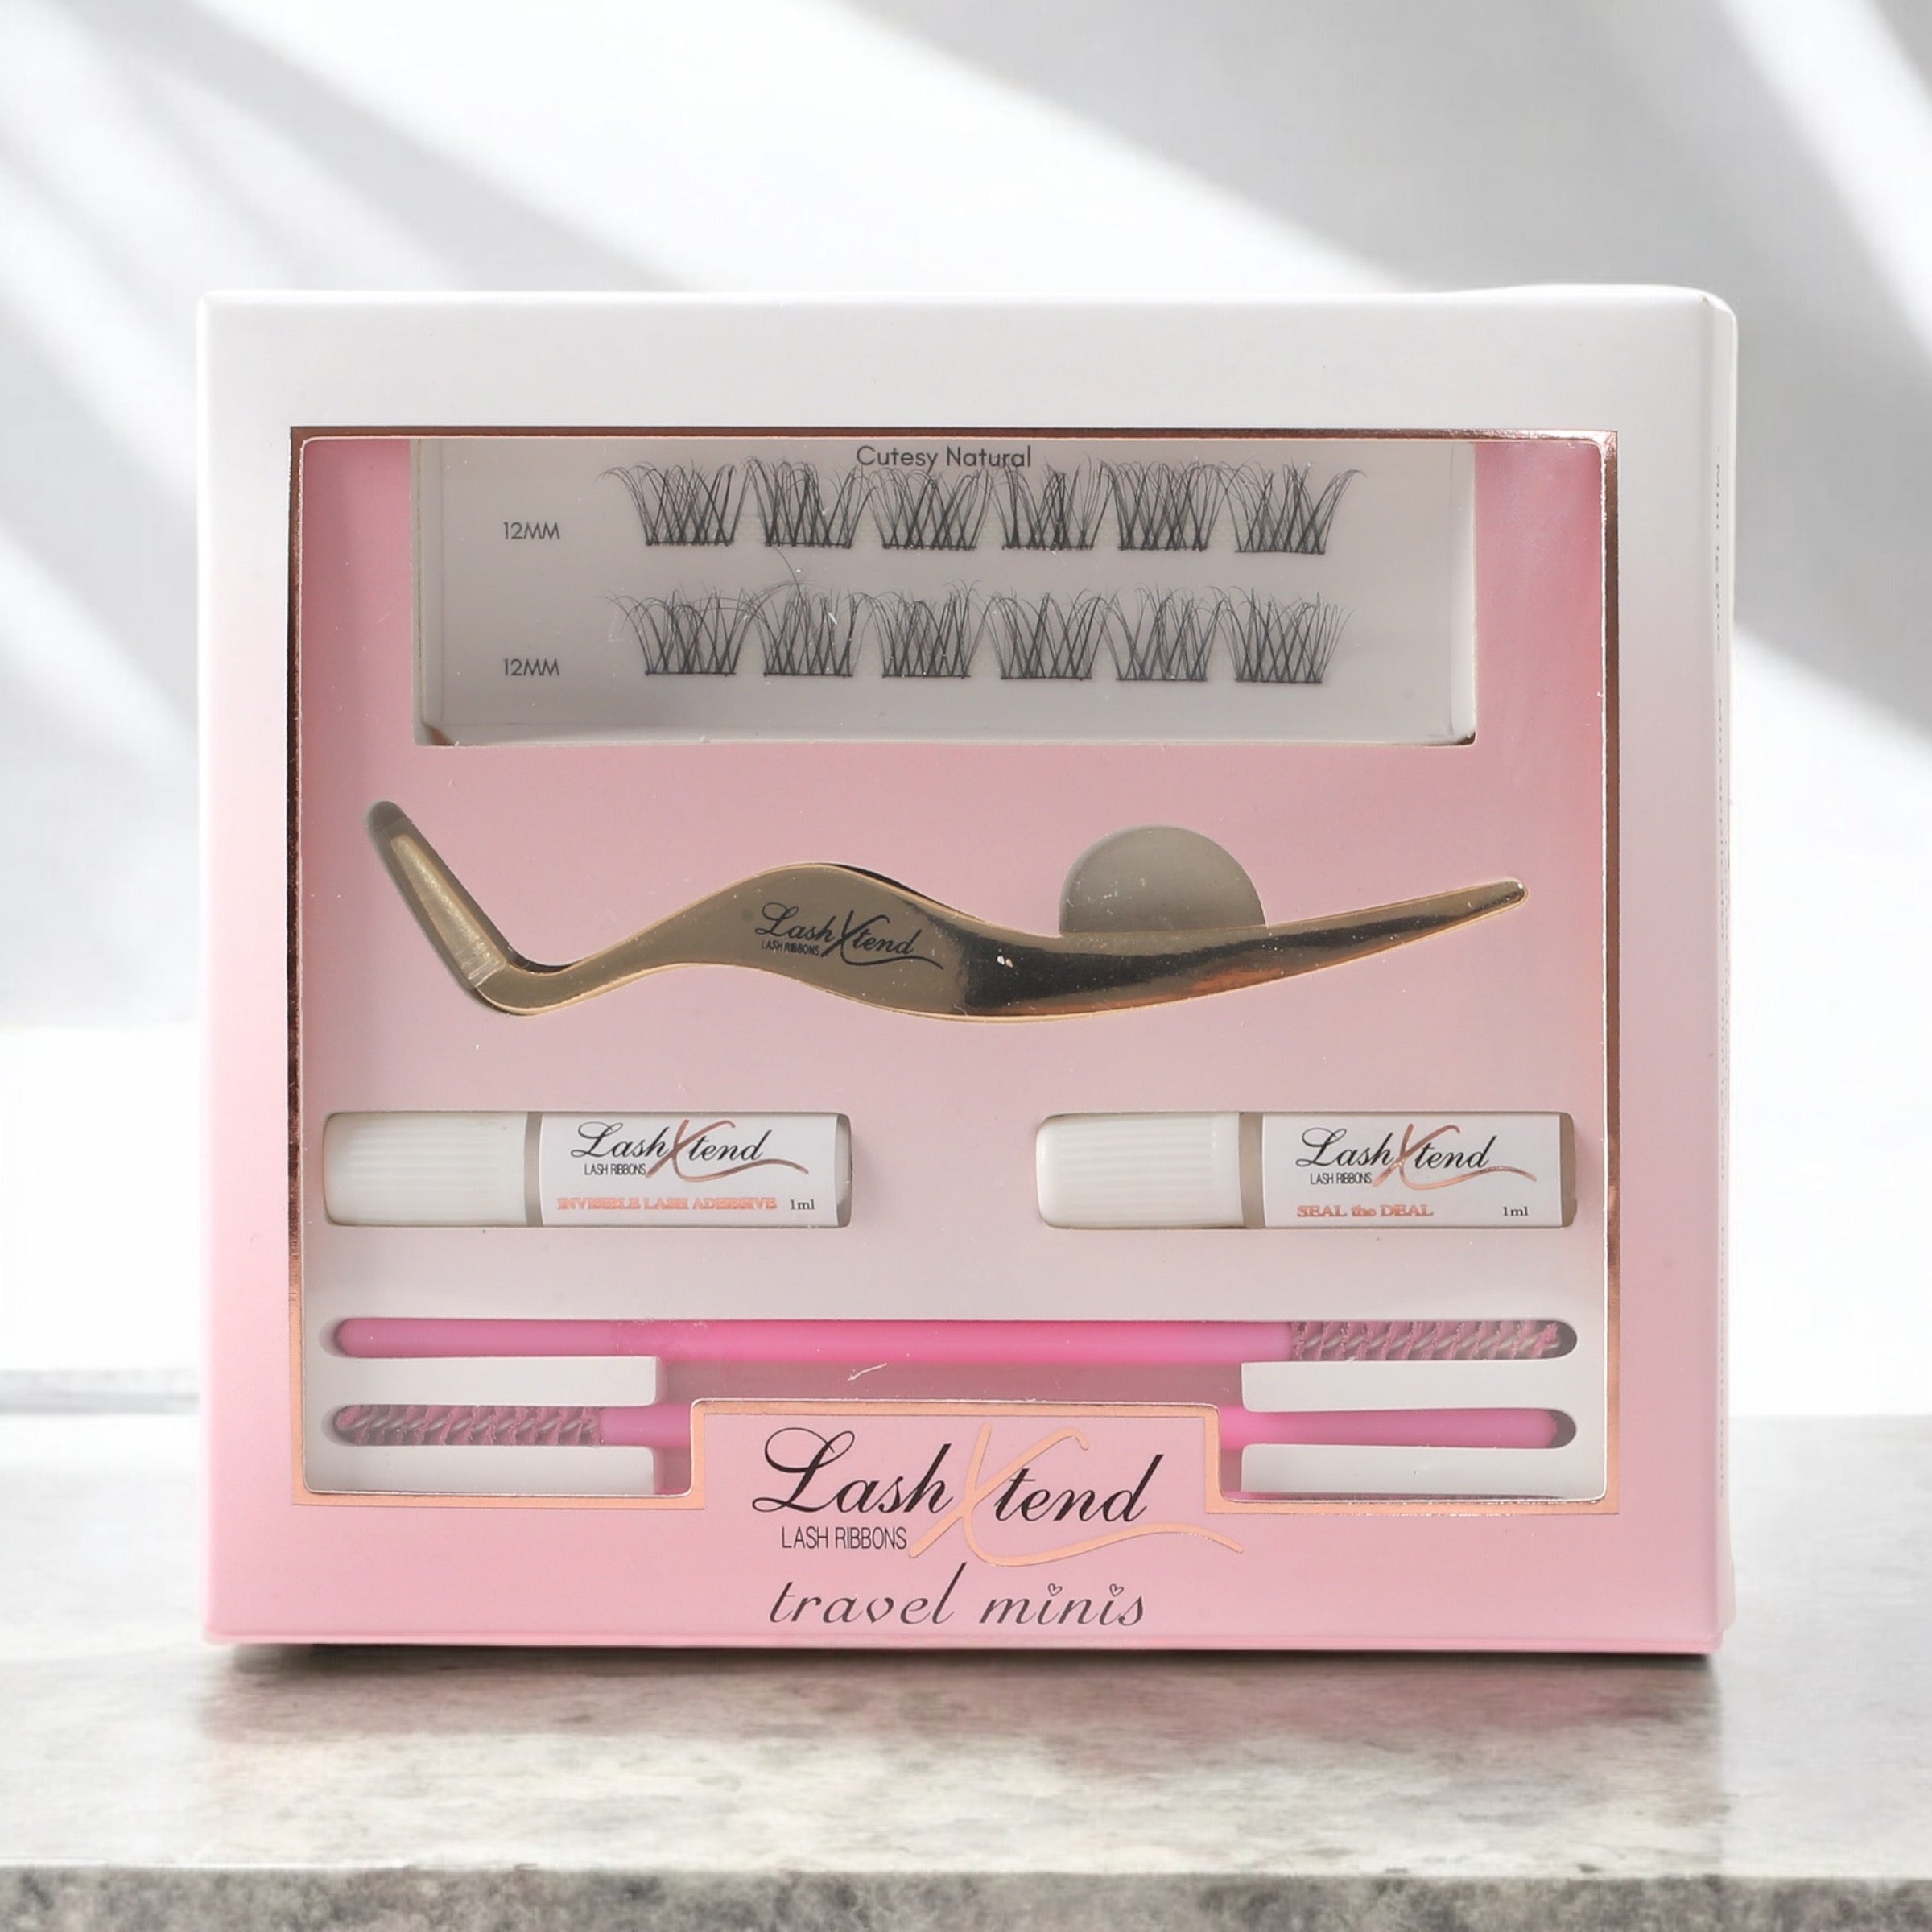
Introducing the Travel Minis DIY Lash Kit – your all-in-one solution for stunning lashes on the go. This compact kit is perfect for quick touch-ups or creating a full lash look no matter where you are.
Kit contains:
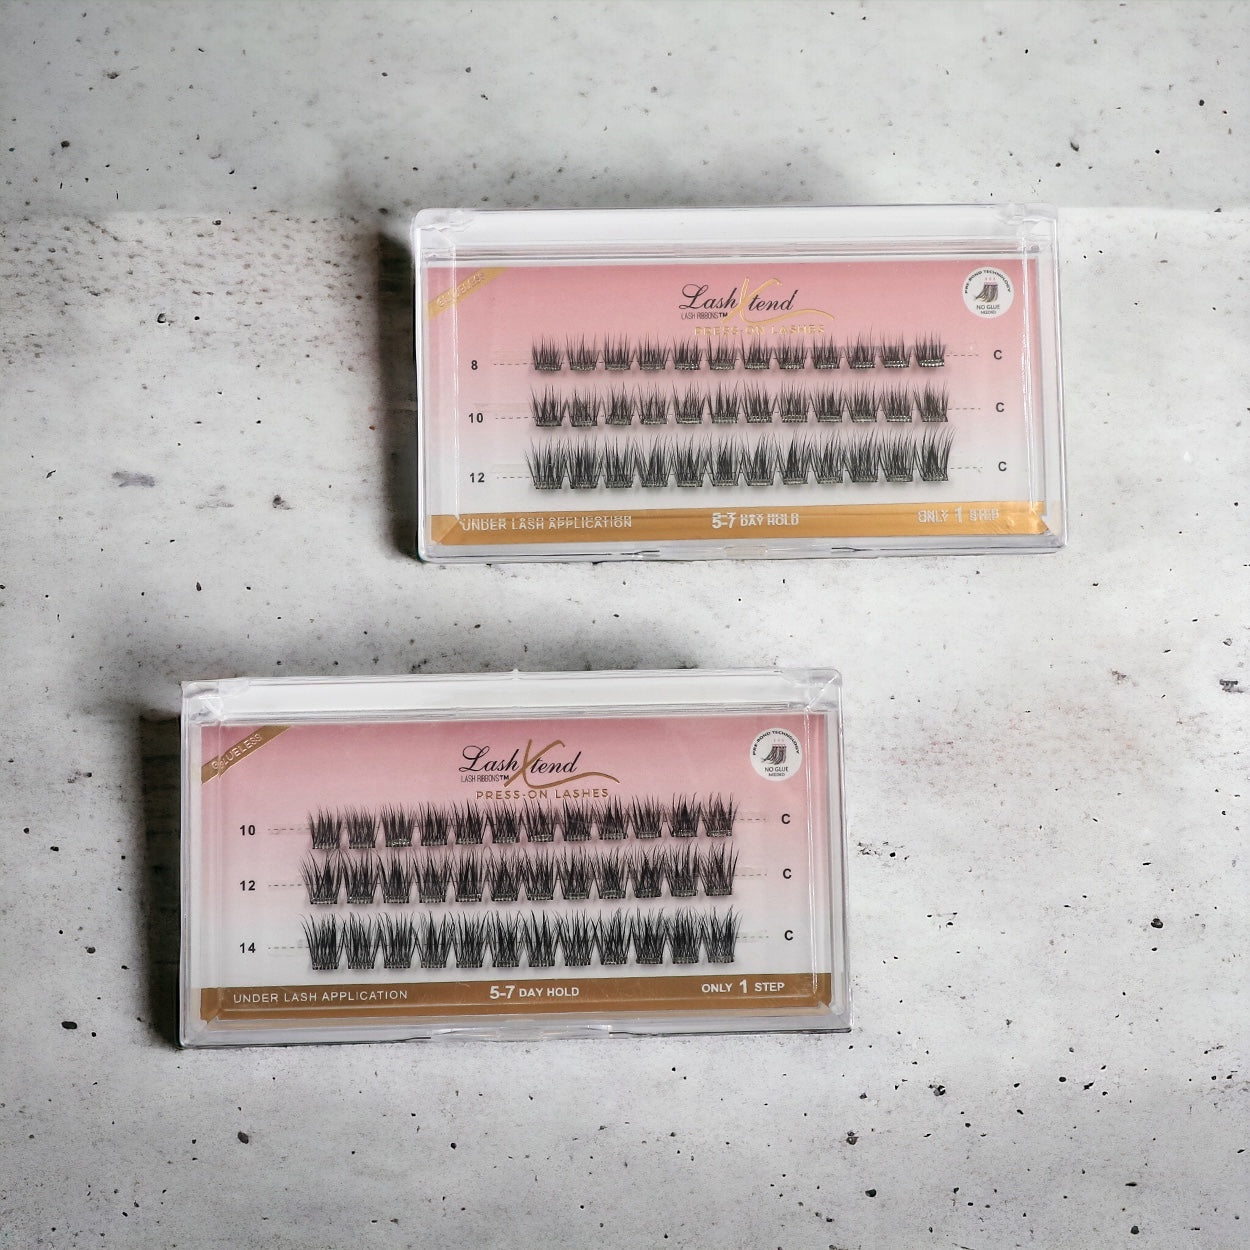
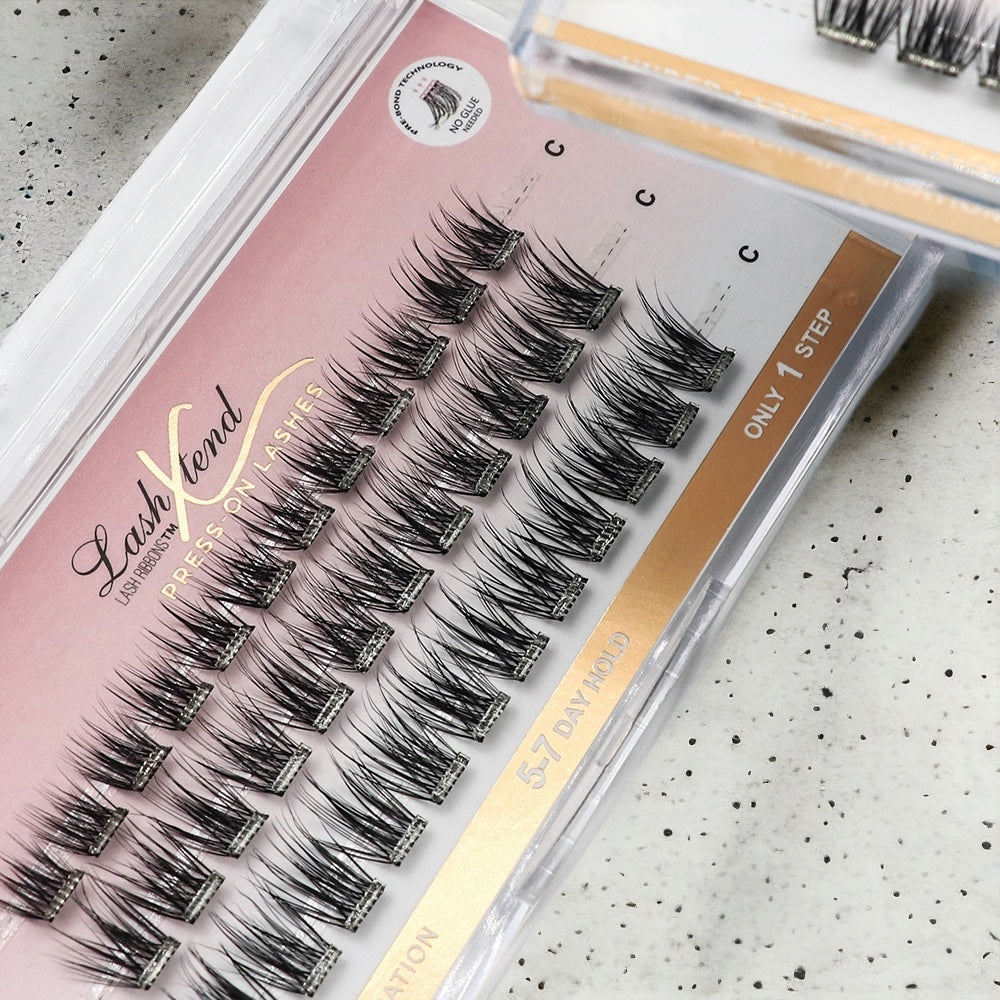
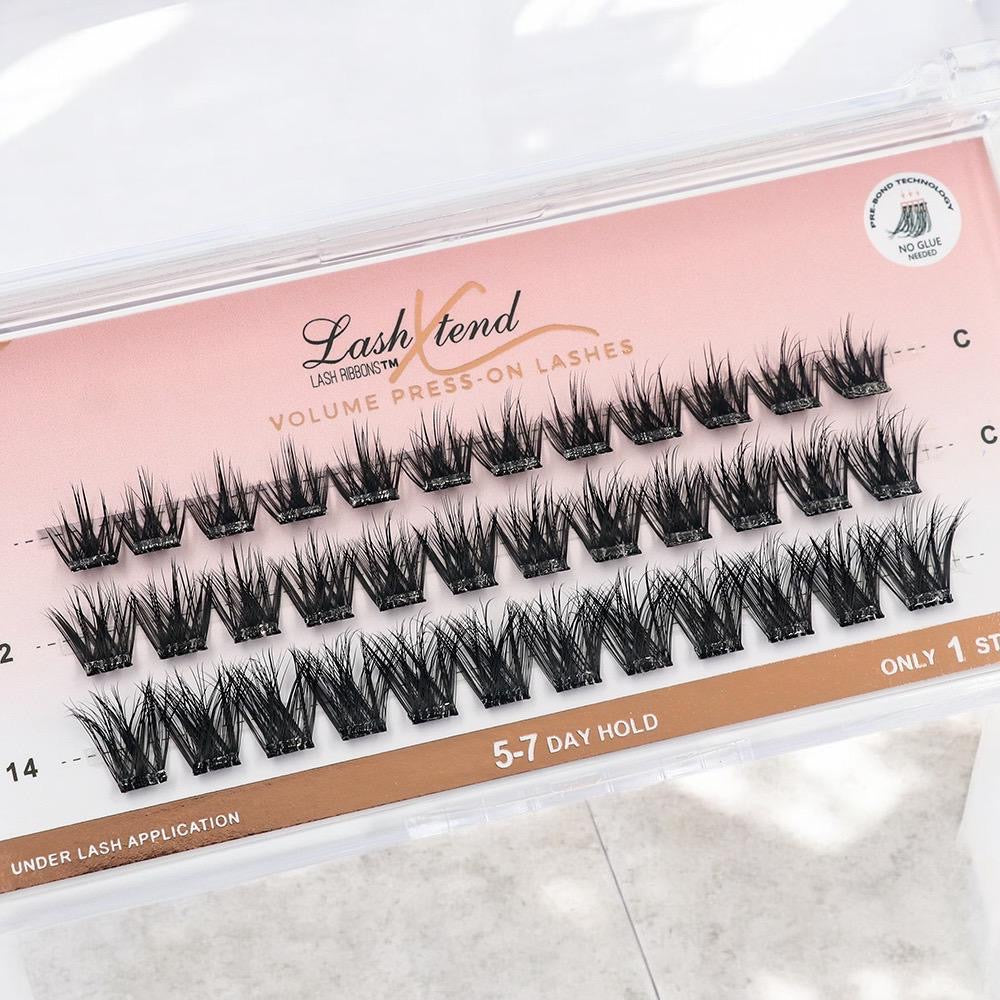
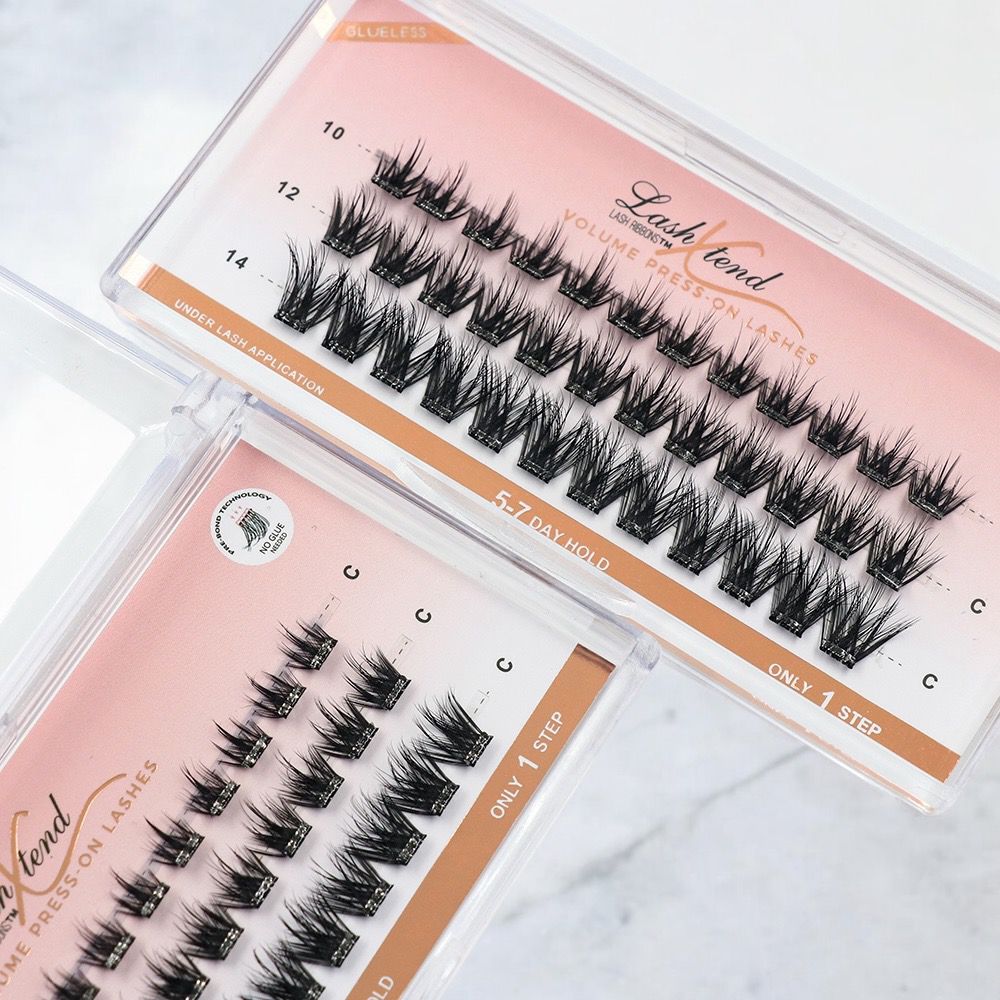
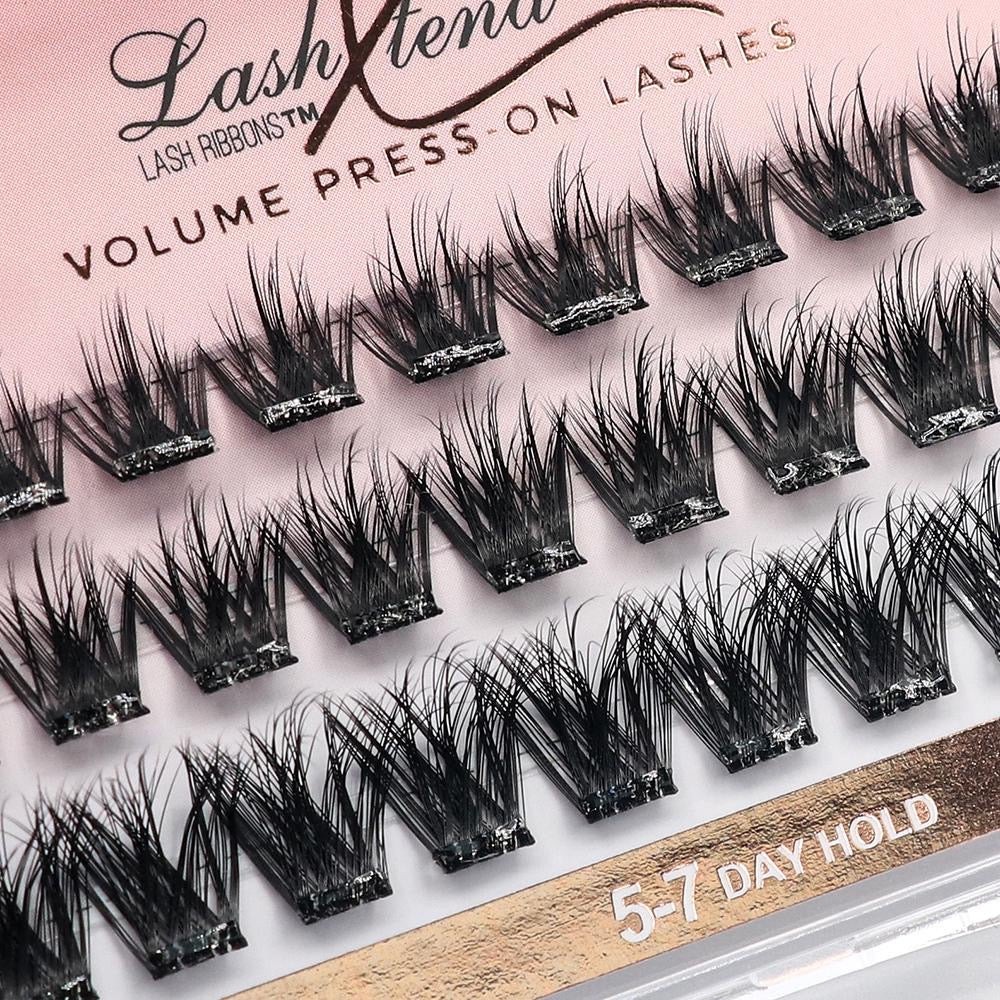
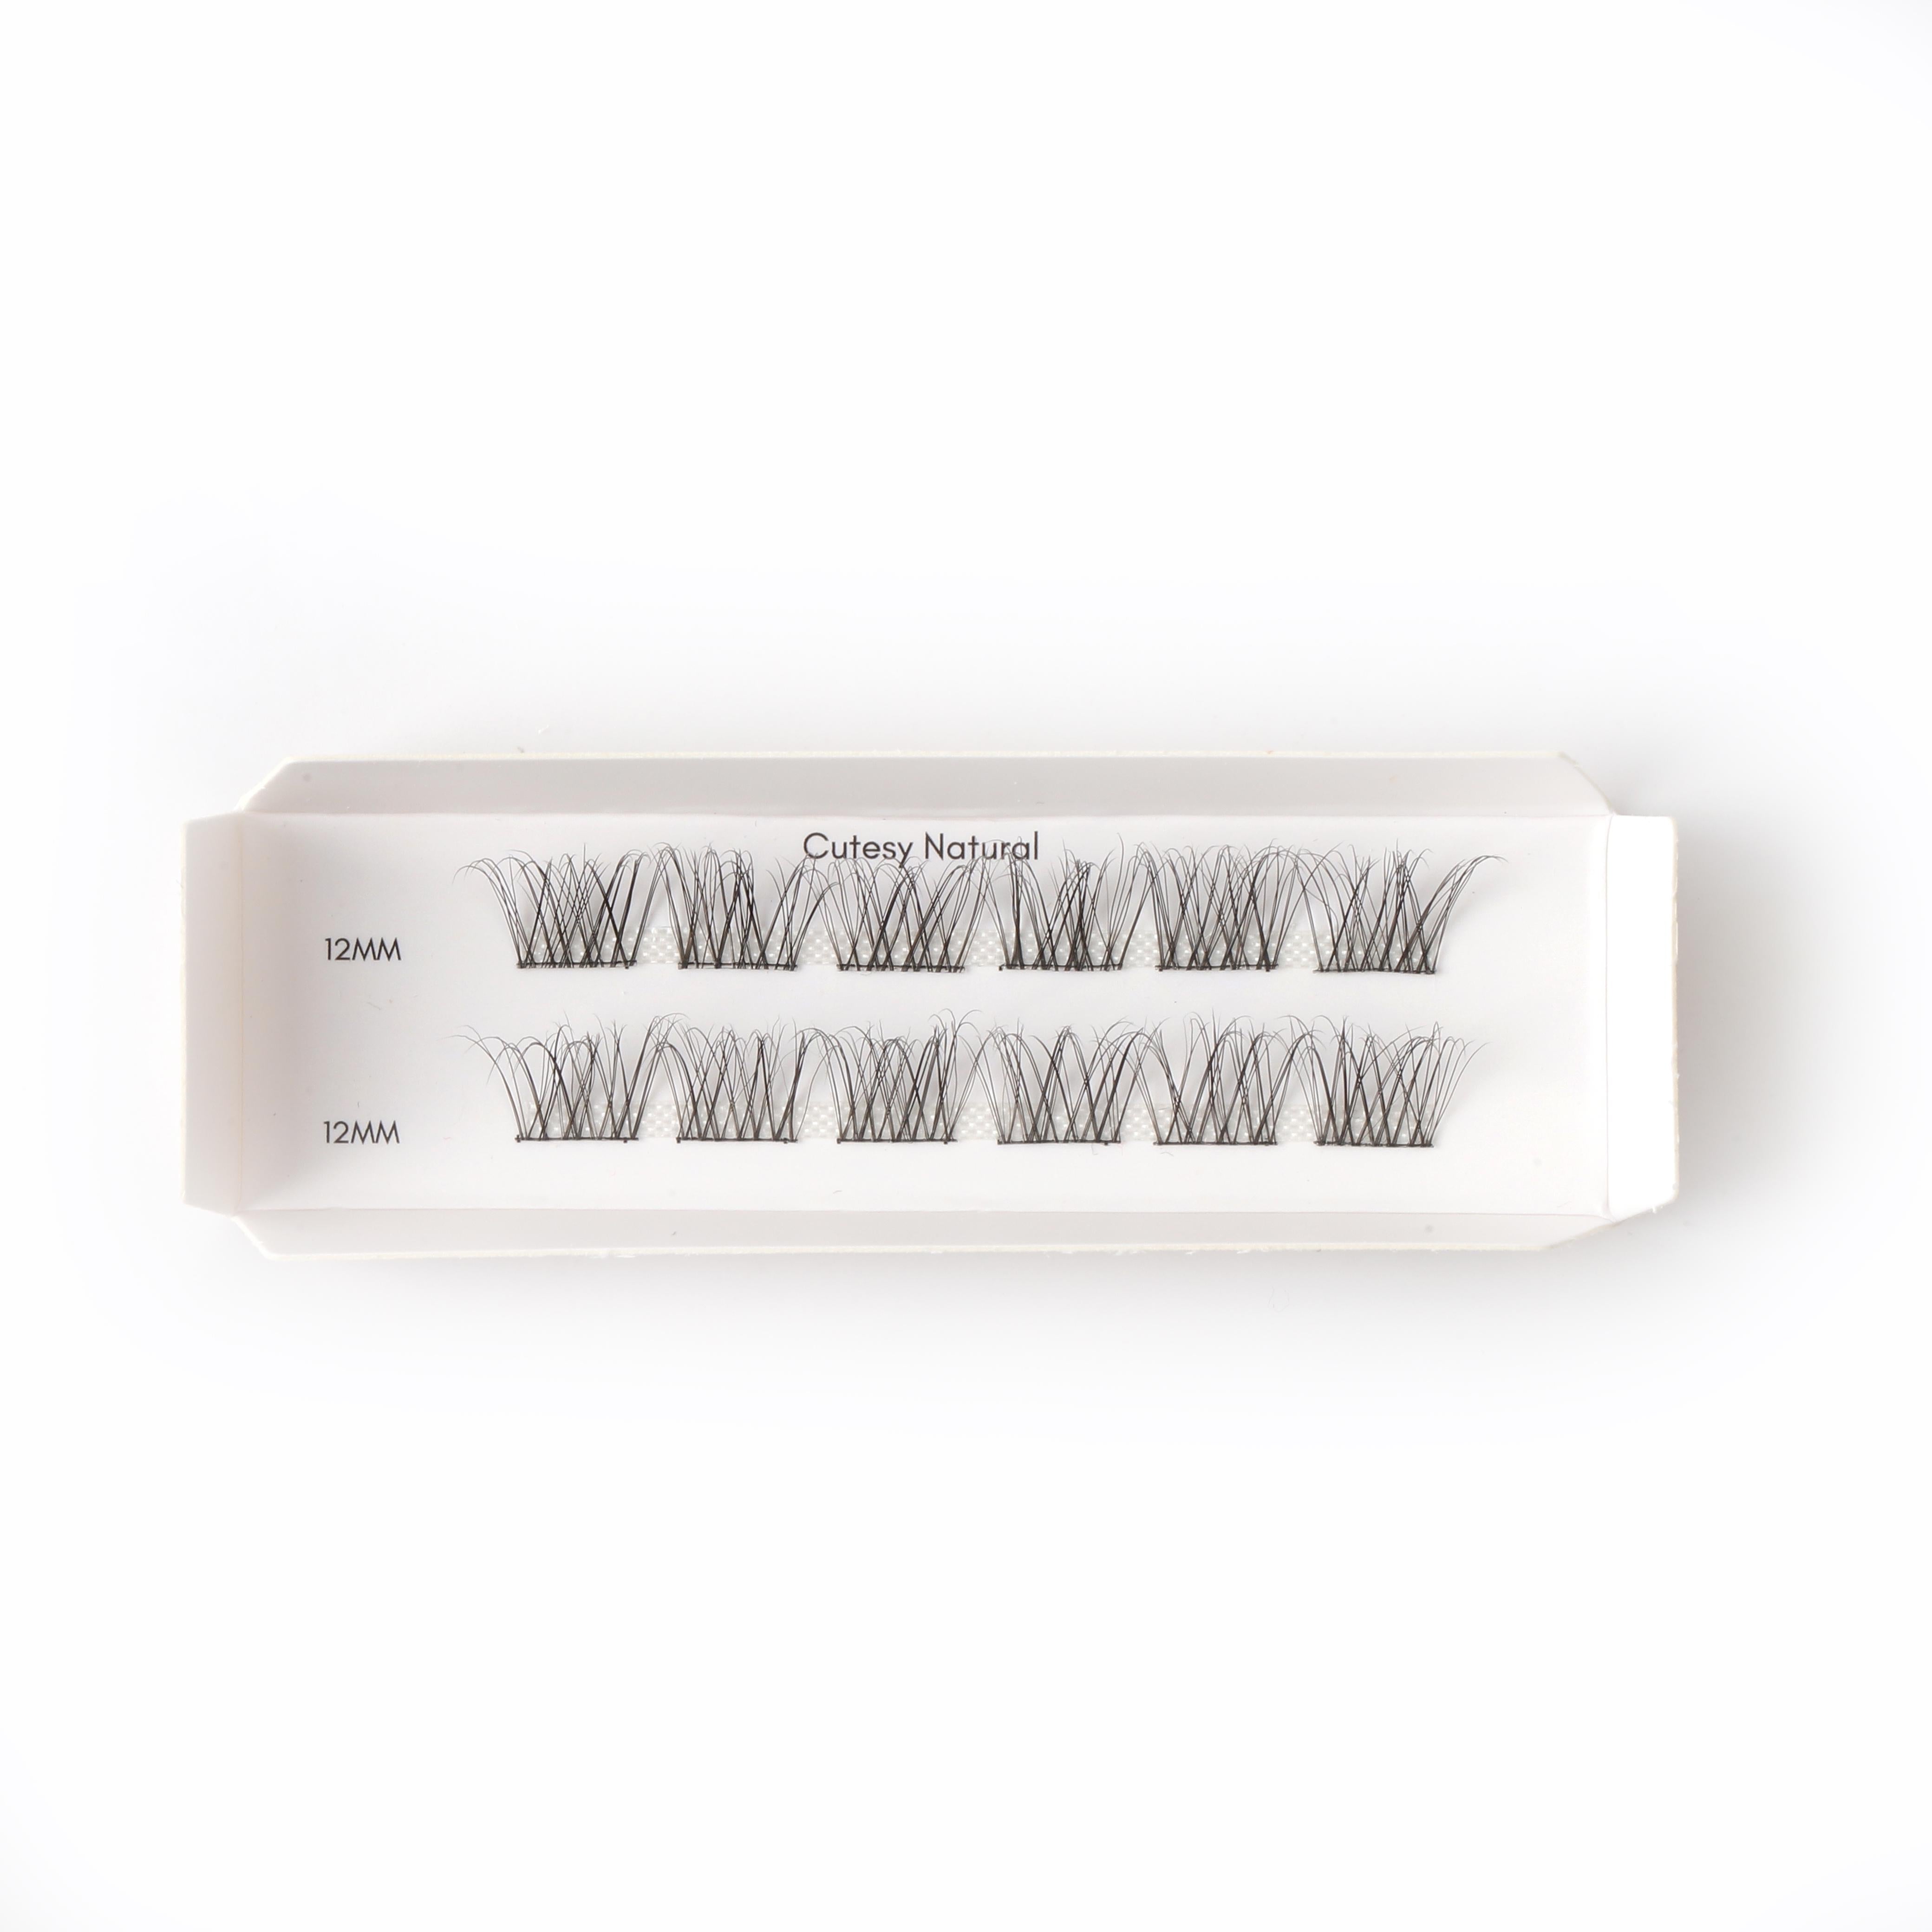
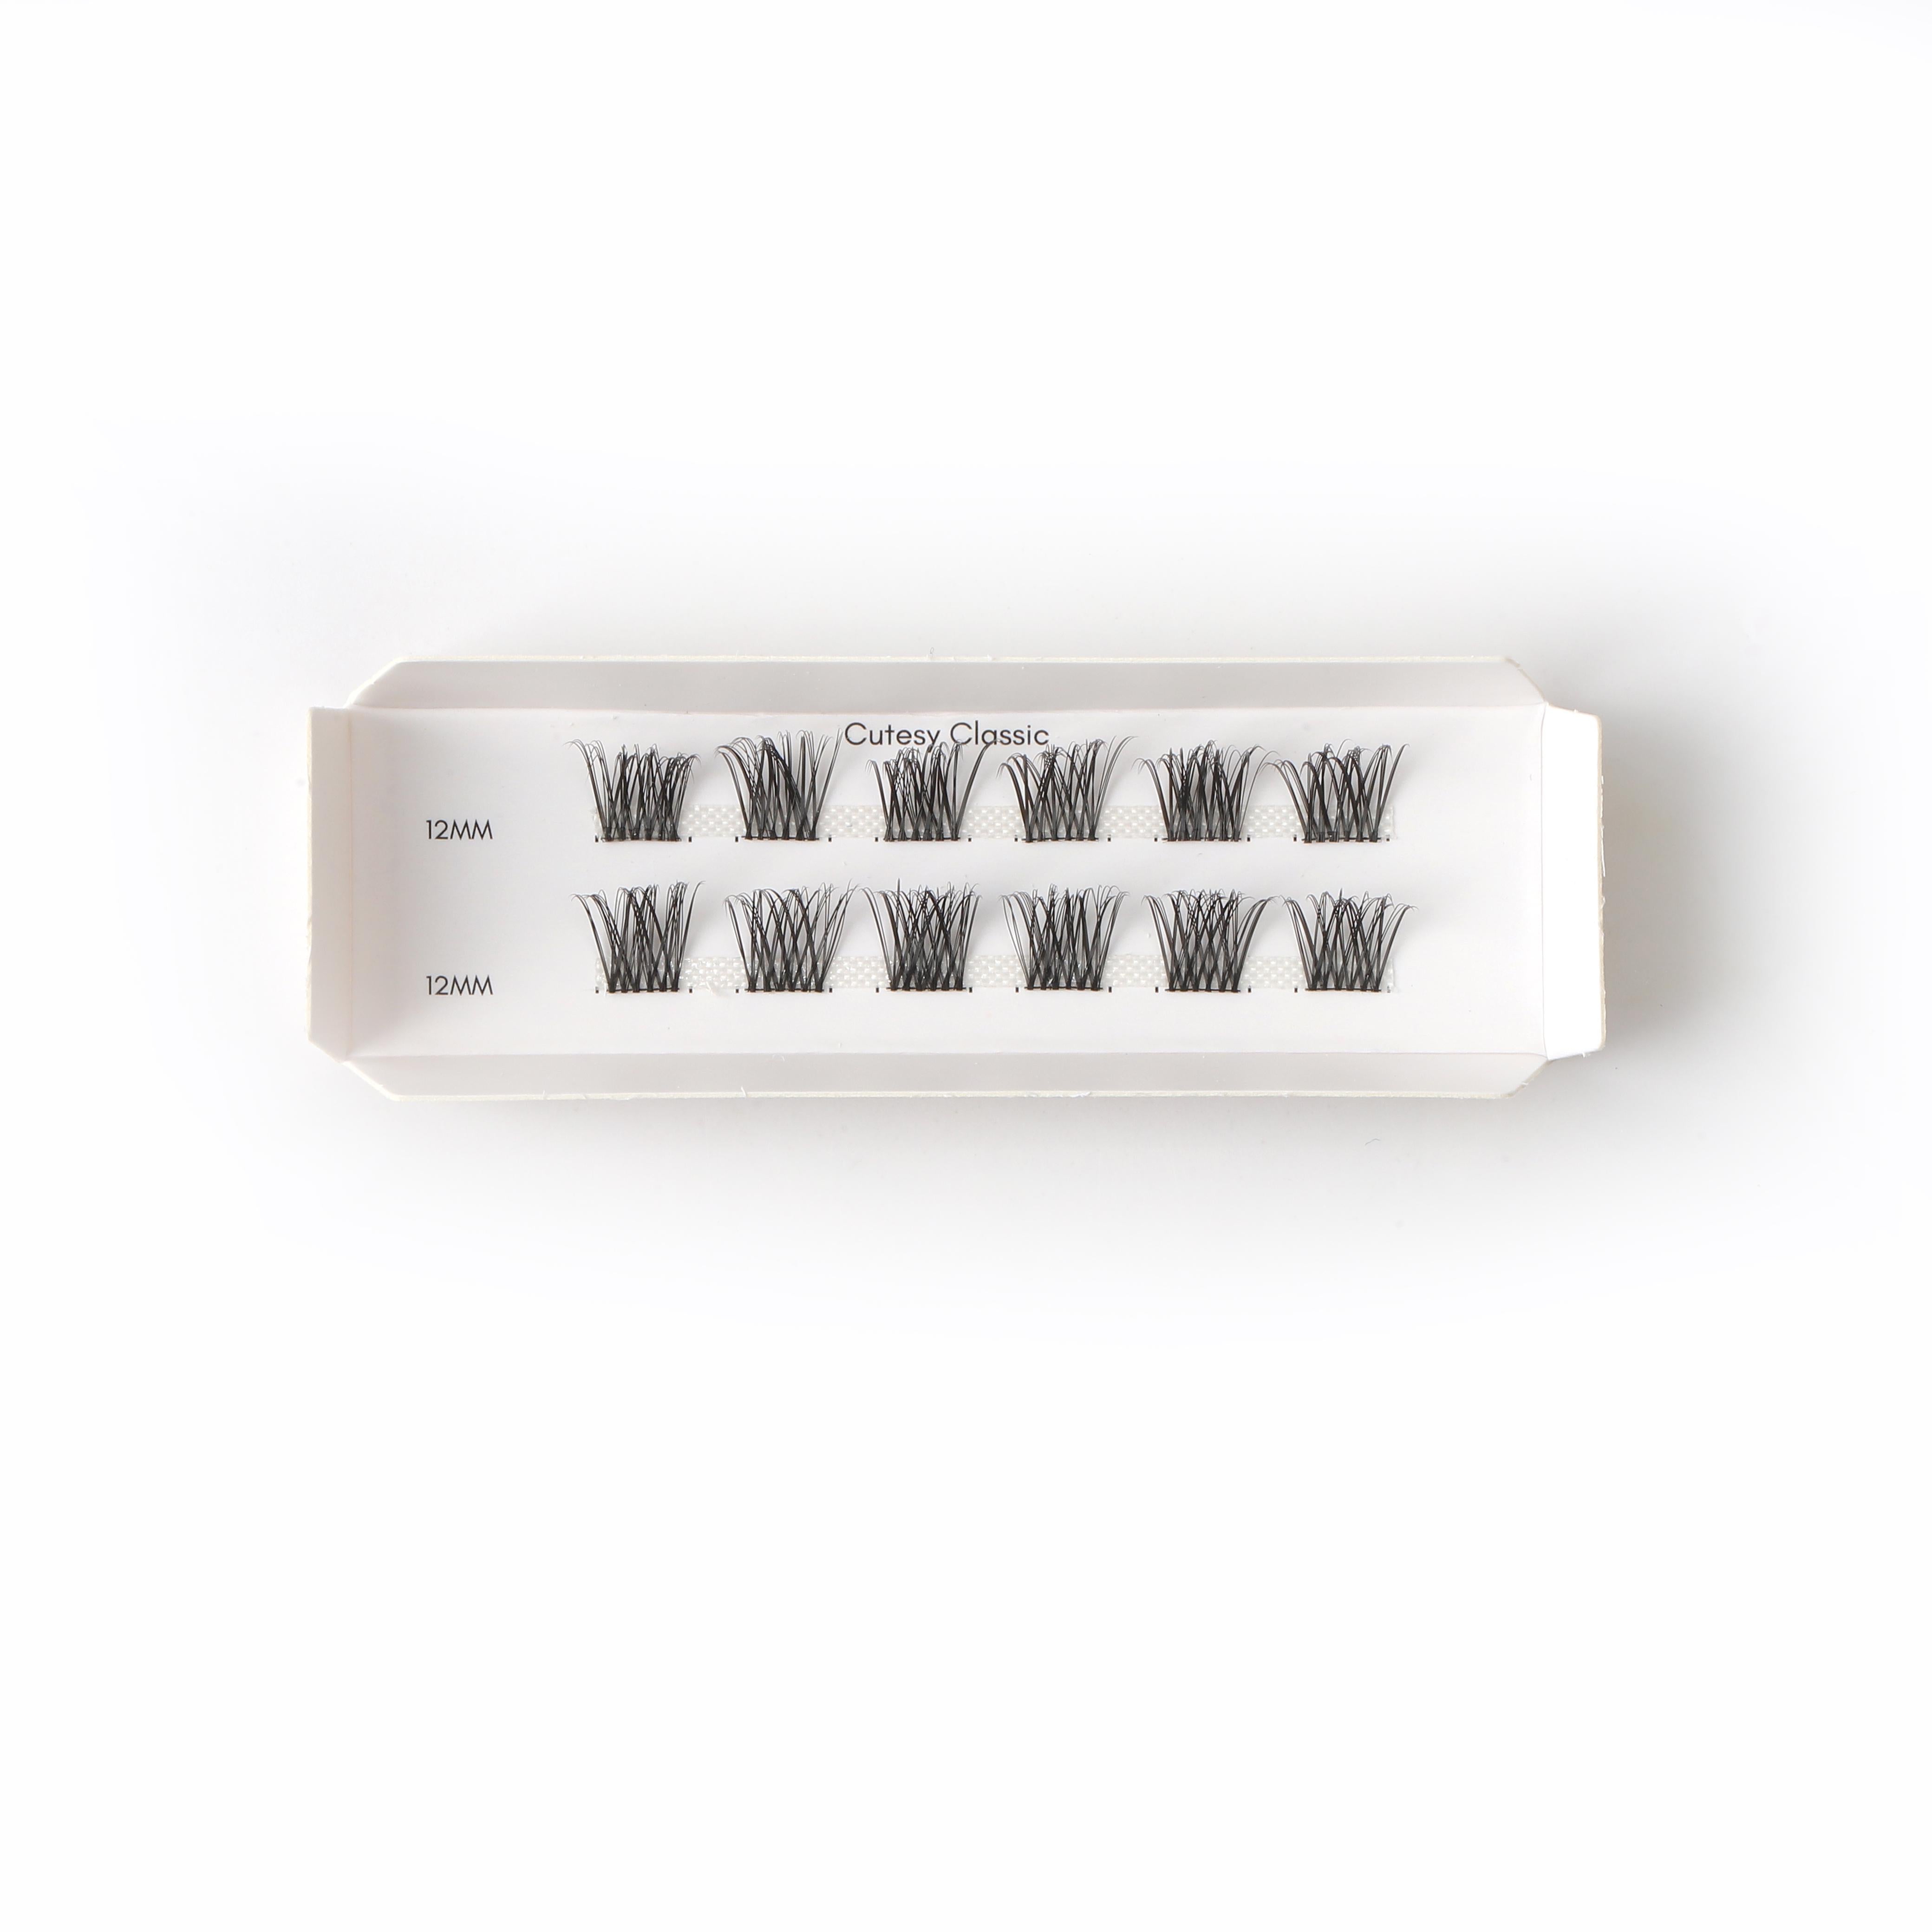
- 12 x 12 mm Lash Segments: Customizable for your desired lash style
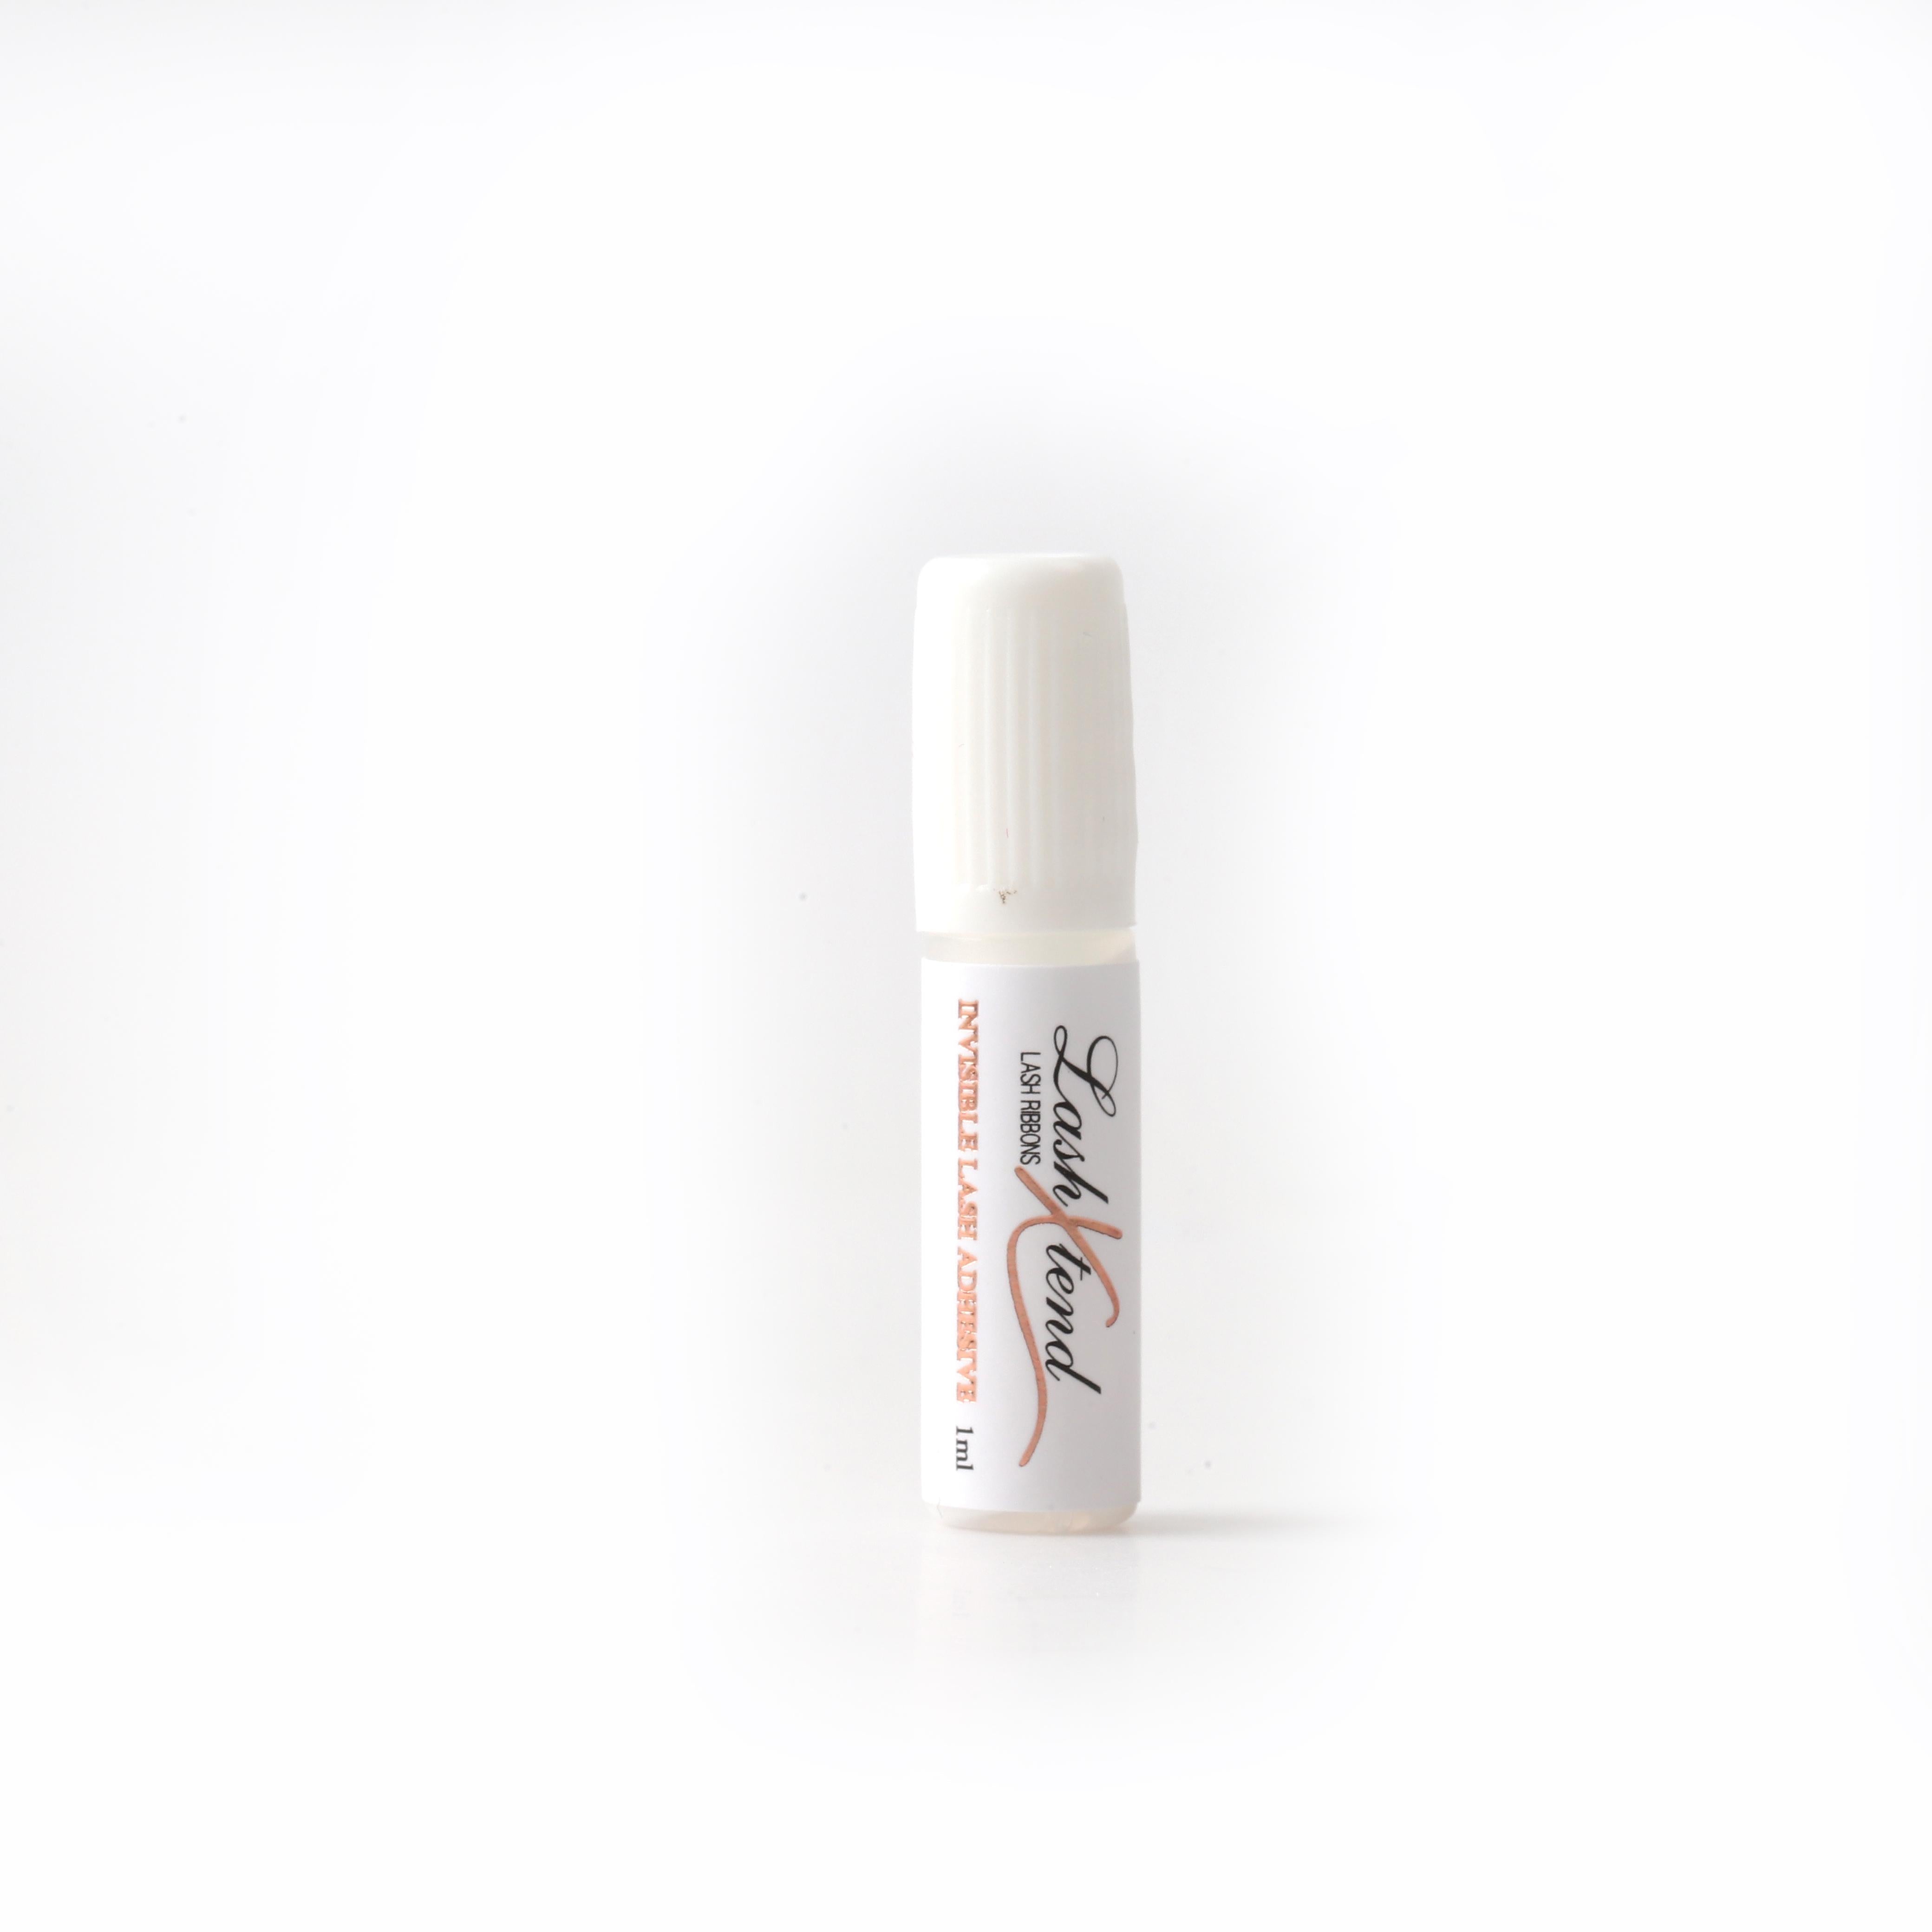
- 1ml Invisible Glue: Secure, long-lasting hold with a seamless finish
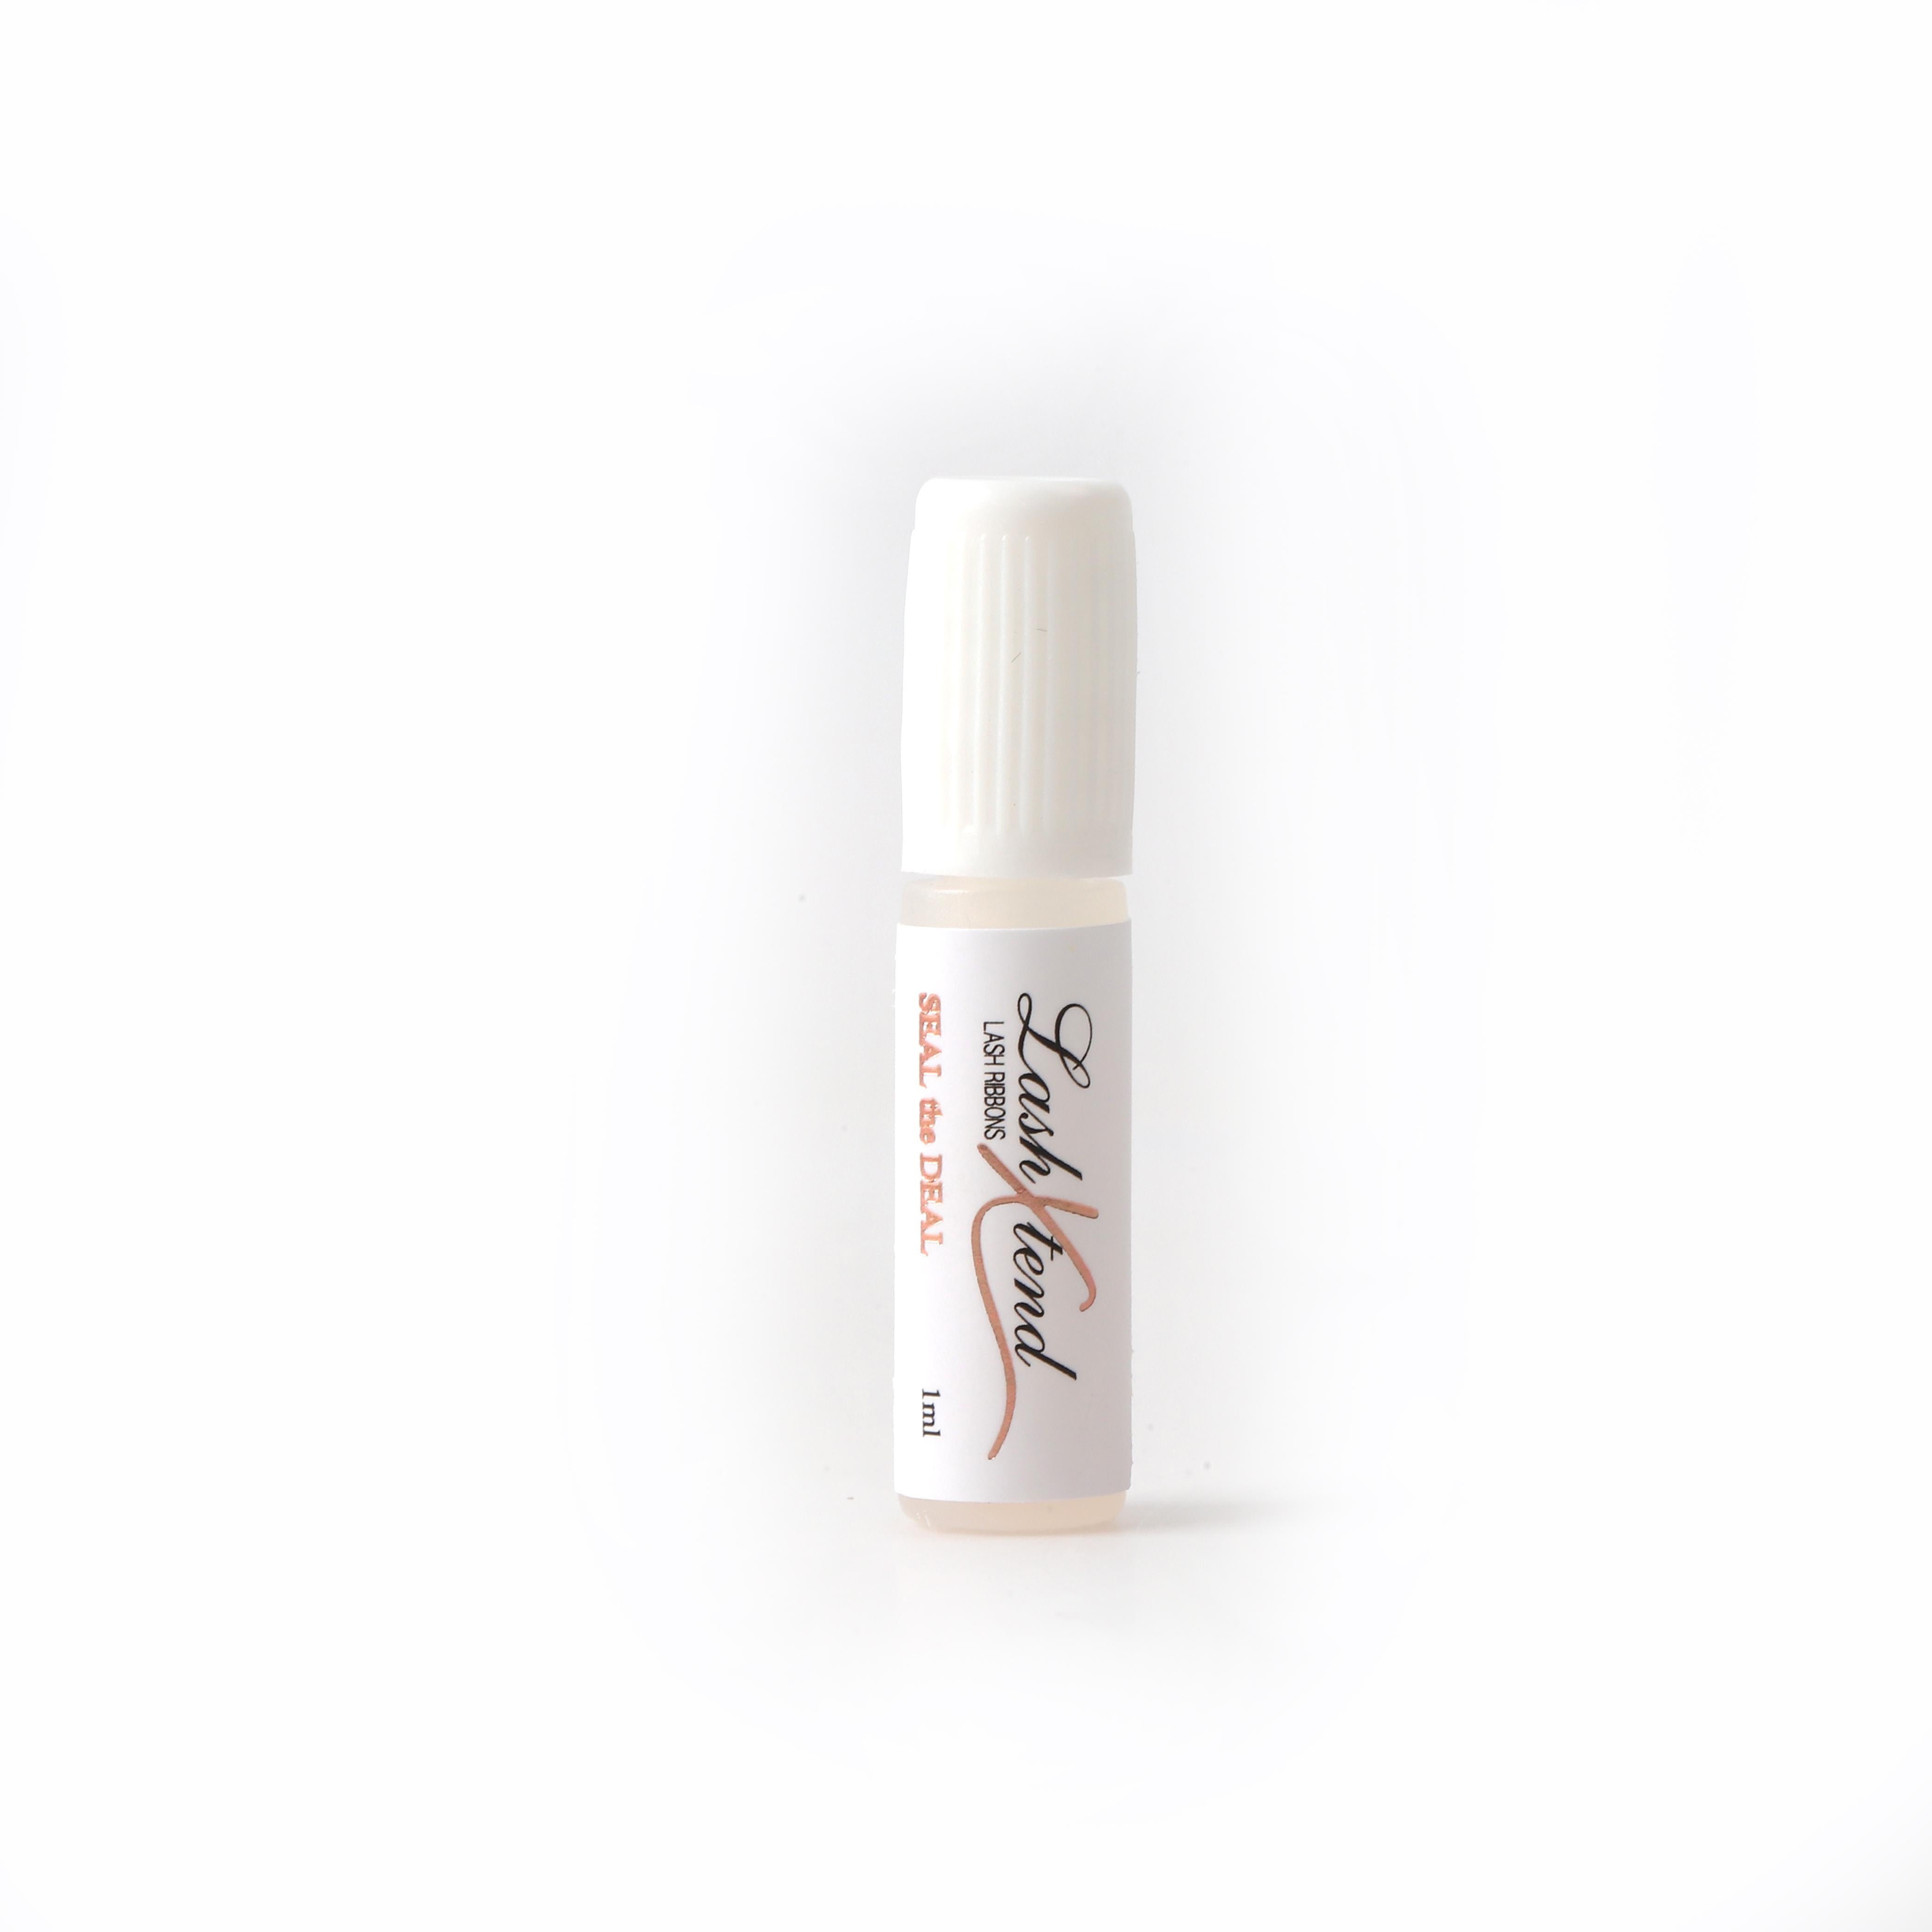
- 1ml Seal the Deal: Lock in your look for all-day wear
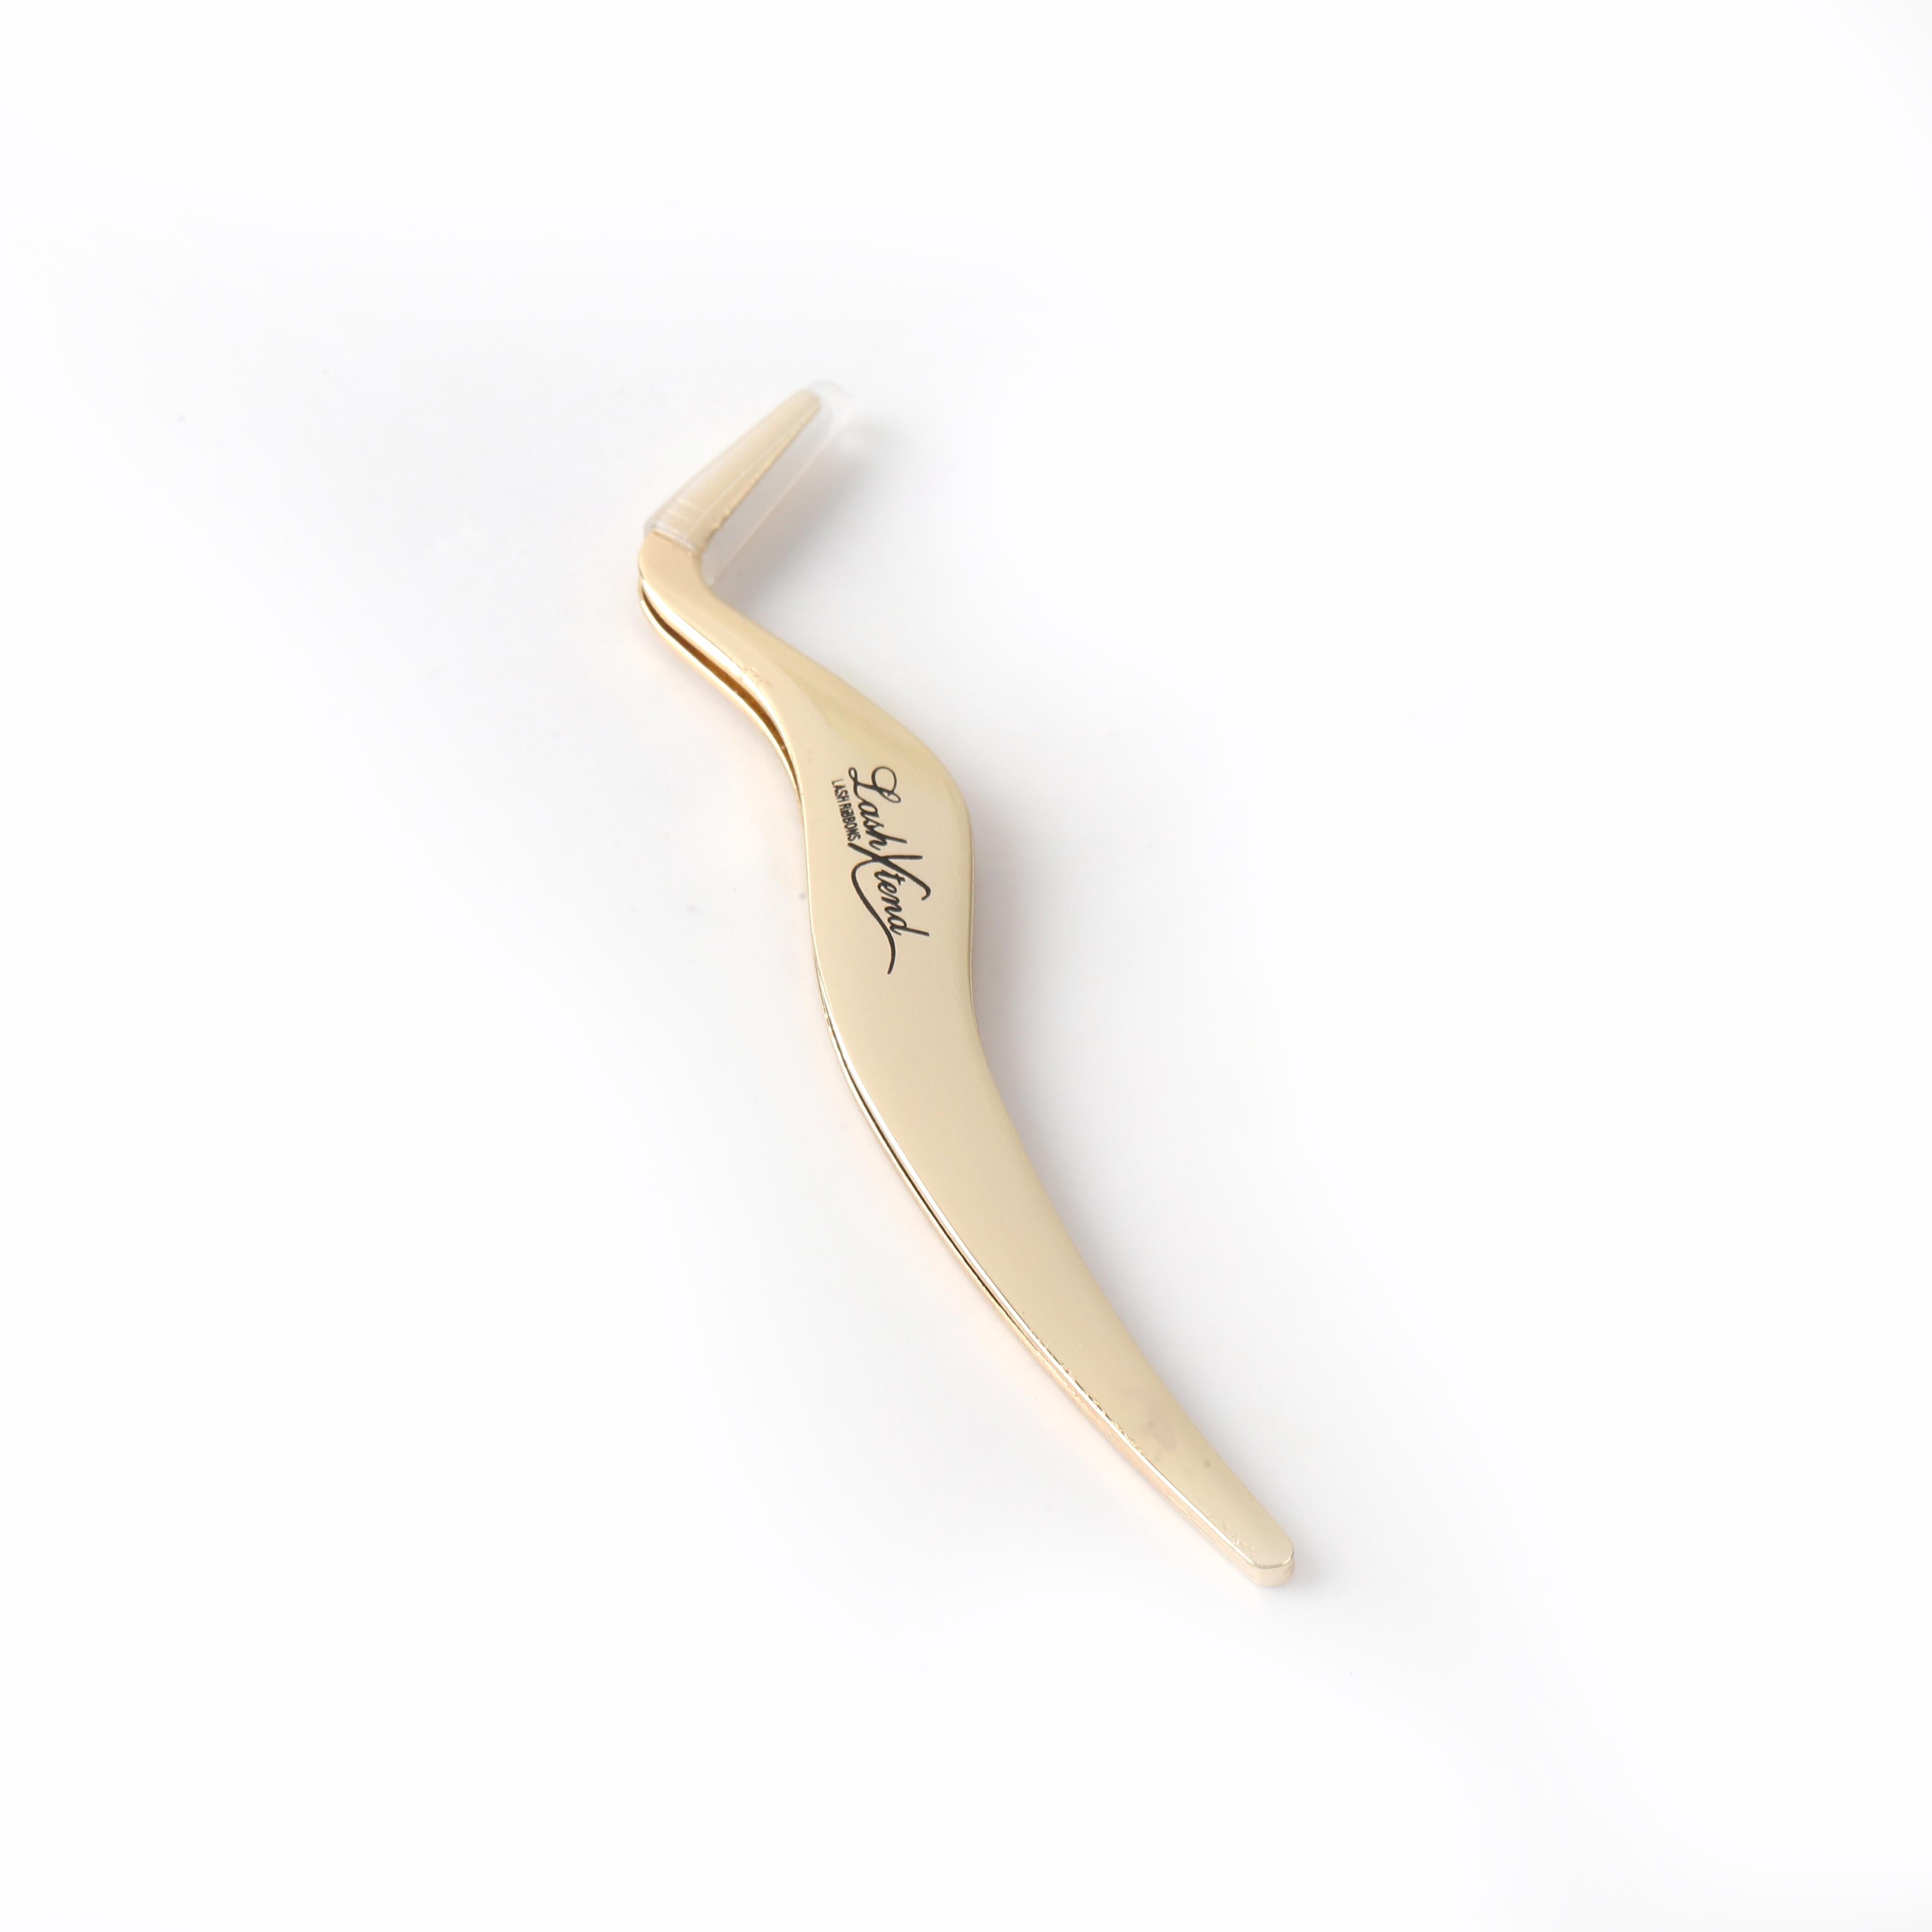
- 1x Mini Applicator: Precision tool for flawless lash placement
- 3x Disposable Application Brushes: Easy, hygienic touch-ups with each use
Achieve salon-worthy lashes anywhere with ease!
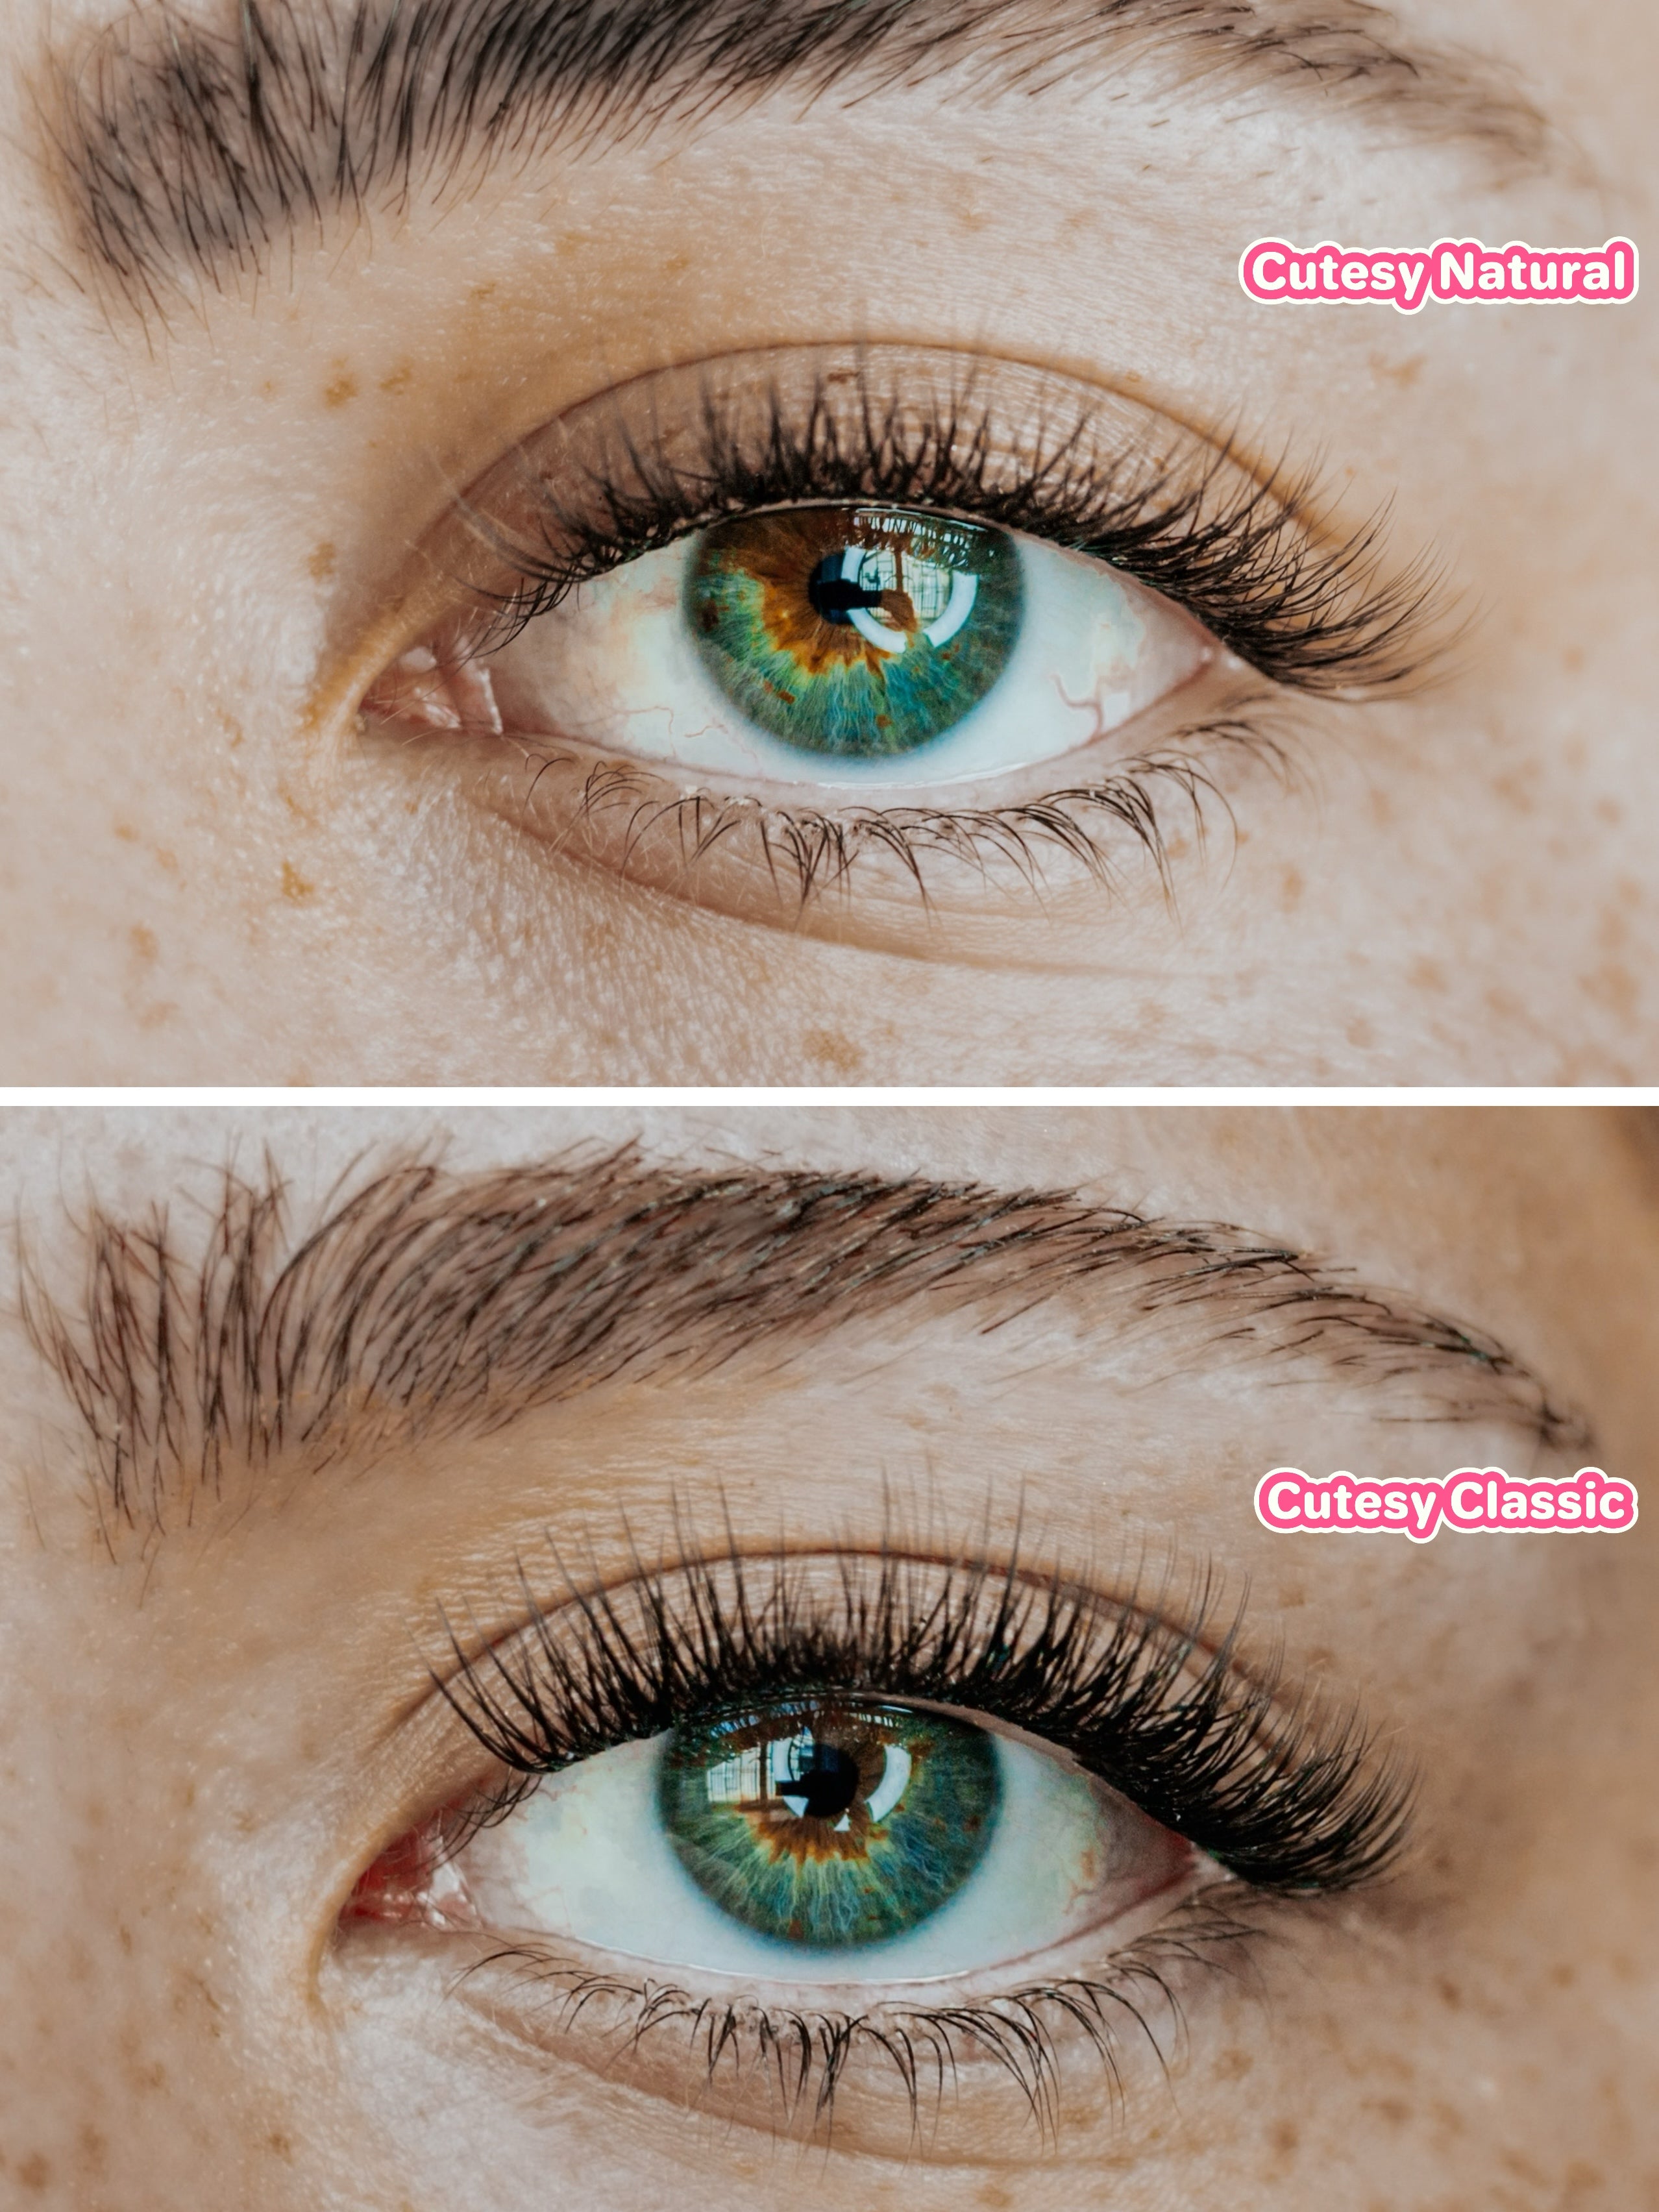
Disclaimer: Please note that lash results may vary as eye shapes and natural lashes differ from person to person. Images shown on our website are for illustrative purposes and should be used as a guide only.
Please note that all our lashes are handmade, so slight differences may occur from batch to batch. This is not a defect, but rather perfectly normal.
For hygiene reasons, lashes that have been opened or used are non-refundable.
Bundle Up - Get 10% Off
Essential Lash Tools

Travel Minis DIY Lash Kit
Everything in one scroll.
Full Lash Range
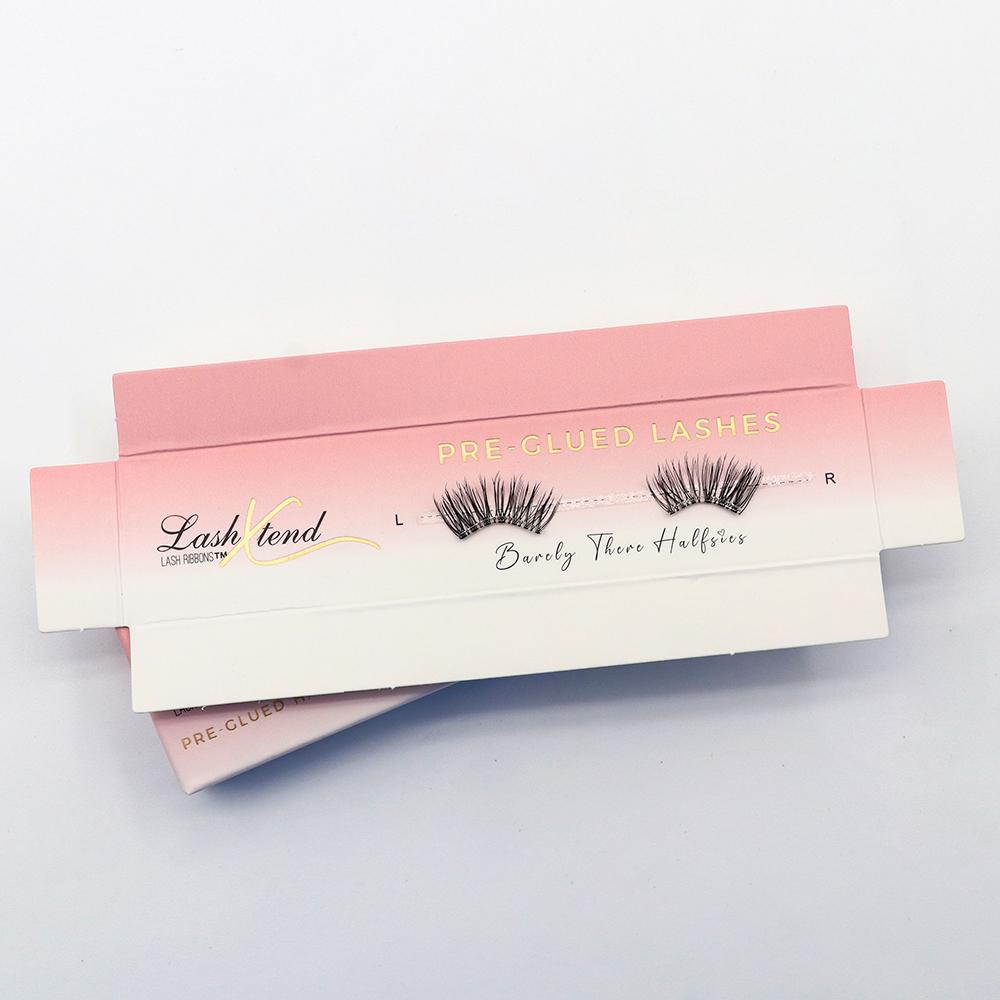
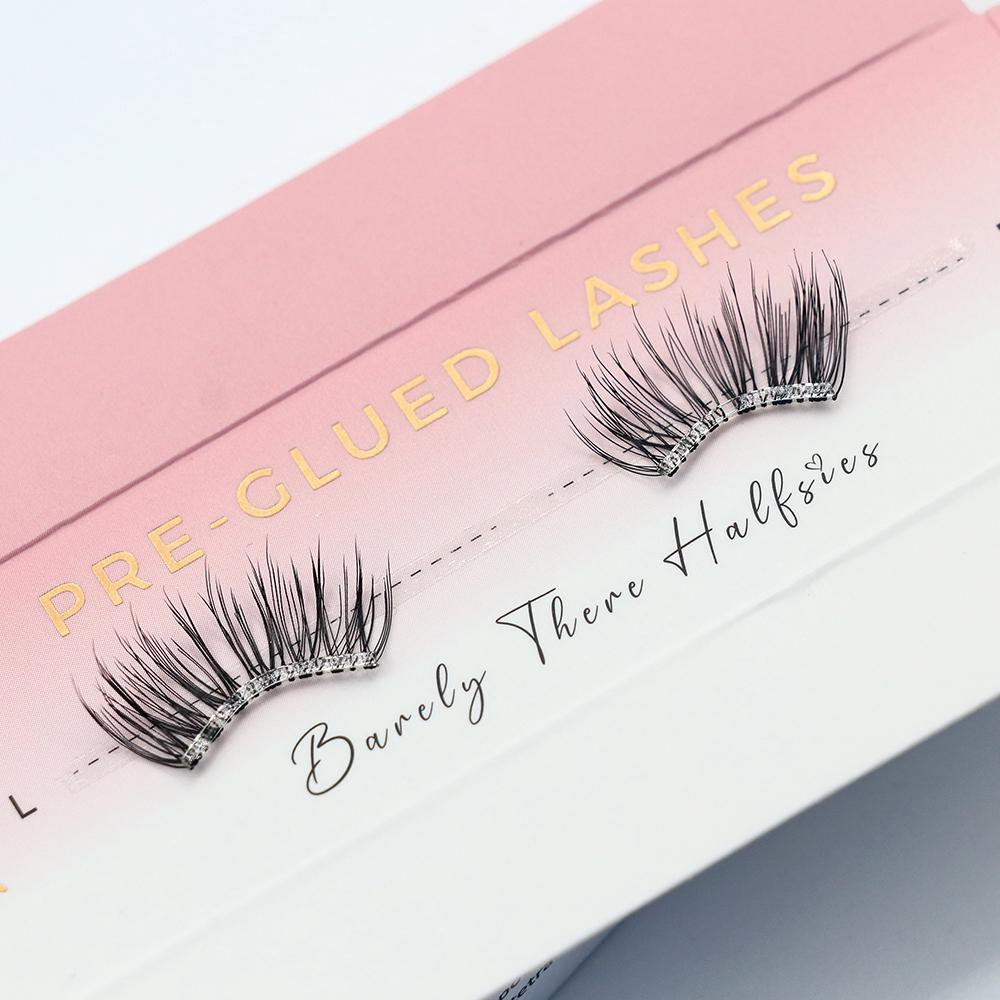
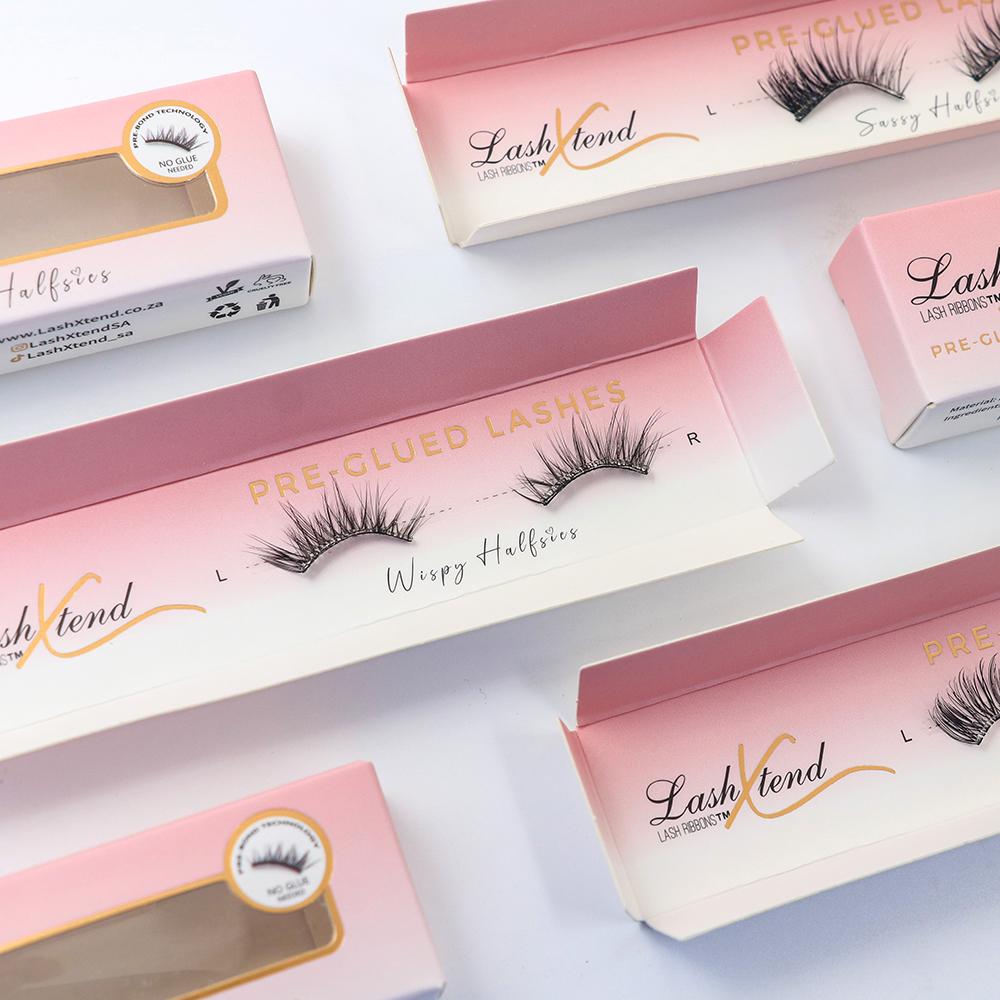
Pre Glued Half Lashes Barely There Halfsies
Pre Glued Half Lashes Flirty Halfsies
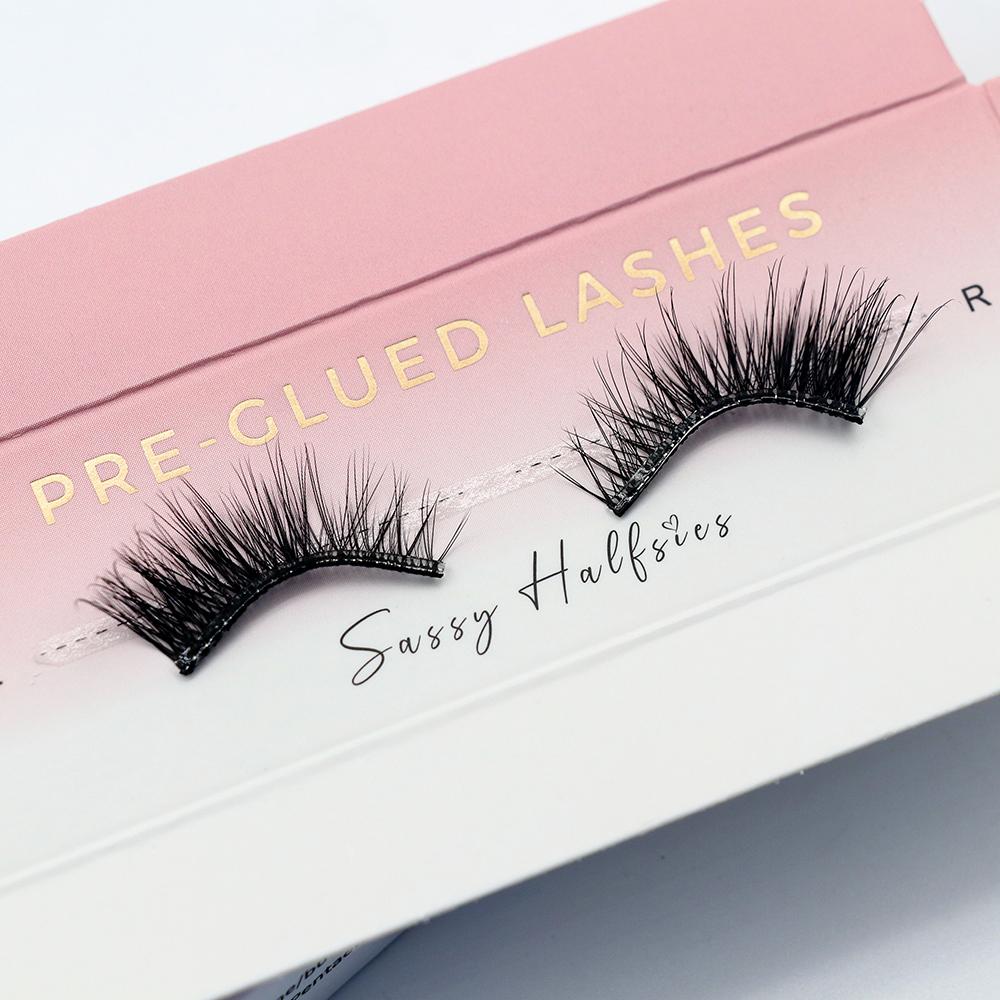
Pre Glued Half Lashes Sassy Halfsies
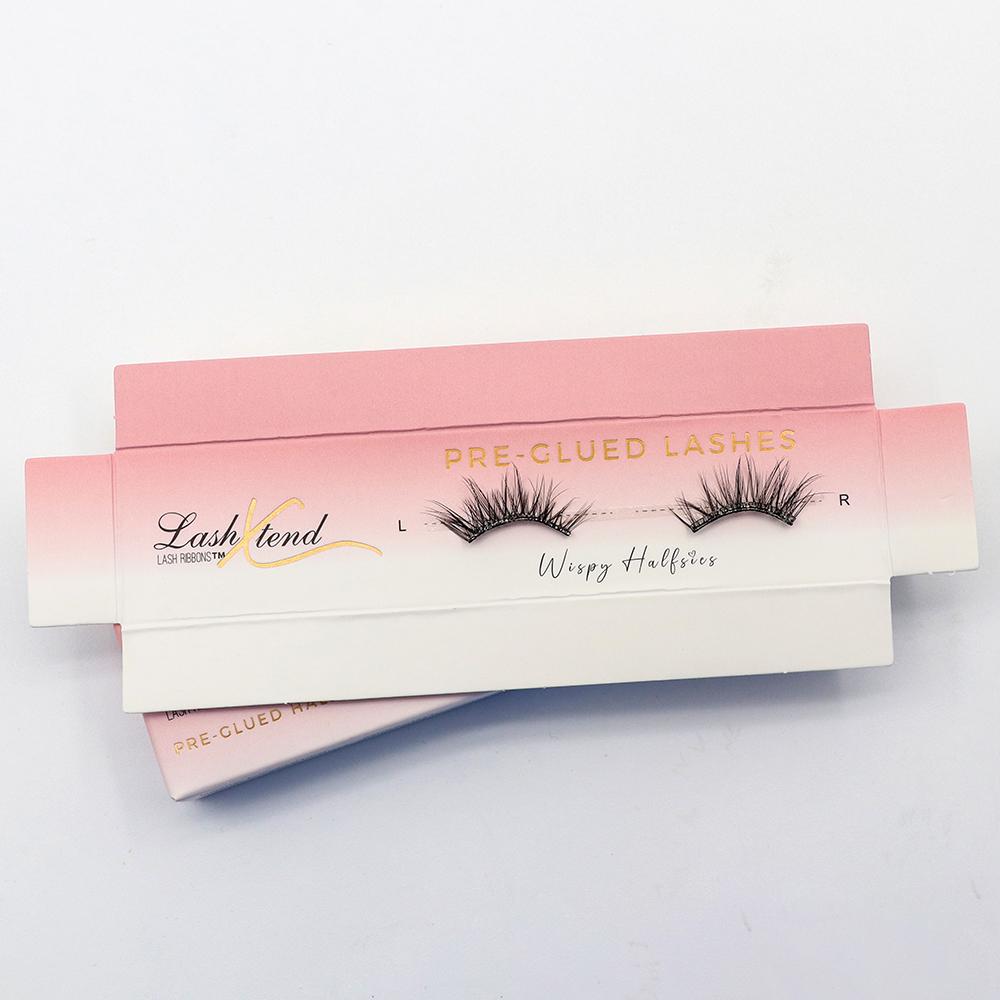
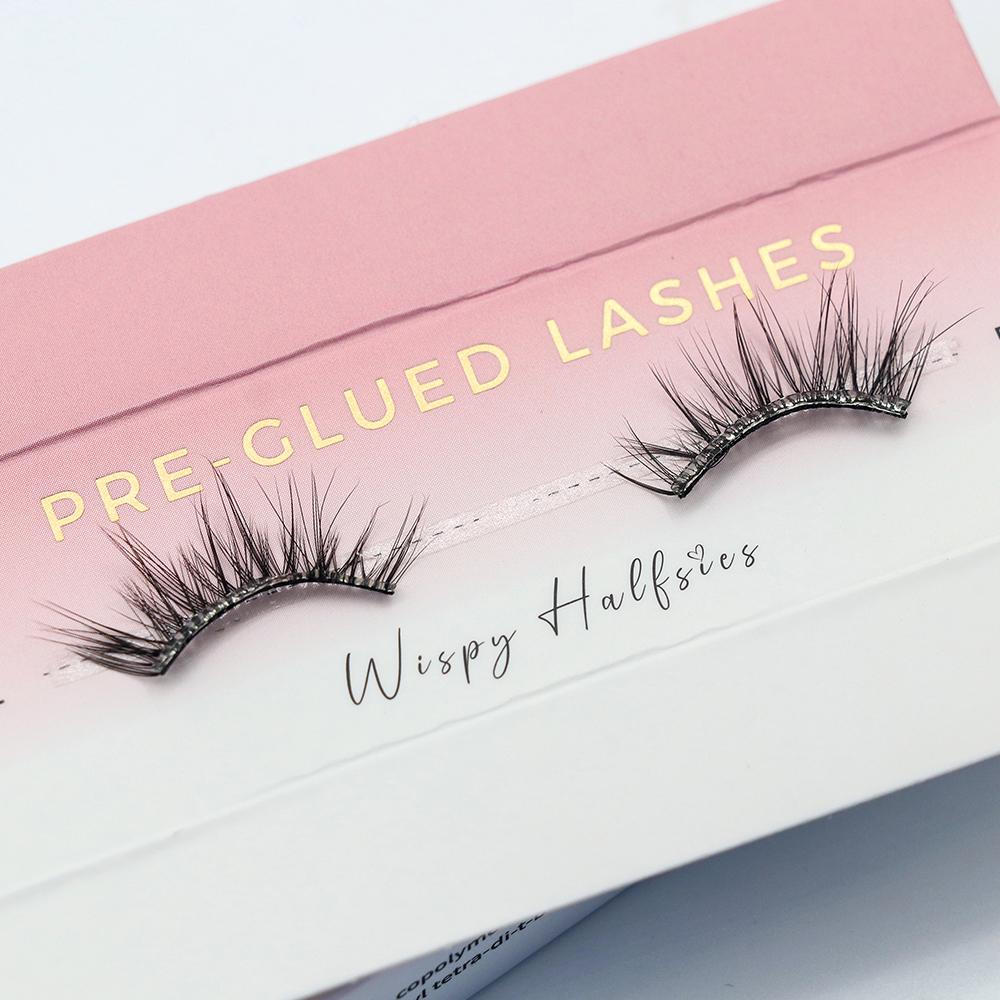
Pre Glued Half Lashes Wispy Halfsies
Pre-Glued Press On Lash Style (FLUFFY)
Pre-Glued Press On Lashes (Volume)
If you have any questions, you are always welcome to contact us. We'll get back to you as soon as possible, within 24 hours on weekdays.
-
Shipping Information
Use this text to answer questions in as much detail as possible for your customers.
-
Customer Support
Use this text to answer questions in as much detail as possible for your customers.
-
FAQ’s
Use this text to answer questions in as much detail as possible for your customers.
-
Contact Us
Use this text to answer questions in as much detail as possible for your customers.
The Easiest Lash Routine You’ll Ever Try
4 Steps to Flawless
No experience needed. Apply, press, blend, done. Get gorgeous lashes that last — in under 10 minutes.
Let's Help
Questions & Answers
How to apply
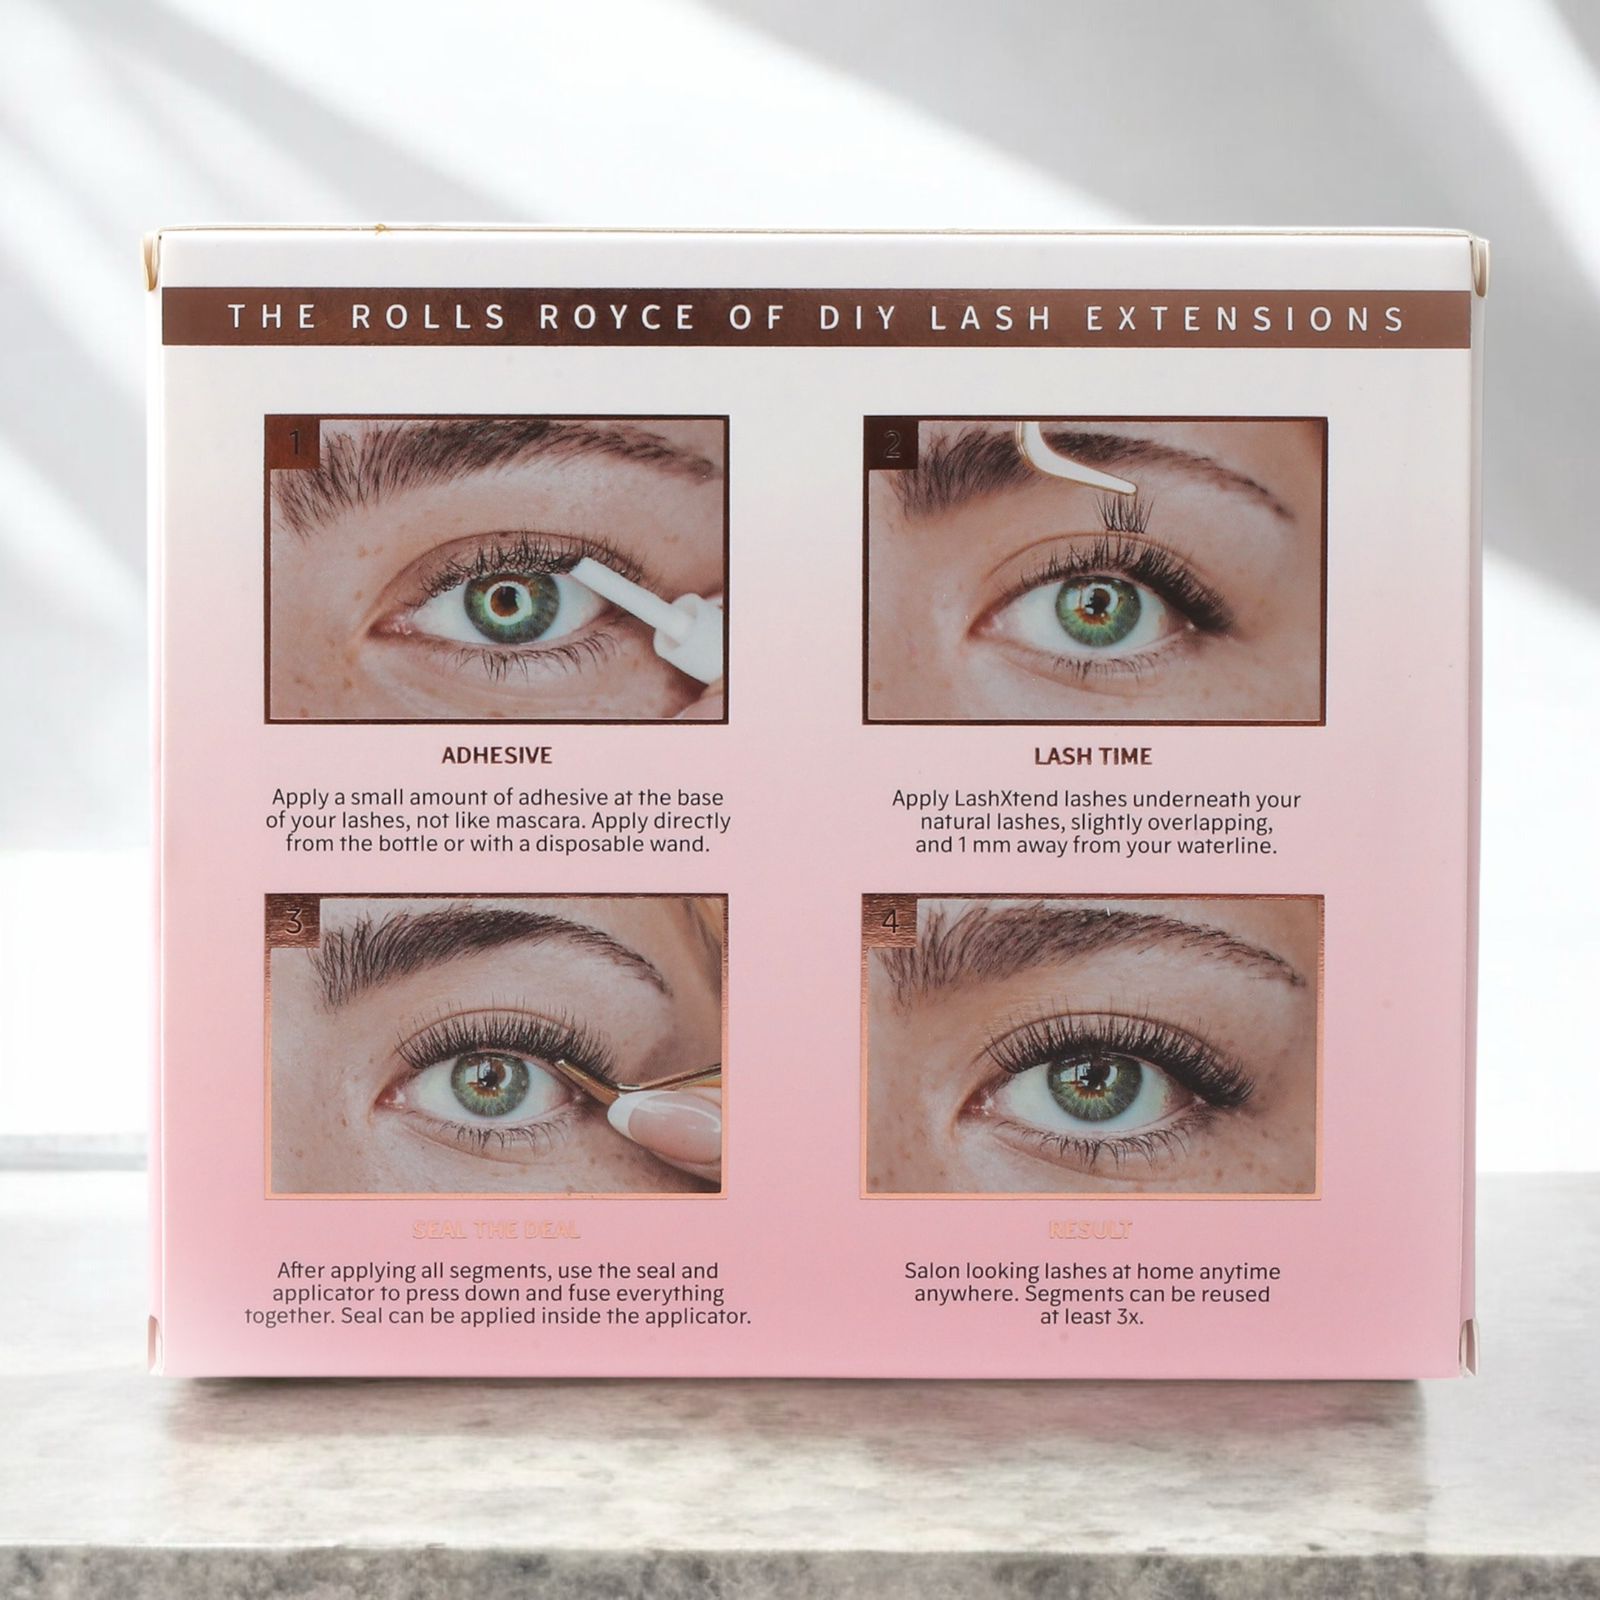
EASY APPLICATION IN 4 SIMPLE STEPS
1. PREP
Ensure your lashes and eyelids are free of oils. Use a spoolie to comb through your natural lashes.
2. ADHESIVE
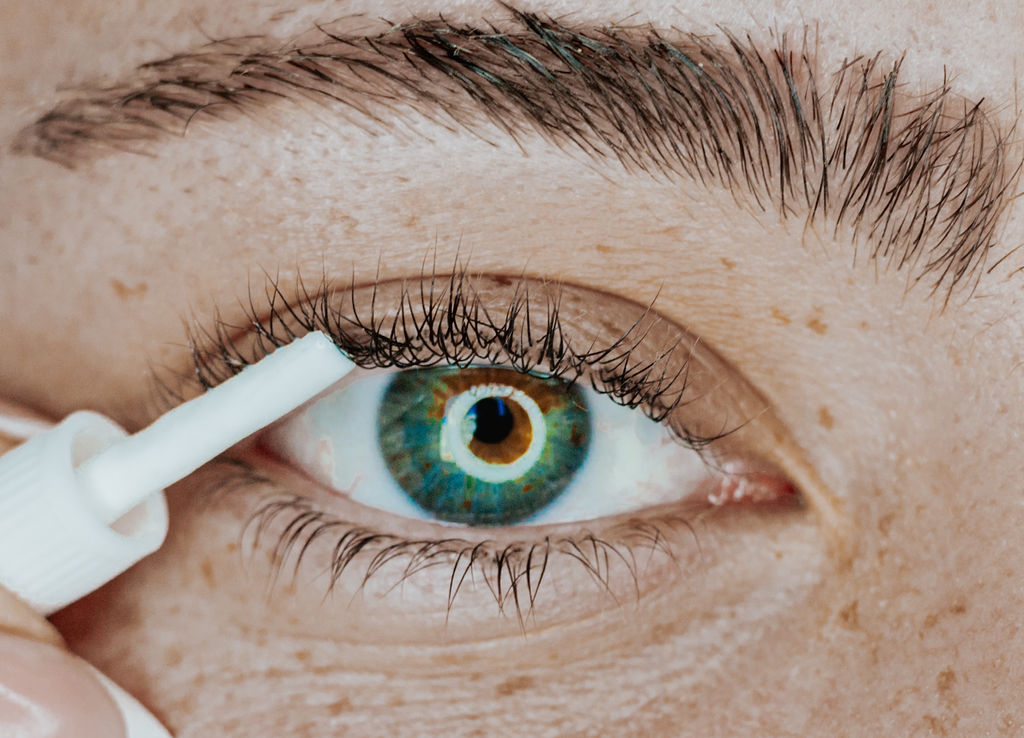
Apply light coat of lash adhesive underneath the base of natural lashes. Concentrating near the roots, 1mm away from waterline. For extra hold apply a light coat of lash adhesive on the lash band. Remember a little lash adhesive goes a long away. Less is more!
3. LASH TIME
Apply each lash segment starting at the outer corner, work towards the inner corner, with shortest lash in inner corner and longest lash in outer corner. Place each segment underneath your natural lash leaving1mm from your natural waterline. Depending on the size of your eyes, you will use either 4 or 5 lash segments per eye.
4. FUSE
Once all lash segments have been applied, use the applicator to press down and sandwich “fuse” the natural lash, adhesive and lash segments together.
Let us discuss lash placement
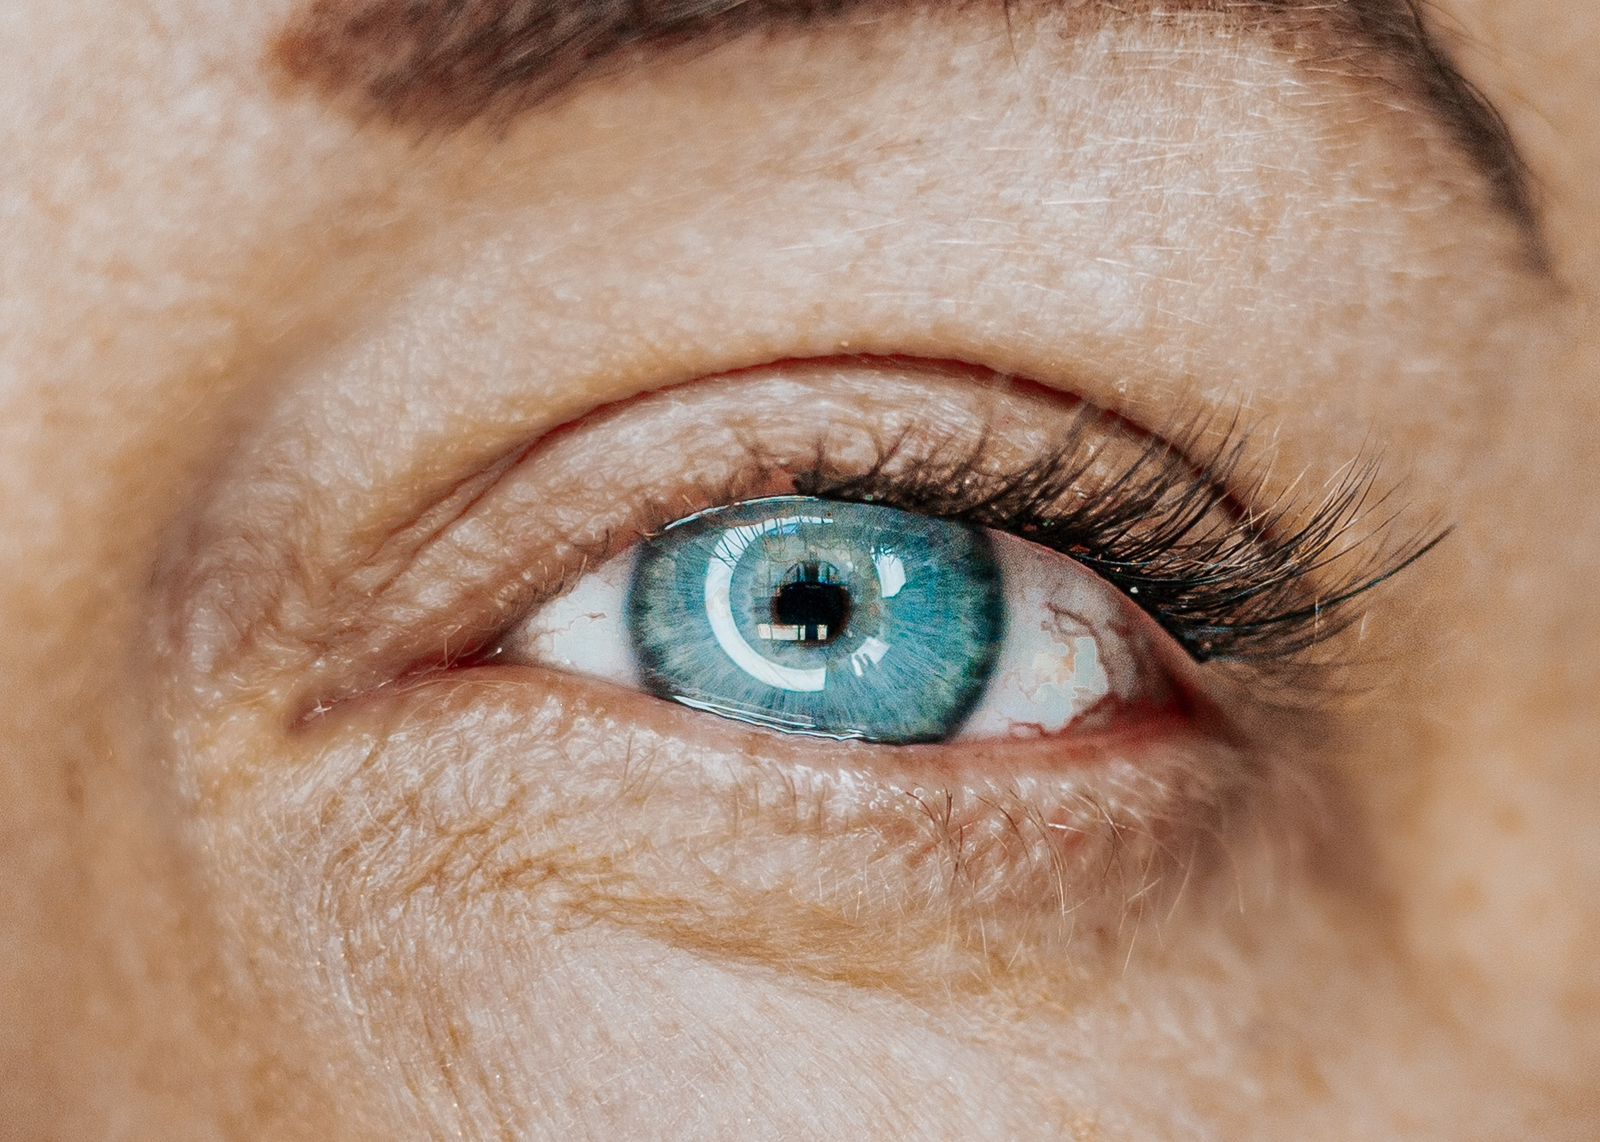
• Apply lash segments 0.5-1mm away from waterline. (about thickness of a bank card)
• Do NOT apply on waterline, this will be uncomfortable and can cause irritation.
• Do not apply too far up the lash or it can weigh down on the natural lash.
Will LashXtend Lash Ribbons damage my lashes
We strive to provide a damage-free experience for you.
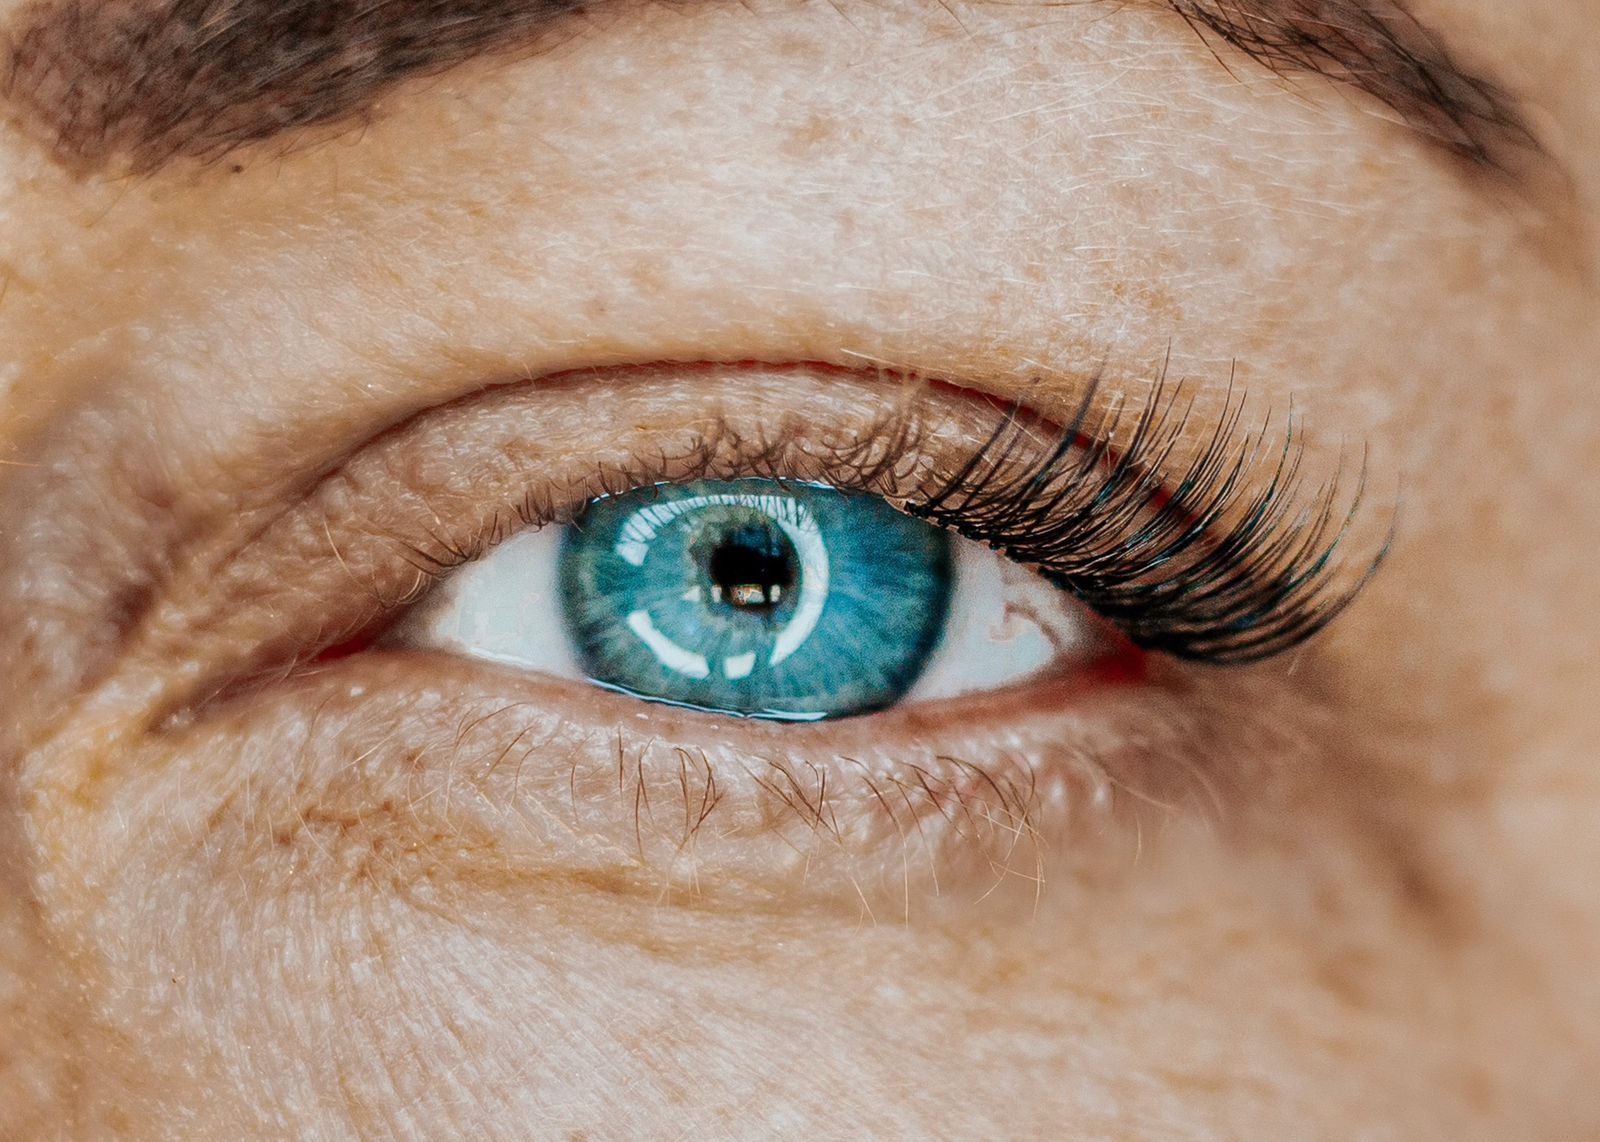
Our lash segments are created weightless; your natural lashes will not feel the weight or tension that you would feel when wearing regular falsies or lash extensions.
Our adhesive will not damage your natural lashes as long as you use proper technique to remove the glue.
How long will my lashes last
Your lashes will last for up to seven consecutive days.
How do I clean my LashXtend lashes
Step 1: Put lashes in small jar
Step 2: Add some 90% Isopropyl alcohol, soak 5min
Step 3: Place on paper towel, clean off all bond with q-tip
Step 4: Fluff lashes with a spoolie
NB: DO NOT SOAK LONGER THAN 5MIN , IF LEFT TO LONG THE PBT HAIR FIBRES WILL DAMAGE.
How do I remove my lash segments
Lash segments are as easy to remove as they are to apply. To remove lashes, simply apply our Remover or use coconut oil. Keep remover/coconut oil on lashes for approx. 60seconds.With a gentle rub, your lashes should slide right out!
If you still feel any resistance, continue to gently massage and loosen the adhesive to protect your natural lashes.
Are my LashXtend lashes reusable
Yes! Yes! Yes!
Reuse them up to 3 times, when cleaned and stored properly.


