


Introduction
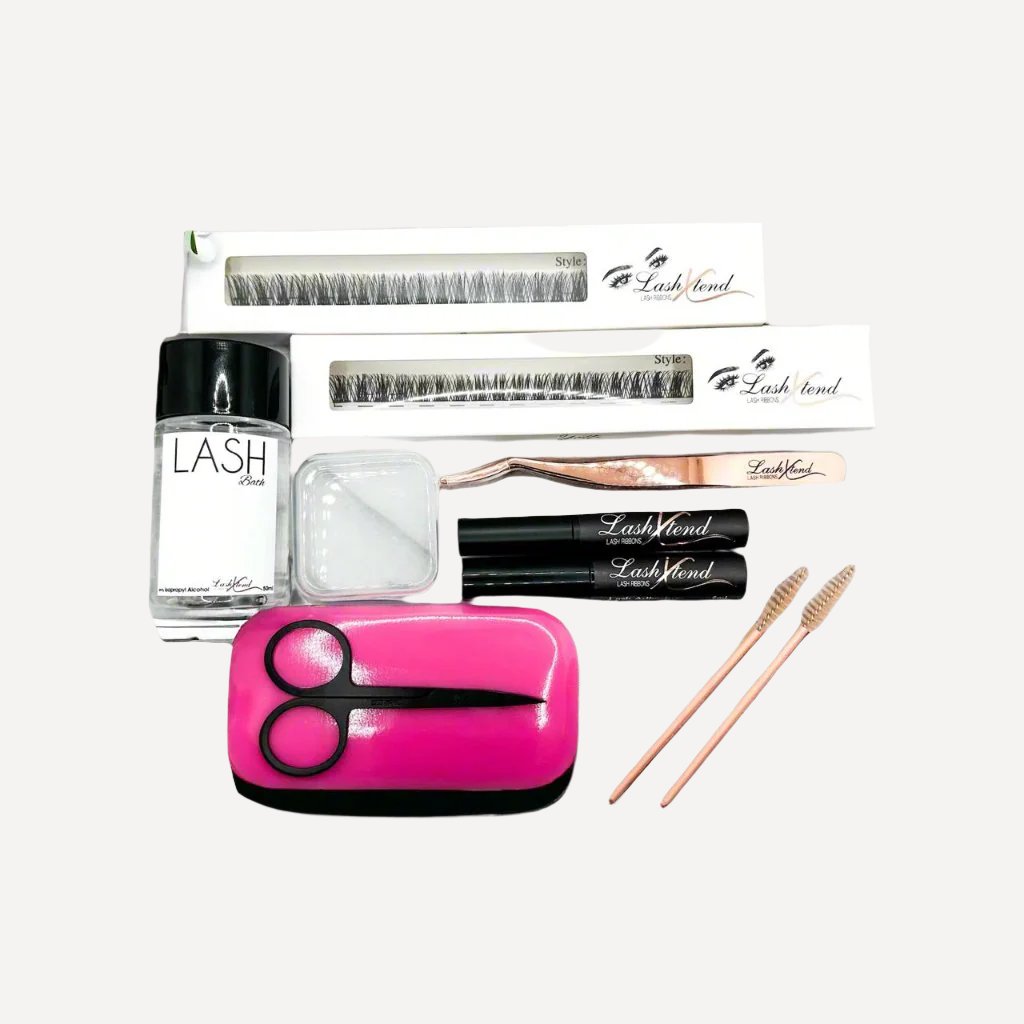
When it comes to DIY lash extensions, your tools are the key to achieving salon-quality results at home. Lash brushes, tweezers, and other precision tools can quickly accumulate bacteria, oil, adhesive residue, and makeup debris if they aren’t properly maintained. This isn’t just a matter of aesthetics — unclean tools can cause irritation, infections, or allergic reactions around the sensitive eye area. Proper hygiene protects both your health and the longevity of your lash work.
Understanding the difference between cleaning and sanitising is essential. Cleaning removes visible debris, while sanitising and disinfecting target harmful microorganisms. Both steps are crucial for safe DIY lash application. In this blog, we’ll guide you through professional-grade methods to clean, disinfect, and store your tools at home, helping you maintain a safe, effective, and hygienic lash routine.
Understanding Lash Tool Hygiene
Lash tool hygiene is the cornerstone of safe and effective DIY lash extensions. Cleaning involves removing surface debris, such as leftover adhesive, makeup, or natural oils. Sanitising and disinfecting go deeper, targeting bacteria, viruses, and fungi that can lead to infections like blepharitis or conjunctivitis.
The eye area is extremely sensitive. Even minor irritation can disrupt the natural lash environment, compromise lash retention, and create discomfort. Microorganisms thrive on improperly maintained tools, which increases the risk of styes or allergic reactions. Maintaining a professional approach to hygiene, even at home, ensures that each lash session is safe, clean, and precise.
Investing time in proper cleaning practices may seem tedious, but it directly enhances both safety and the quality of your lash results.
What Tools Need Cleaning & How Often
To maintain a hygienic lash routine, it’s important to know which tools need cleaning and how frequently.
Every Use: Tools that contact your lashes or eyes, such as tweezers, lash brushes, spoolies, and isolation tools, should be cleaned and sanitised after every session. This prevents bacteria transfer and reduces the risk of eye infections.
Weekly Deep Clean: Less frequently used accessories, such as tool trays, palettes, and holders, benefit from a weekly deep clean. Even if these items don’t touch your eyes directly, dust and microbes can accumulate, compromising overall hygiene.
Disposable Tools: Items like single-use spoolies or micro brushes should never be reused. Even if they appear clean, they can harbour bacteria and compromise both hygiene and lash results.
By implementing a routine of daily cleaning and weekly deep cleaning, your tools will remain effective, safe, and ready for use at all times.
Step‑by‑Step: Preparing Your Lash Tools for Cleaning
Before cleaning any tool, preparation is essential to ensure maximum hygiene. Begin by organizing a clean workspace. A well-lit area with a sanitized surface or towel will prevent cross-contamination. Gather your cleaning materials: warm water, mild soap, and disinfectant, such as 70% isopropyl alcohol.
Pre-clean each tool by removing visible debris or dried adhesive using a soft brush or wipe. This ensures that disinfectants can reach the tool surfaces effectively. Always wash your hands thoroughly or wear disposable gloves before handling your tools. Your hands are a primary source of contamination, and even the best cleaning efforts can be compromised if your hands are not sanitized first.
How to Clean Lash Brushes & Spoolies
Lash brushes and spoolies accumulate oils, makeup, and lash residue, which can interfere with lash application and hygiene.
Daily Quick Clean: Start by rinsing the brush with warm water and gently using a lash-safe cleanser or mild soap. Swirl the bristles until residue is removed, then rinse until the water is clear.
Deep Clean: Soak brushes in warm, soapy water for a few minutes to loosen embedded oils. Work the cleanser through the bristles using your fingers or a small brush, then rinse thoroughly.
After cleaning, shake off excess water and place brushes on a lint-free towel to air dry completely. Never store brushes while damp, as moisture encourages bacterial growth. Upright storage in a ventilated container maintains the bristle shape and keeps tools hygienic between sessions.
How to Clean Tweezers & Precision Tools
Tweezers and other precision tools are critical for accurate lash application. Because they come into contact with adhesive and skin, they require careful cleaning.
Step 1: Remove Adhesive Residue: After each use, wipe the tweezer tips and body with 70% isopropyl alcohol. For stubborn adhesive, soften it first with warm, soapy water before wiping.
Step 2: Deep Clean: Wash tweezers with mild antibacterial soap and warm water. Use a soft brush to clean any hard-to-reach areas and rinse thoroughly.
Step 3: Disinfect: Sanitize tweezers by soaking or wiping with alcohol. Allow them to air dry completely to ensure all microorganisms are eliminated.
Step 4: Dry and Inspect: Use a lint-free cloth to dry metal tools fully. Check for tip alignment, dullness, or corrosion. Damaged tools can scratch lashes or reduce precision, compromising both hygiene and results.
Following this routine ensures your tweezers remain sharp, safe, and reliable for every session.
Cleaning Other Lash Tools
Other tools, such as scissors, palettes, and glue holders, also require proper maintenance.
Scissors: Rinse with warm, soapy water to remove residue, then disinfect thoroughly. Dry completely to prevent rust or corrosion.
Palettes and Adhesive Holders: Wipe surfaces with disinfectant after each use to remove residual glue or makeup. Even small adhesive droplets can harbor bacteria.
Glue Bottle Tips: Frequently check and wipe adhesive tips to prevent clogging. Residue can contaminate new glue and compromise application safety. Maintaining these tools ensures efficiency and hygiene during every session.
Best Disinfectants & Cleaning Solutions
Using the right disinfectants is essential for safe lash tool maintenance.
70% Isopropyl Alcohol: Effective at killing bacteria, viruses, and fungi. Ideal for wiping down brushes, tweezers, and other tools.
EPA-Approved Disinfectants: Professional-grade disinfectants are recommended for thorough sanitation. Ensure they are suitable for metal and non-metal tools.
Avoid Harsh Chemicals: Bleach or oil-based cleaners can damage tools, affect performance, and leave residue that interferes with adhesive.
Specialized Lash Tool Cleaners: For stubborn adhesive, consider enzyme-based or adhesive dissolving cleaners to maintain both hygiene and tool longevity.
Storage & Workspace Cleanliness
Proper storage and workspace maintenance enhance hygiene and prolong tool life.
Tool Storage: Keep cleaned tools in airtight containers, sanitized cases, or magnetic stands to prevent dust or bacteria accumulation.
Workspace Hygiene: Wipe down surfaces before and after each session. A clean workspace prevents cross-contamination and ensures tools stay sanitized.
Separate Clean and Used Tools: Avoid mixing sanitized tools with used or soiled items to maintain hygiene integrity.
Personal Hygiene: Always wash hands thoroughly or use gloves during tool handling. Personal hygiene directly impacts tool cleanliness and overall lash safety.
Troubleshooting & Common Mistakes
Even with a routine, mistakes can compromise hygiene.
-
Not cleaning between uses: Leads to residue buildup and bacteria transfer.
-
Sticky glue residue: Hard adhesive can trap bacteria if not removed promptly.
-
Improper drying: Moist tools promote bacterial growth.
-
Using cotton that leaves lint: Lint can interfere with lash application and stick to adhesive.
Practical solutions include using lint-free wipes, avoiding excessive alcohol on sensitive tools, and never sharing tools between users. Awareness of these pitfalls ensures both hygiene and professional-quality results.
Recognising When Tools Must Be Replaced
Knowing when to replace tools is as important as cleaning them.
Signs of Wear: Corrosion, rust, dull tips, or loose joints indicate it’s time for replacement. Damaged tools compromise safety, performance, and hygiene.
Replacement Timeline: Tweezers, scissors, and brushes should be evaluated regularly. Even with diligent cleaning, worn tools can harbor bacteria or fail to deliver precise results. Timely replacement ensures safety and optimal lash outcomes.
Conclusion
Maintaining clean and sanitised DIY lash tools is essential for eye safety, lash longevity, and professional results at home. A consistent routine of cleaning, disinfecting, drying, and storing tools ensures that each session is both hygienic and effective.
By understanding the risks, applying correct cleaning methods, and regularly inspecting and replacing tools, you can achieve salon-quality lash results while protecting your eyes from potential infection. Clean tools are not just about aesthetics — they’re the foundation of a safe, professional, and successful DIY lash routine.


Share:
What to Do If You Have DIY Lash Problems: Safe Solutions and Preventive Tips
DIY Lash Extension Styles for Every Lifestyle: Comfort, Durability and Best Practices