


Collection: Lash Kits
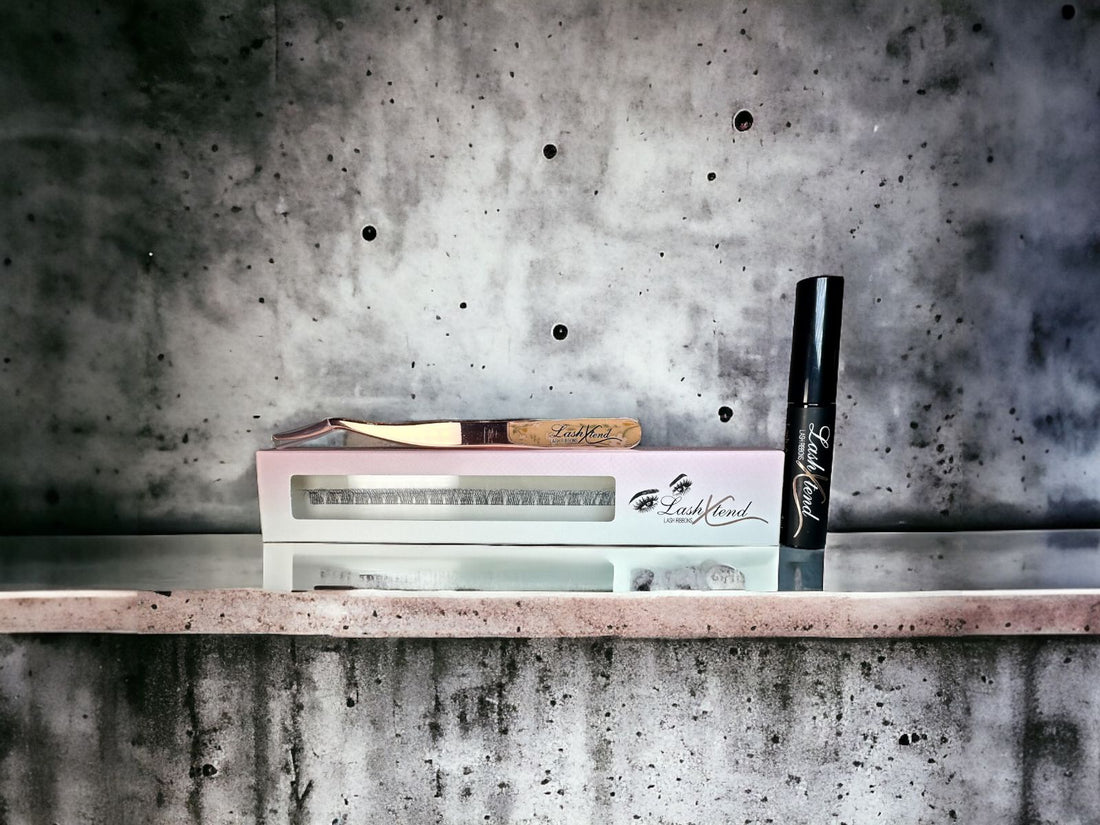
Our DIY Lash Extension Kits offer a convenient and affordable way to enhance your lashes from the comfort of your own home. Our Princess DIY Lash Kit includes a applicator, adhesive, and a LashXtend Lash Ribbon. This kit provides you with everything you need to apply the extensions and is perfect for those who are looking for a simple and easy-to-use solution.
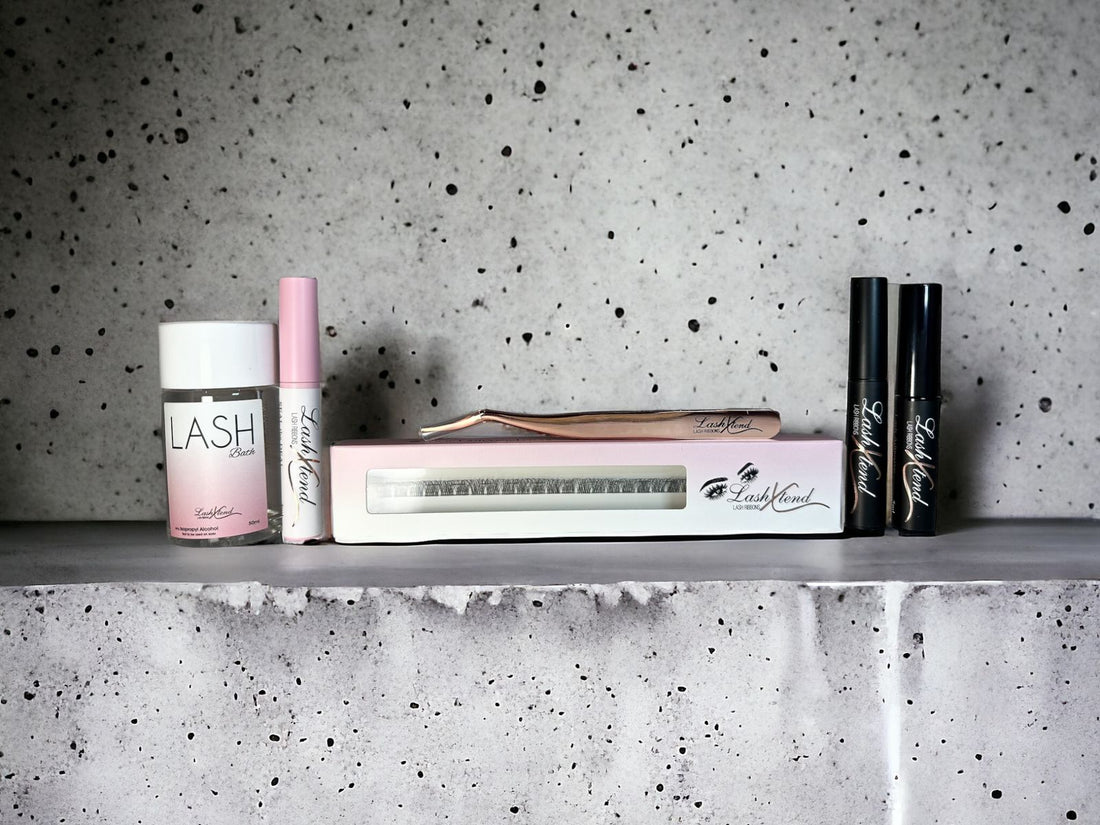
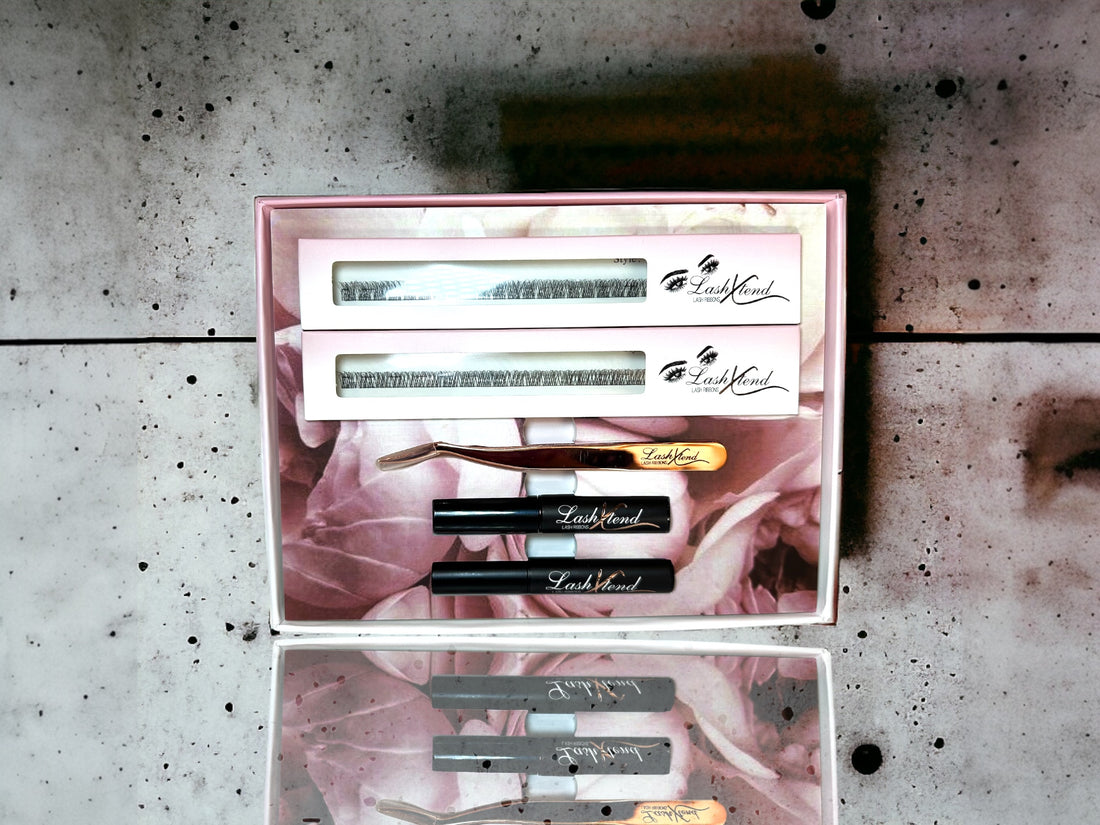
For those who want a more complete and professional-quality experience, we offer the Queen DIY Lash Kit. This kit includes two LashXtend Lash Ribbons, an applicator, adhesive, remover, scissor, storage/cleaning container, lash pad and Lash Bath 50ml. With this kit, you have all the tools you need to achieve a flawless and long-lasting lash extension look.
3 products
-
Lash Lover - Lash Extension Kit (Kits will only ship from 26 April)
 Vendor:Lash Lover - Lash Extension Kit (Kits will only ship from 26 April)lashextendshop
- Regular price
-
R 549.00 - Regular price
-
R 670.00 - Sale price
-
R 549.00
-
Ultimate Lash Extension Kit (Kits will only ship from 26 April)
 Vendor:Ultimate Lash Extension Kit (Kits will only ship from 26 April)lashextendshop
- Regular price
-
R 600.00 - Regular price
-
R 790.00 - Sale price
-
R 600.00
-
Introduction Starter - Lash Extension Kit ( Kits will only ship from 26 April)
 Vendor:Introduction Starter - Lash Extension Kit ( Kits will only ship from 26 April)lashextendshop
- Regular price
-
R 350.00 - Regular price
-
R 450.00 - Sale price
-
R 350.00


LASH LIKE A PRO
REVOLUTIONISING LASHES
LashXtend Lash Ribbons is a new innovative DIY lash extension system that allows you to apply lashes yourself. Customise your style and wear your lashes for up to 5-7 continuous days without damaging your natural eyelashes. Revolutionising the false lash industry. Grab your scissors and cut the LashXtend Lash Ribbons.
Let's Help
DIY LASHES
How to apply
EASY APPLICATION IN 4 SIMPLE STEPS
1. PREP
Ensure your lashes and eyelids are free of oils. Use a spoolie to comb through your natural lashes.
2. ADHESIVE
Apply light coat of lash adhesive underneath the base of natural lashes. Concentrating near the roots, 1mm away from waterline. For extra hold apply a light coat of lash adhesive on the lash band. Remember a little lash adhesive goes a long away. Less is more!
3. LASH TIME
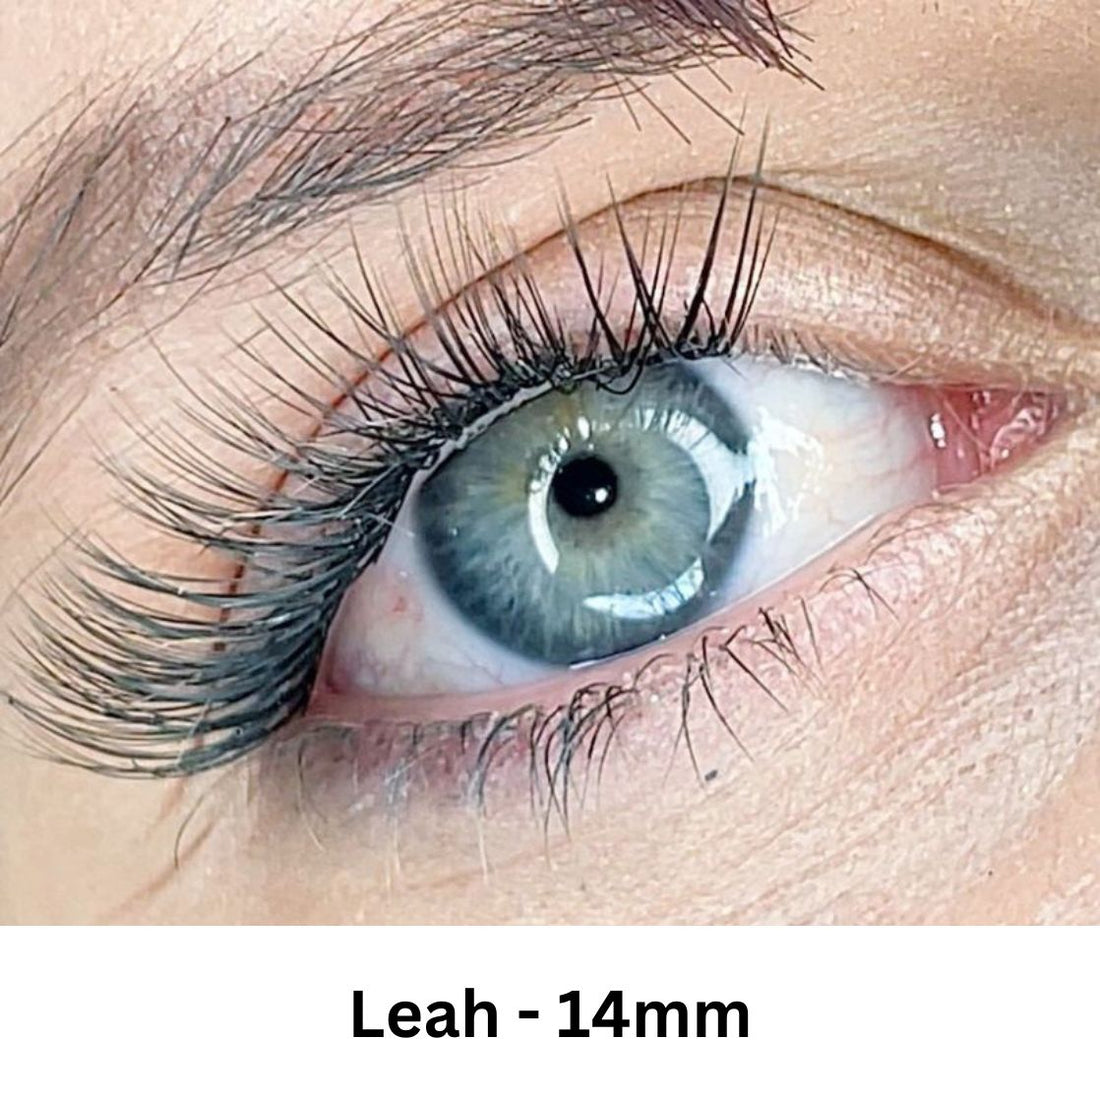
Apply each lash segment starting at the outer corner, work towards the inner corner, with shortest lash in inner corner and longest lash in outer corner. Place each segment underneath your natural lash leaving1mm from your natural waterline. Depending on the size of your eyes, you will use either 4 or 5 lash segments per eye.
4. FUSE
Once all lash segments have been applied, use the applicator to press down and sandwich “fuse” the natural lash, adhesive and lash segments together.
Let us discuss lash placement
• Apply lash segments 0.5-1mm away from waterline. (about thickness of a bank card)
• Do NOT apply on waterline, this will be uncomfortable and can cause irritation.
• Do not apply too far up the lash or it can weigh down on the natural lash.
Will LashXtend Lash Ribbons damage my lashes
We strive to provide a damage-free experience for you.
Our lash segments are created weightless; your natural lashes will not feel the weight or tension that you would feel when wearing regular falsies or lash extensions.
Our adhesive will not damage your natural lashes as long as you use proper technique to remove the glue.
How long will my lashes last
Your lashes will last for up to seven consecutive days.
How do I clean my LashXtend lashes
Step 1: Put lashes in small jar
Step 2: Add some 90% Isopropyl alcohol, soak 5min
Step 3: Place on paper towel, clean off all bond with q-tip
Step 4: Fluff lashes with a spoolie
NB: DO NOT SOAK LONGER THAN 5MIN , IF LEFT TO LONG THE PBT HAIR FIBRES WILL DAMAGE.
How do I remove my lash segments
Lash segments are as easy to remove as they are to apply. To remove lashes, simply apply our Remover or use coconut oil. Keep remover/coconut oil on lashes for approx. 60seconds.With a gentle rub, your lashes should slide right out!
If you still feel any resistance, continue to gently massage and loosen the adhesive to protect your natural lashes.
Are my LashXtend lashes reusable
Yes! Yes! Yes!
Reuse them up to 3 times, when cleaned and stored properly.