


Are you ready to take your lash game up a notch? With the right tips and tricks, mastering a false lash application can be easier than you think! Whether it's for a special occasion or just to give yourself that extra oomph every day, follow these steps and you'll have beautiful lashes in no time. So let's get started - get out your lash kit and let's learn how to apply those falsies like a pro!
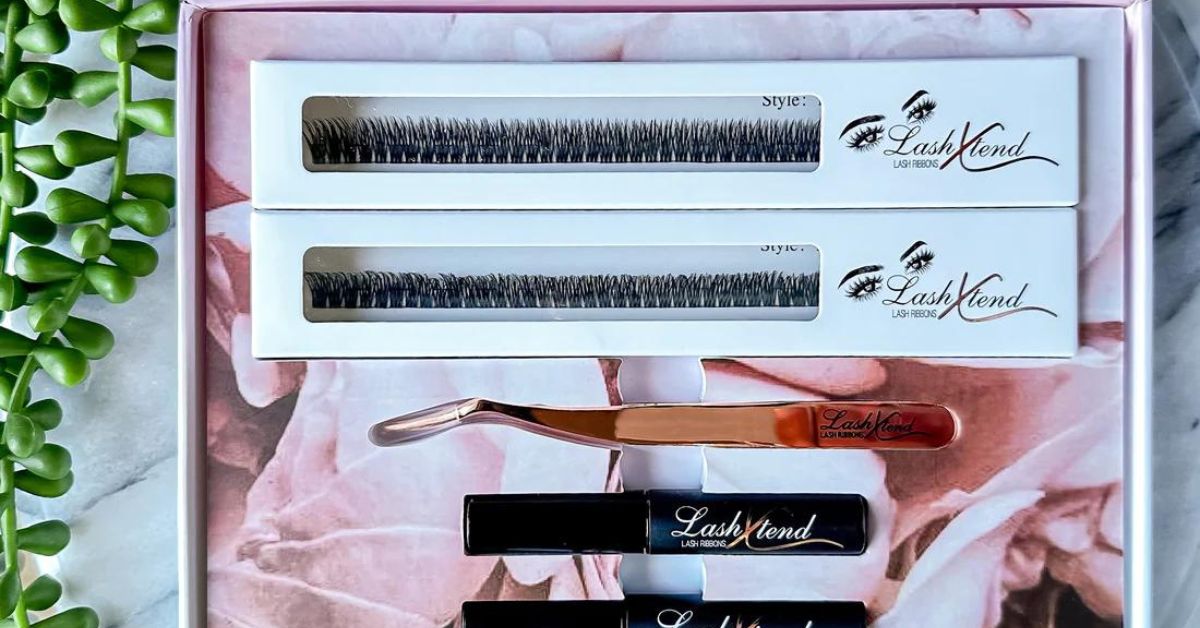
Choosing the Right Lash Kit
You have the power to create a stunning look, so choose your lash kit carefully! When selecting a lash kit, consider the type of lashes you want. Do you prefer natural-looking lashes or dramatic ones? If you're looking for something more subtle, opt for individual lashes that can be applied one at a time. For a bolder look, try strip lashes that come pre-glued and ready to apply. Additionally, make sure to check the ingredients in the glue included with your lash kit. Some glues contain harsh chemicals that can irritate sensitive eyes.
When shopping for a lash kit, it's also important to think about how long you want your lashes to last. Many kits come with reusable strips or individual clusters of synthetic fibres that can be used multiple times if cared for properly. However, if you're looking for something more temporary, there are plenty of options available too! Consider trying out magnetic eyelashes which attach using tiny magnets instead of glue and are easy to remove when needed.
Finally, don't forget about tools! A good pair of tweezers is essential when applying false eyelashes as they help ensure precise placement and keep them from sticking together during application. You'll also need an adhesive remover on hand in case any mistakes are made while applying your falsies - this will help make sure they come off without damaging your natural lashes or skin around the eye area. With these tips in mind, you'll be able to find the perfect lash kit and master application like a pro!
Preparing Your Natural Lashes
Preparing your natural lashes is a fundamental step to achieving a professional look. First, cleanse your eyes and eyelids with an oil-free makeup remover and gentle facial cleanser to remove any dirt or makeup residue. Then, use a spoolie brush to comb through the lashes from root to tip, removing any debris while also making sure the lashes are all facing in the same direction. Next, curl your natural lash line with an eyelash curler starting at the base of each lash and working up towards the ends for 30 seconds. Lastly, apply a thin layer of primer to both your upper and lower lash lines before you begin applying false lashes. This will help ensure that the adhesive has something to bind onto so that the false lashes stay on as long as possible without slipping off!
Applying the Lash Glue
Once your natural lashes are ready, it's time to apply the lash glue to get the false lashes on! Start by squeezing a small amount of glue onto the back of your hand. With tweezers or your fingers, gently swipe the bottom edge of the false lash through the adhesive. Make sure to cover all surfaces evenly with an appropriate amount of glue. To ensure maximum hold and longevity, wait 10-15 seconds for the glue to become tacky before applying them to your lid.
When applying, place the fake eyelashes as close as you can to your natural lash line without touching it. This will help create a seamless look that looks natural and fabulous! Place one end at a time using tweezers or your fingers so you can adjust if needed, then press down lightly across the entire band until secure.
If there are any gaps between where you applied them and where they should be, use a black liquid liner pen along your upper lash line in order to fill in these gaps and make them look more realistic. You can also add extra mascara for even more definition and blendability! Once everything is set in place, admire yourself in admiration - you've just created perfect eye makeup like a pro!
And don't forget - practice makes perfect! With enough practice and patience when it comes to mastering how to apply false lashes with ease, anyone can become an expert at applying their own falsies like a boss!
Securing the False Lashes
After the glue has set, press down lightly across the entire band of false lashes to secure them in place. This should help ensure that the lashes are attached firmly and won't come off until you want them to. Use your fingertips or tweezers for this step—whichever you find more comfortable. Once secured, look over your work to make sure all of the lash hairs are facing in the same direction. If any seem out of place, adjust them now before they dry into their new position.
When it comes time to remove your falsies, hold a cotton swab saturated with an oil-based makeup remover against each eyelid for 30 seconds. This will break down the lash glue and make it easier to slide off without damaging your natural lashes or pulling out too many false ones in one go. When everything is removed, give both eyes a quick cleanse with water and mild cleanser then pat dry with a soft towel before reapplying as desired.
It's always important to remember that proper technique is key when applying false lashes! Take your time with each step so you can get maximum wear from each set while minimising damage to both your natural and artificial eyelashes. Don't rush: if you're having trouble getting the application just right, take a break and try again later when you feel more relaxed and focused on what needs to be done.
By following these tips and tricks for mastering a lash kit application like a pro, you'll be able to achieve salon-quality results in no time at all! With practice comes perfection—so get ready for beautiful results every single time!
Blending the False Lashes with Your Natural Lashes
You can take your lash look to the next level by seamlessly blending your false lashes with your own natural lashes, giving you a stunningly beautiful result. To ensure that the two kinds of lashes blend together seamlessly, always start by curling both your natural and false eyelashes with an eyelash curler before applying mascara. This will help to create a more cohesive look between the two types of lashes.
Next, use a thin layer of mascara on both the false and natural lashes to help them blend together better and make them appear longer and thicker. When applying mascara, remember to move the wand in an upward motion from root-to-tip so that each lash is coated evenly and without clumps.
Once you have curled and applied mascara to both sets of lashes, it's time for precision! Use tweezers or a pair of scissors to trim down any long strands of false eye lashes so they are just slightly shorter than your natural ones. This ensures that once they are applied, there won't be any gaps between them where skin shows through - creating a more uniform line across your lid when looking straight at yourself in the mirror.
Lastly, apply adhesive along the entire band of each set of false eye lashes making sure not to miss any spots as doing so could cause uneven application or even worse - having one side fall off! Once you have applied adhesive along each band wait about 30 seconds till it becomes tacky then gently press against your lash line beginning at the centre point until fully adhered. And there you go - now you know exactly how to masterfully blend those falsies with your own natural ones!
Finishing Touches
To complete the look, use a small brush to comb through both sets of lashes and ensure that they are blended together perfectly for a striking finish. Then, apply mascara to both your natural lashes and the false lashes. Make sure that you don't put too much mascara on or your natural lashes will stick together and ruin the effect of blending them with the false ones. You can also use an eyelash curler to add more definition to your eye makeup look. Curl all of your eyelashes, both natural and false, in order to give them more volume and lift. Finally, if you want to add a bit of extra flair, why not consider adding some glittery eyeshadow or liners? A touch of sparkle is enough to make your eyes stand out from the crowd!
Once all of these steps have been completed successfully, you'll be ready for anything with a perfect lash application! Your eye makeup will be bolder than ever before and you'll have mastered one of the most difficult parts of applying makeup like a pro. With practice and patience, anyone can become an expert at using their lash kit like a pro - so get creative with it!
Removing the False Lashes
Removing your false lashes doesn't have to be intimidating - with a few simple steps, you'll be able to take them off quickly and easily! To start, gently pull the lash band away from your eyelid at the outer corner. Gently wiggling it in a side-to-side motion as you do so can help loosen the glue and make it easier for removal. Avoid tugging too hard or pulling too vigorously, as this can cause discomfort or even damage your natural lashes. Once most of the band is removed, use a cotton swab dipped in oil-free eye makeup remover to break down any remaining glue on both your eyelids and the false lashes. Be sure not to press too hard when using the cotton swab; you just want to lightly dab away any leftover adhesive. Finally, carefully remove any remaining glue from both your natural eyelashes and the false ones before storing them away for later use. With these easy steps, you'll be able to achieve flawless lash removal with minimal effort!
Caring for Your False Lashes
Now that you have successfully removed your false lashes, it's time to focus on caring for them in order to get the most out of their use. Properly caring for your false lashes can help them last longer and maintain their shape and health. Here are a few tips and tricks for properly caring for your false lashes like a pro.
First, always make sure to clean off any residue left over from the lash glue after each use. This will help prevent bacteria buildup which can result in an infection if the glue is not removed from the skin around the eyes or from the actual lashes themselves. You can do this by gently rubbing a cotton swab with some warm water and mild soap, then wiping away any leftover glue or debris.
Second, try to store your false lashes in a safe place when not using them so they don't become damaged or deformed. The best way to do this is to keep them in their original packaging or if you no longer have that available, find some other secure storage container such as an eyeshadow palette case or plastic baggie with air-tight seal. This will help protect them against dust and dirt particles which could cause breakage or discoloration over time.
Finally, it's important to remember not to reuse your false lashes more than three times before disposing of them. With proper care and cleaning it is possible to get multiple uses out of one pair of false eyelashes but after three uses they should be replaced as they may start losing their shape and curl due to wear and tear over time. Not only does this create an unappealing look but it also increases the risk of eye infections due to bacteria buildup on aged falsies – so always err on the side of caution! Taking these steps will ensure that you get maximum use out of each pair of falsies while keeping your eyes safe from unwanted infections!
Conclusion
You've mastered the art of applying false lashes! Your look is complete and you feel confident. From selecting the right kit to blending your natural lashes with the false ones – it's been a learning experience, but now you know how to make any makeup look stand out. With proper care, your false lashes can be used again and again. Don't forget to remove them properly each time so they remain in good condition. Now that you know the tricks of the trade, you're ready to take on any lash application challenge!


Share:
The Rise Of Lash Kits: Why They're The Hottest Trend In Eyelash Enhancements
A Beginner's Guide To Lash Kits: How To Get Started With Diy Lash Extensions